Electrical Design
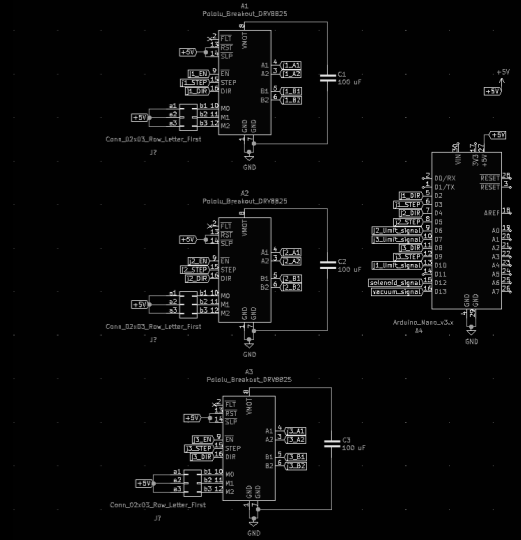
The main electrical components are the three stepper drivers, a vacuum pump and solenoid, the Arduino Uno, and limit switches on the robot. The Arduino receives commands from a laptop via the serial port and controls homing and actuation of the arm. The robot is equipped with limit switches at the extreme allowed positions; these are used to home the arm to a consistent position before beginning any operation, as well as to interrupt execution if the robot is moving to a position that could be damaging. It also has a suite of potentiometers, which are used for live tuning of the joint angles. Most of the components are mounted to solderable protoboards. We completed a schematic and layout for a custom PCB (KiCad files are in our GitHub repo), but we could not order it due to budget and time constraints. For the PCB, we had planned to use an Arduino Nano to make everything more compact (and the Nano even has a few more IO pins than the Uno!), but we kept the Arduino Uno and simply increased the size of the electronics box.
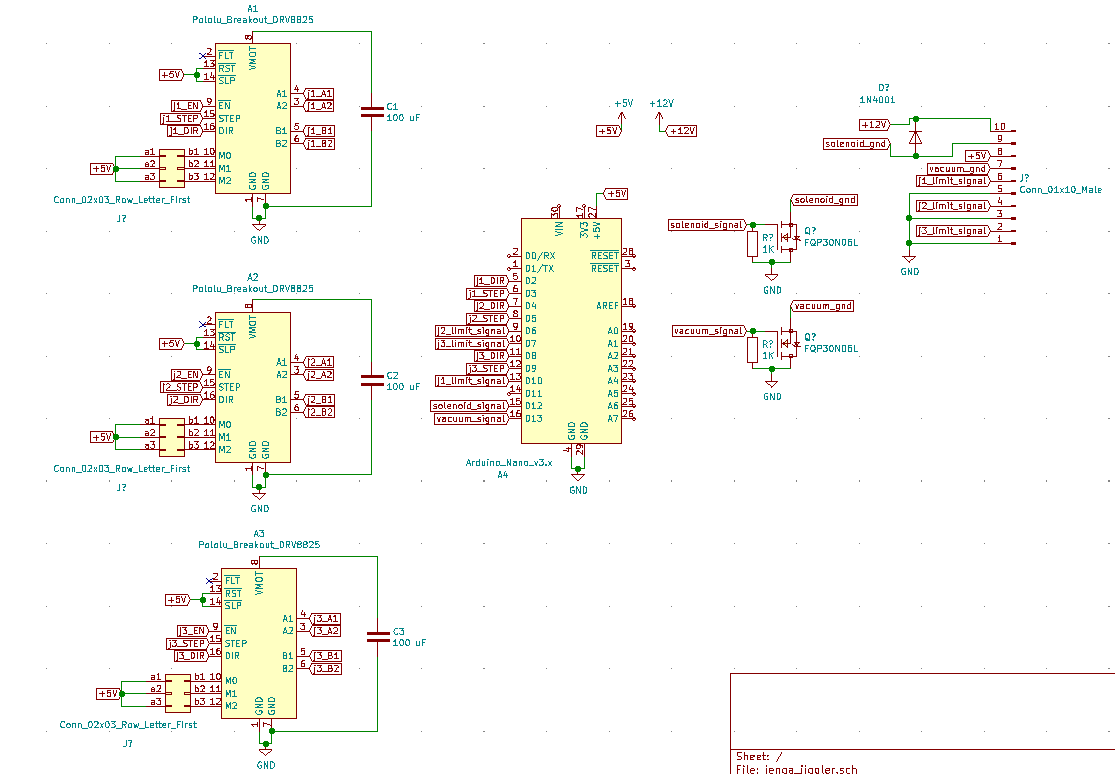
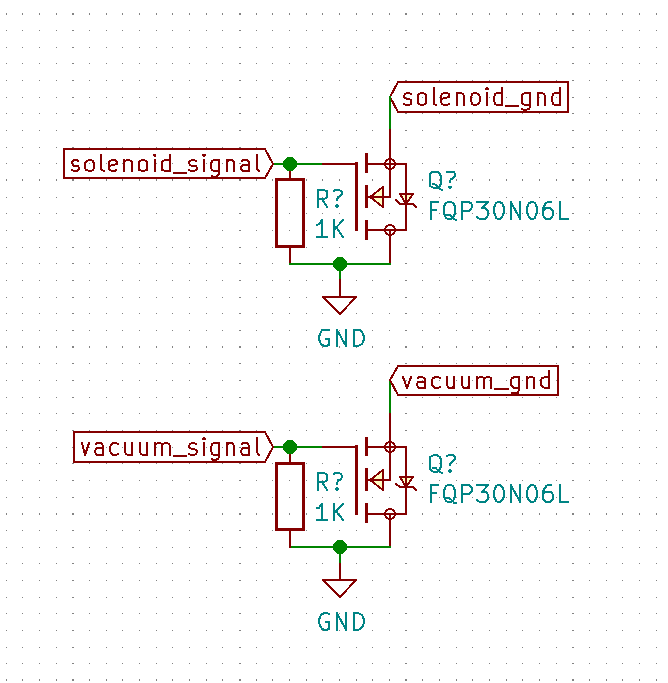
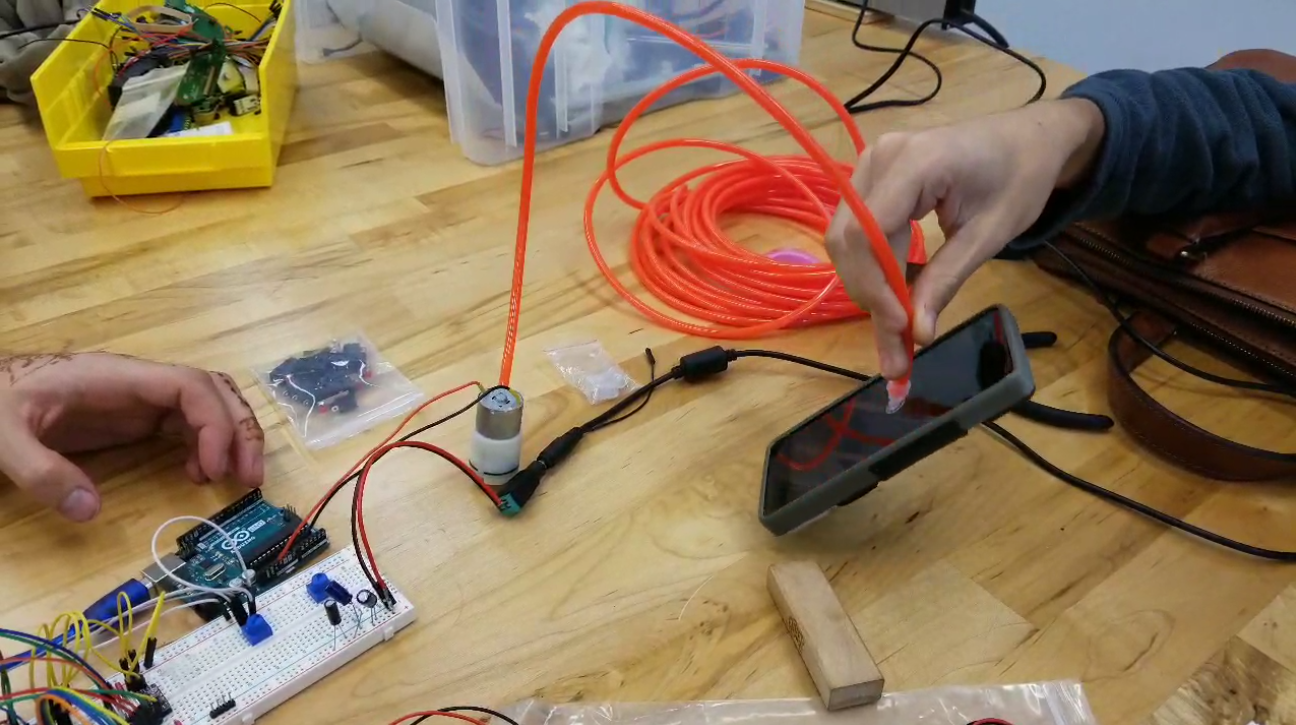
The vacuum pump creates negative pressure at the end effector suction cup, which is just enough force to pick up a Jenga block, or maybe a phone. The pump is in series with a solenoid valve, which opens and closes the air flow. The pump and solenoid are switched on and off with transistors on the low side, with pull down resistors on the gate pins.
The vacuum pump, Arduino, and any components interfacing with it, like transistors, input potentiometers, and limit switches, operate at 5V, while the stepper motors and the solenoid run at 12V. Initially, we were running the vacuum pump using the Arduino’s 5V output, but this created strange behavior on the motor drivers, causing the main load-bearing stepper to skip steps and lose torque. This actually prompted some of our lightweighting measures on the robot arm, as well as replacing the main stepper with a much stronger model to increase torque. This made our robot much more robust, but did not solve the problems. Eventually, we realized that when the pump was not plugged in, our torque issues went away. After we identified the real issue, we switched to a power supply that had both 5V and 12V outputs, and powered the vacuum pump completely separately from the Arduino.
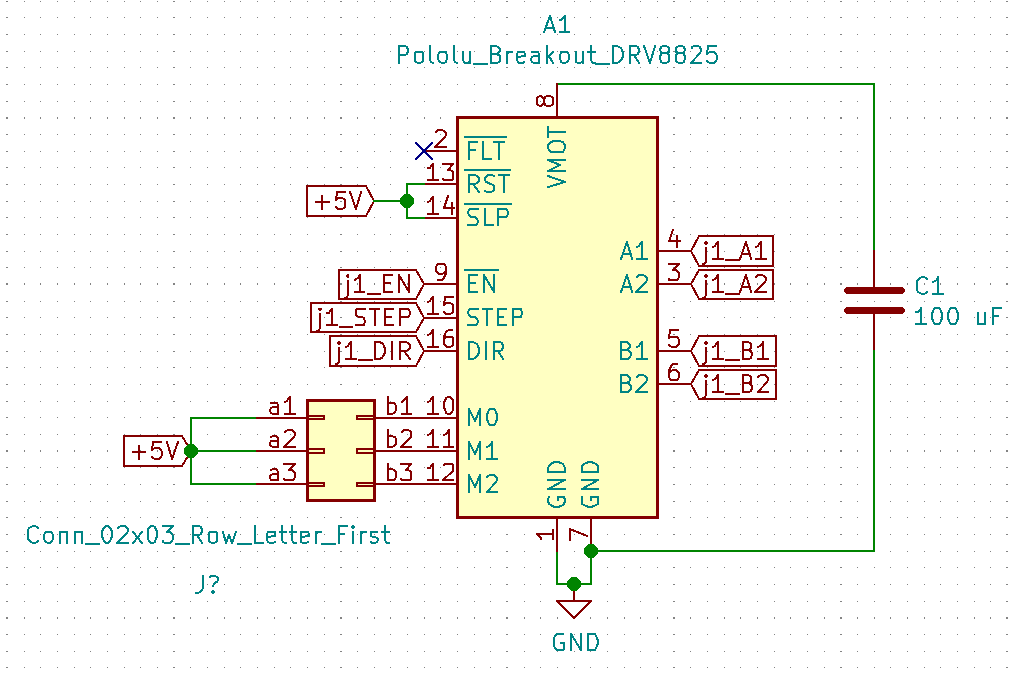
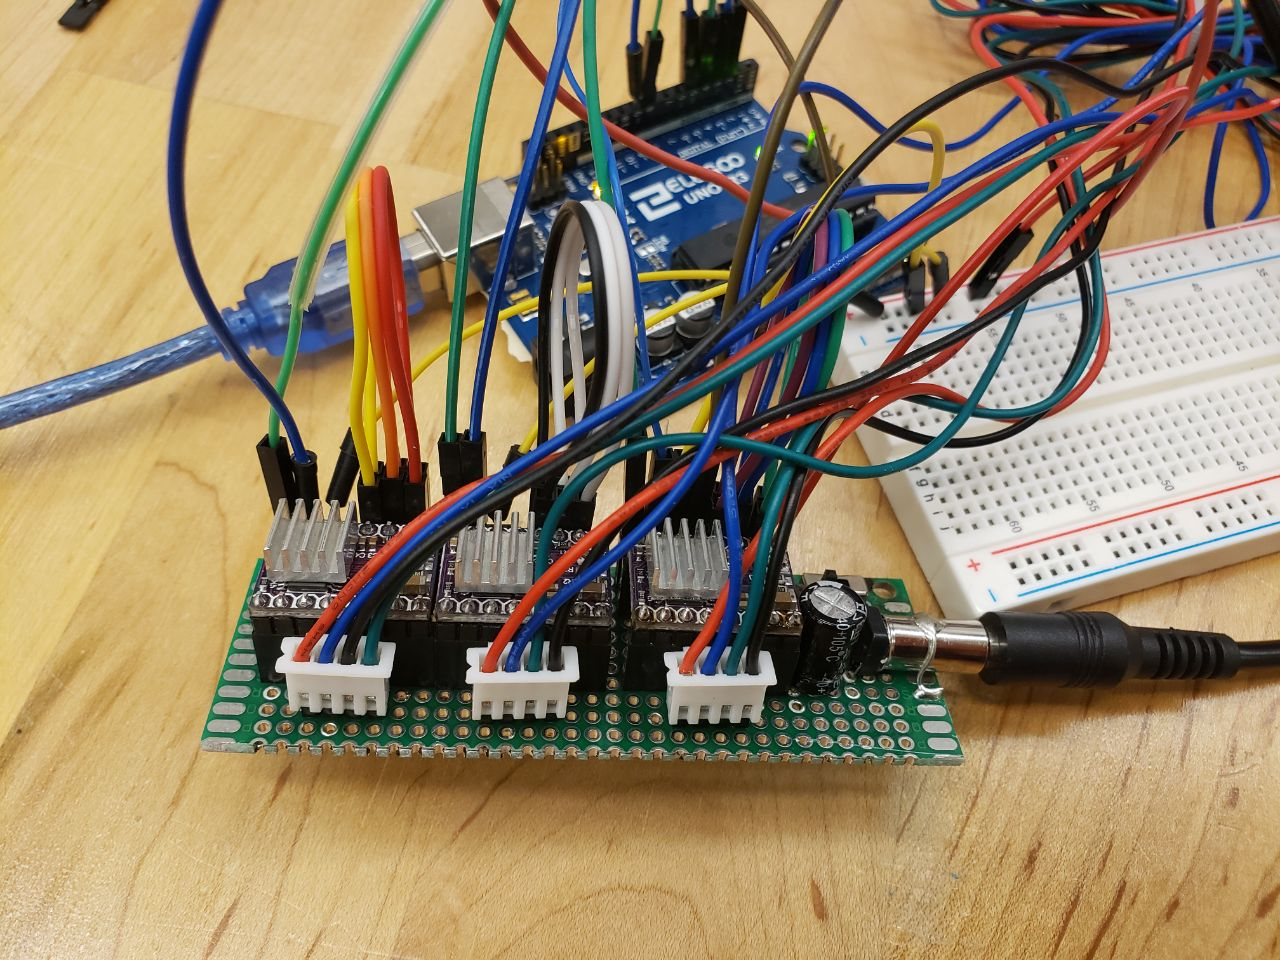
The stepper motors are controlled by three DRV8825 stepper drivers, which are commanded by the Arduino. The stepper drivers are set to 1/16 microstepping, which makes the robot arm move very smoothly and precisely, while still moving fast enough for our purposes. The microstepping level is assigned in hardware with jumper caps between the DRV8825 step size selector pins and a 5V rail. Stepper motors hold their position when powered on, locking the arm in place. The enable pins on the drivers are software-controlled, so that the motors can be turned off to manually reposition the arm.