This is
Our Process
Take a look into the different stages in our design process. From our first to our final design sprint, see how the pieces come together as we go from the ideation to the implementation of Olin’s #1 ramen vending machine.

Sprint 1 - November 4, 2021
Our first design review was centered around choosing what the project was going to entail, what each of our team members wanted to focus on and learn, and seeing if we could test a piece of what was going to come further along in our project. During Sprint 1, we were able to establish all of the technologies, materials, and steps we would need to integrate the mechanical, hardware, and software in our project.
We realized upon our first couple of meetings that most of the team had a strong software background, so we wanted to incorporate/consider several ways in which we could bring more software aspects into a mechanically dense project.
We narrowed down our options to creating a website that allows users to input their order by choosing their flavors and toppings. The website will send data to an API hosted on a WiFi module connected to an arduino. The Arduino will control our motors and send our gantry system to the correct location. Given extra time, we hoped to create a game mode where customers could move the ramen platform themselves and work to catch toppings falling from the top. In this sprint we began writing a stepper motor library on top of the popular AccelStepper library. This library will ultimately be used to control the final gantry. An explanation of the finished stepper motor library can be found in the system overview.

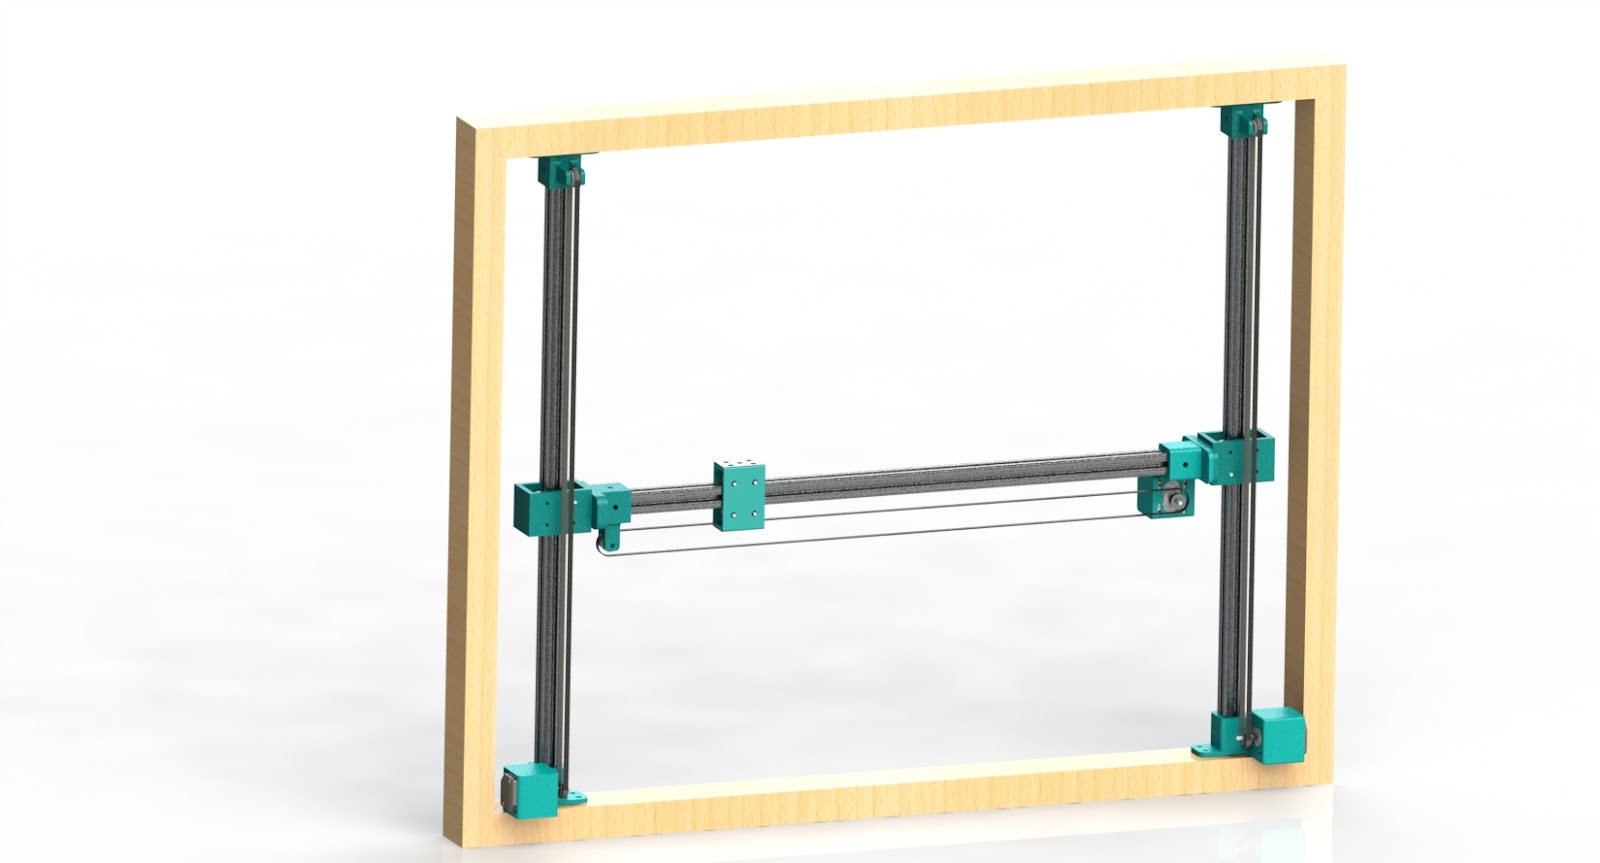
Mechanical-wise, this sprint we built a single-axis slider that we controlled through an Arduino and could send to a specific location in the x-axis. After doing some motor torque hand calculations, we decided to use three Nema 17 motors - two for the y-axis and one for the x-axis. We found some 80-20 aluminum rails and designed 3D-printed mounts for the bearings. For belt tensioning, we tried various methods including zip ties and torsion springs. To minimize cost, we reached out to the Wellesley Recycling and Disposal Facility to look for any parts. We were able to find a lot of scrap wood and a working kettle. We also had an existing 24 V PC power supply and used PIE motors instead of buying motors whenever we could. The CAD assembly for our two-axis gantry system was also created, shown below.
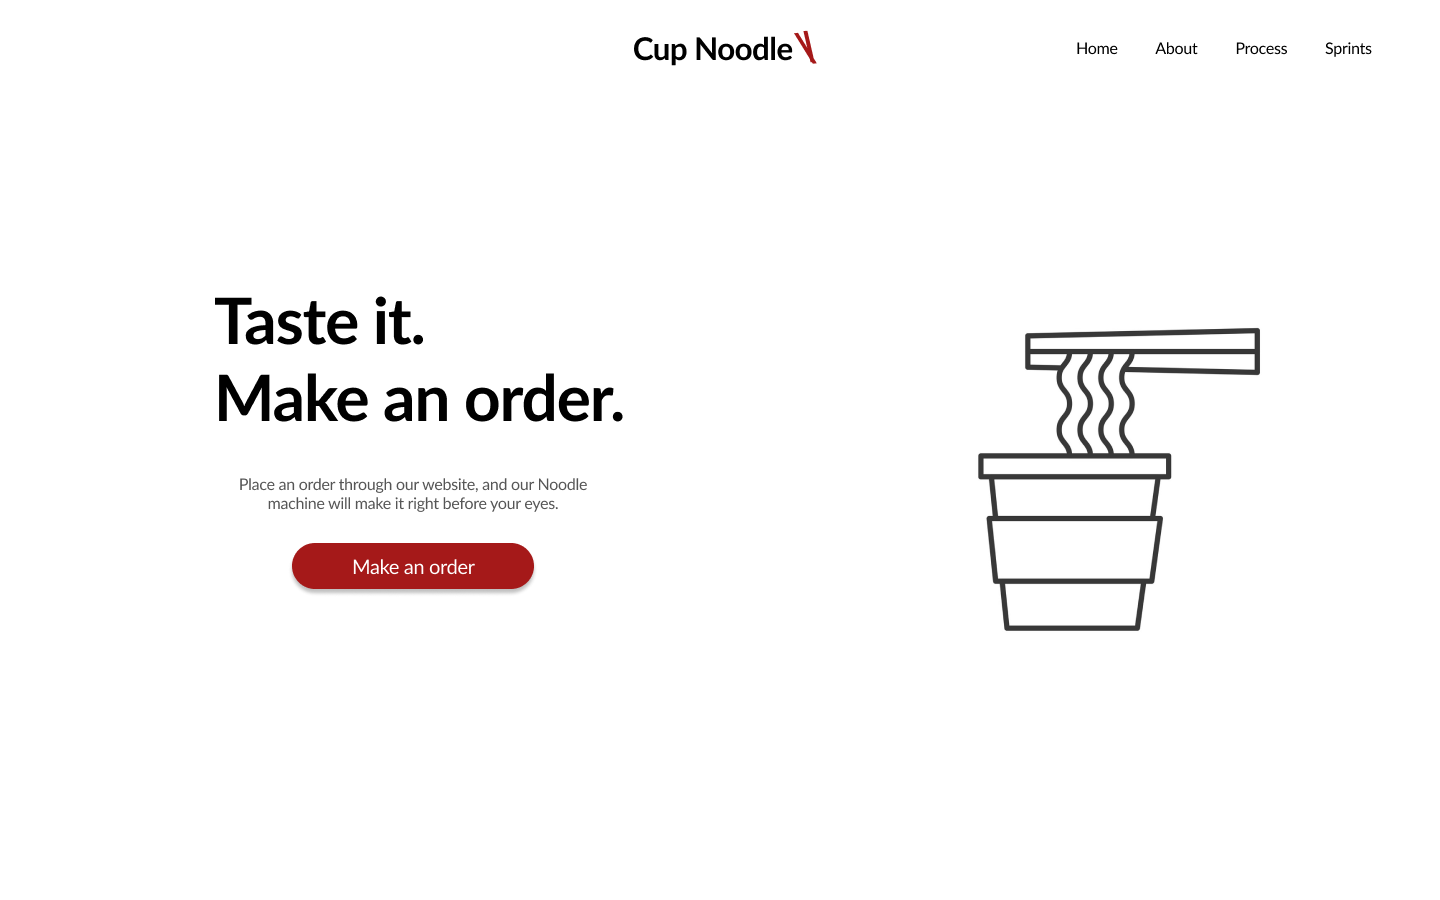
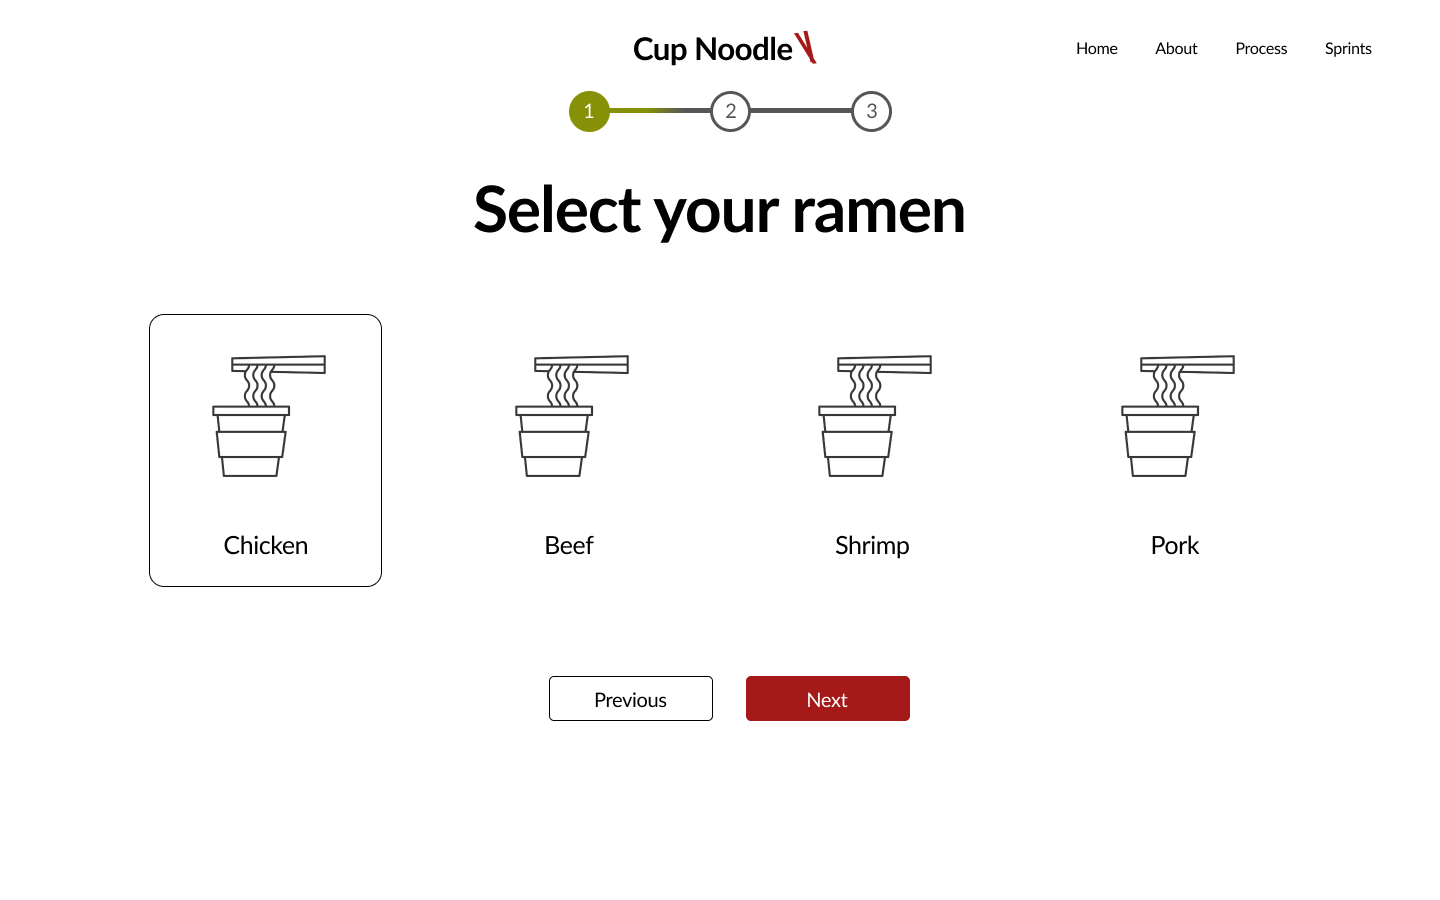
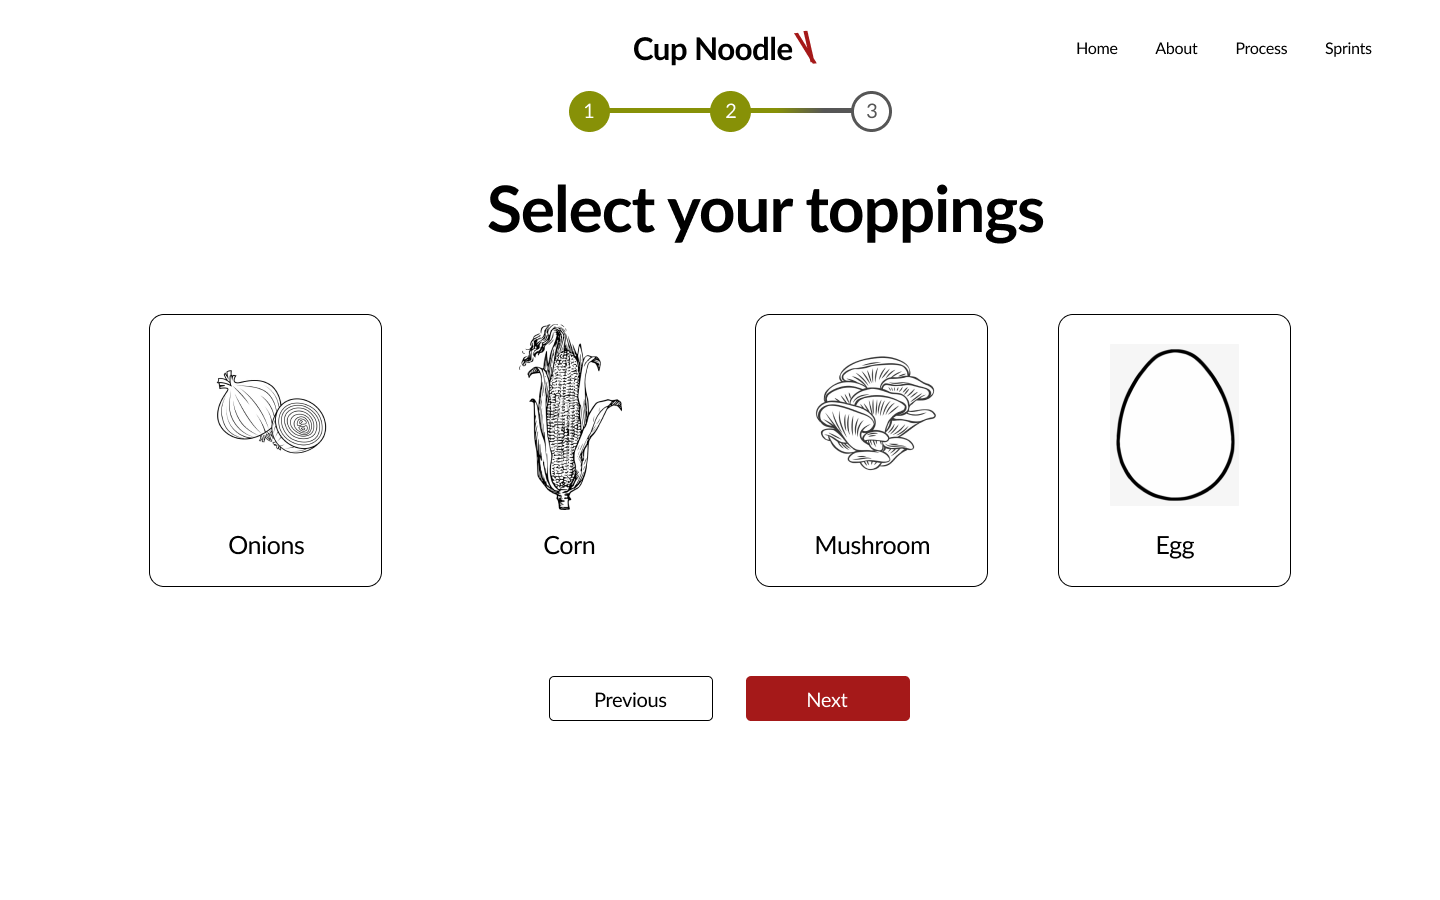
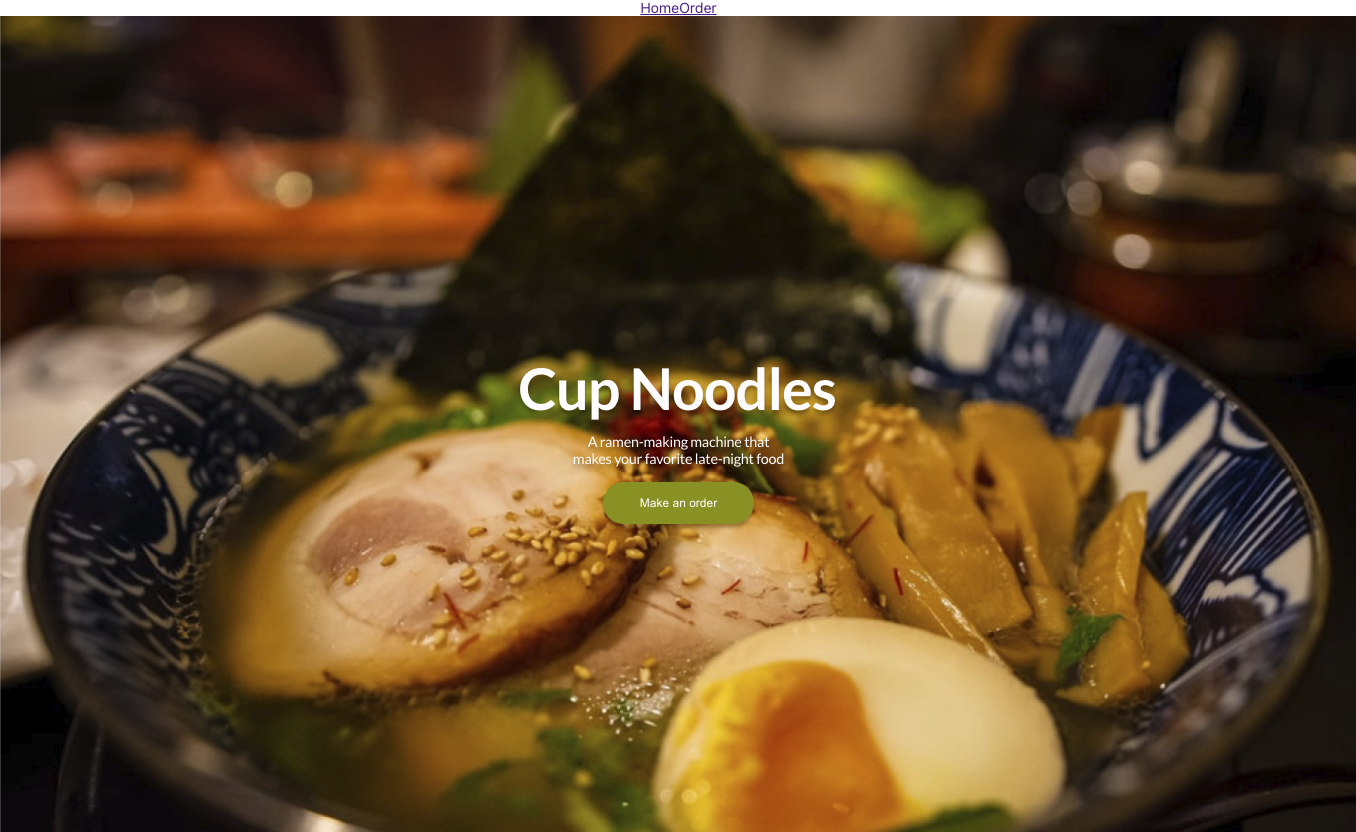
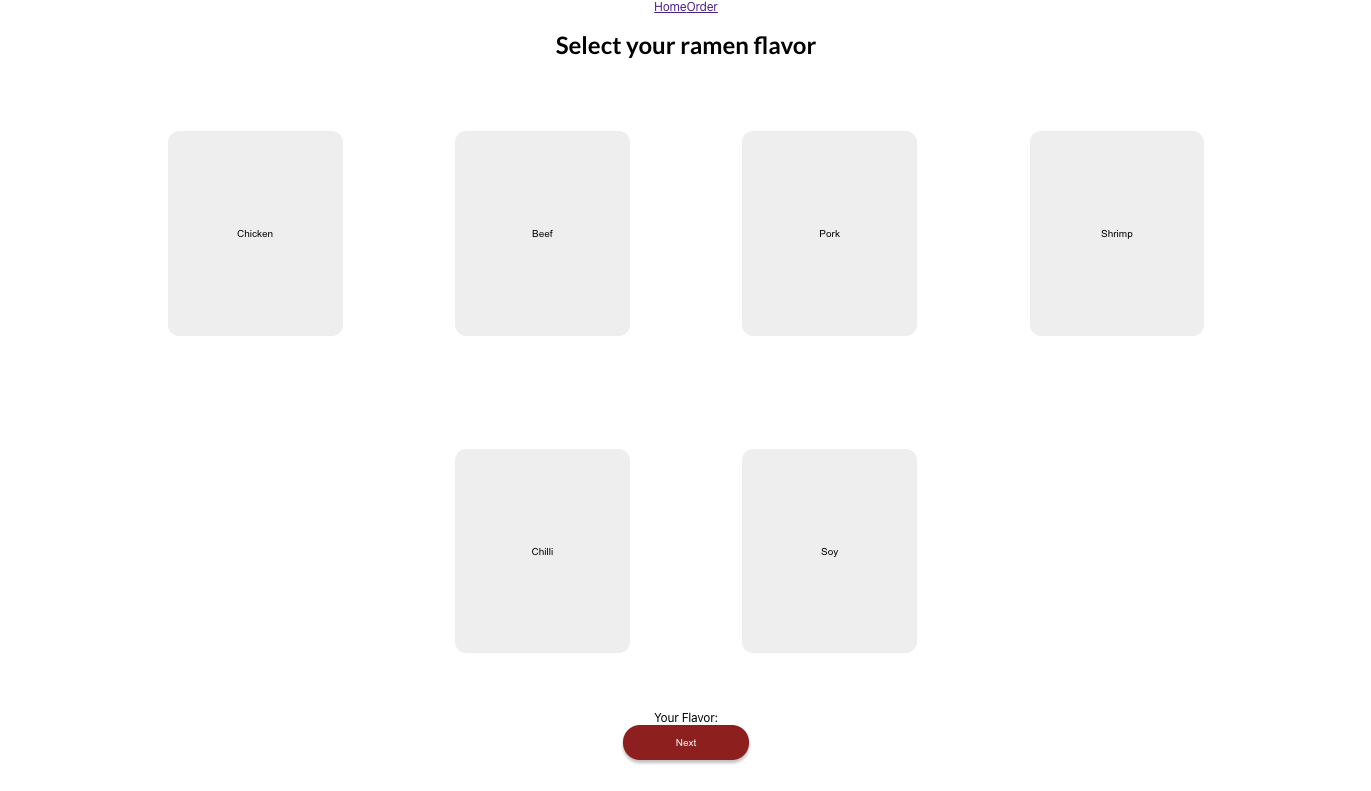
We also worked on our website design and planned what ramen options we wanted to have available, and how interactive we would like it to be. Below is an image of a Figma design that we created to shape our final ordering website.
First Iteration of our Slider
Sprint 2 - November 18, 2021
For our second check-in, we wanted to have our second axis of our gantry built, as well as housing for the whole system. Two more Nema 17 motors were added to control the movement of the gantry in the y-axis and we devised a quick belt tensioning method with zip ties. A free air hockey board and various wooden planks were used to build the frame. To power all our motors and servos, we used a 24 V PC power supply. A lot of iteration (at least 3+ redesigns) was done for the 3D printed bearing and motor mounts to get the proper fit and smooth sliding motion in both axes.
We had created a design for our topping dispensing mechanism and printed out an initial idea. We had a servo that would turn a rounded piece that is held in 3D printed housing. We hoped that by turning the inside piece back and forth 180°, we could allow only one packet of each topping to fall out. We tested using pieces of cardboard similarly shaped to our topping packets and found that we could not reliably dispense with this design, as either many would fall out or none would. This design was also hard to manufacture.
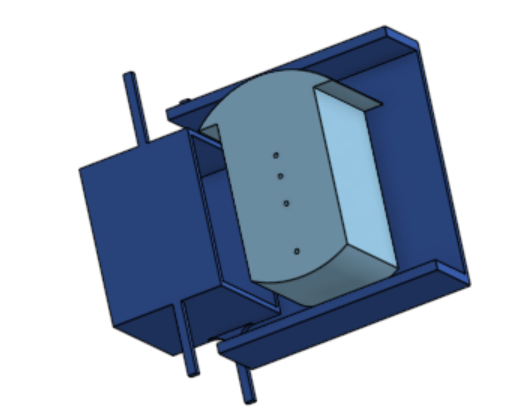
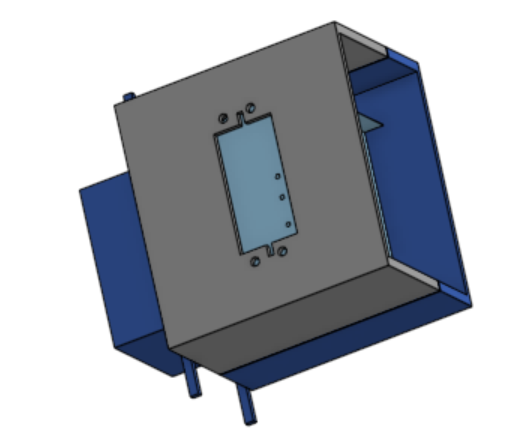
During this sprint we later realized that we wanted to prioritize creating our hot water mechanism over creating our dispensing mechanism. A lot of ideas were thrown about but eventually we settled on the easiest and cheapest idea: attaching a valve to an existing kettle and dispensing water through a sharpened spike which would puncture the cup noodle. A motor would open and close the valve and 3D prints would connect and hold everything in place.
We also continued work on our website and began building the framework for it using React. A challenge that we faced while building this initial part of the React app was establishing how much of our initial design would be able to be converted to our app.
A problem we faced while creating our second axis of our gantry was that our motors were constantly slipping when lifting the ramen up in the y-direction. We increased our output voltage from the PC power supply from 12 V, which is what we were initially using, to 24 V. We also increased the reference voltage of the stepper motors so that the controller fed more amperage to our motors. We initially were trying to have our ESP receive orders then control multiple motors at once. We found that the ESP could not consistently move all of our gantry motors at the same time. This meant that we were not able to send our cup holder to the locations we wanted. We changed our system so that our ESP solely received information from the API and sent it over to the Arduino, which completed the difficult processing of controlling multiple motors. We were then able to accurately send our cup holder to the correct locations.
During this sprint we created an API using Python that can communicate with our ESP8266 and hold ramen orders from the website. The following link leads to our hosted API:
We also began development on the order handler code on the ESP that would send GET requests to the api, and send them over serial to the arduino. In this development we ran into issues managing https versus http requests. We settled on using the less secure but much simpler http requests for this iteration. In the future we would like to change to https.
Sprint 3 - November 18, 2021
Cup Holder:
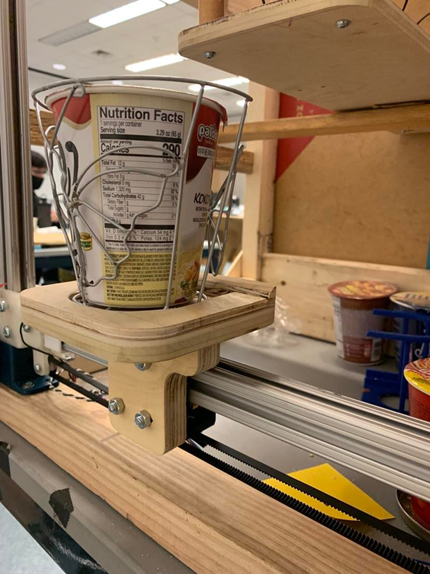
We first had a completely 3D printed ramen cup holder connected to bearings on our horizontal rail. We found issues with our holder being very wobbly and having our cup noodles falling out through the back as there was no railing to hold our cups in place. We started working on building a wooden holder with a lip but sourced a decorative metal cage creating a wooden platform for it to connect to a 3D printed mount which held the bearings. With this new holder iteration, we decreased the risk of our cup wobbling and having hot water fall out. More woodworking was generally favored over 3D prints because it fit with the wooden aesthetic of our system.
Topping Dispenser:
Our existing topping dispenser was hard to manufacture and did not always dispense the correct number of topping packets, so we decided to focus on the remaining parts of our machine and focus on the dispenser afterwards with extra time.
Hot Water:
We created a successful hot water dispenser but through the process encountered many issues. Our kettle is placed at the top of our vending machine and is connected to a power strip via extension cord. To dispense the hot water, we drilled a hole into the side of the kettle attached to a mechanical valve. Solenoid valves were considered but they were too expensive for our budget, so we compromised on a motor turning a manual valve. Our valve opened and closed with a stepper motor and we 3D printed the motor mount and hardware necessary to be able to turn the valve. We had to ensure that everything the water passed through was food safe and could withstand boiling water. Our first valve required too much torque to turn, more than our stepper motor was able to output, so we purchased another valve that is much easier to turn but still fits in the hole we drilled into the side of the kettle and the bulkhead. The valve is connected to a sharpened copper toilet riser which we use as a straw, which is connected to the valve via a compression fitting. The ramen is raised to the copper straw and is punctured.
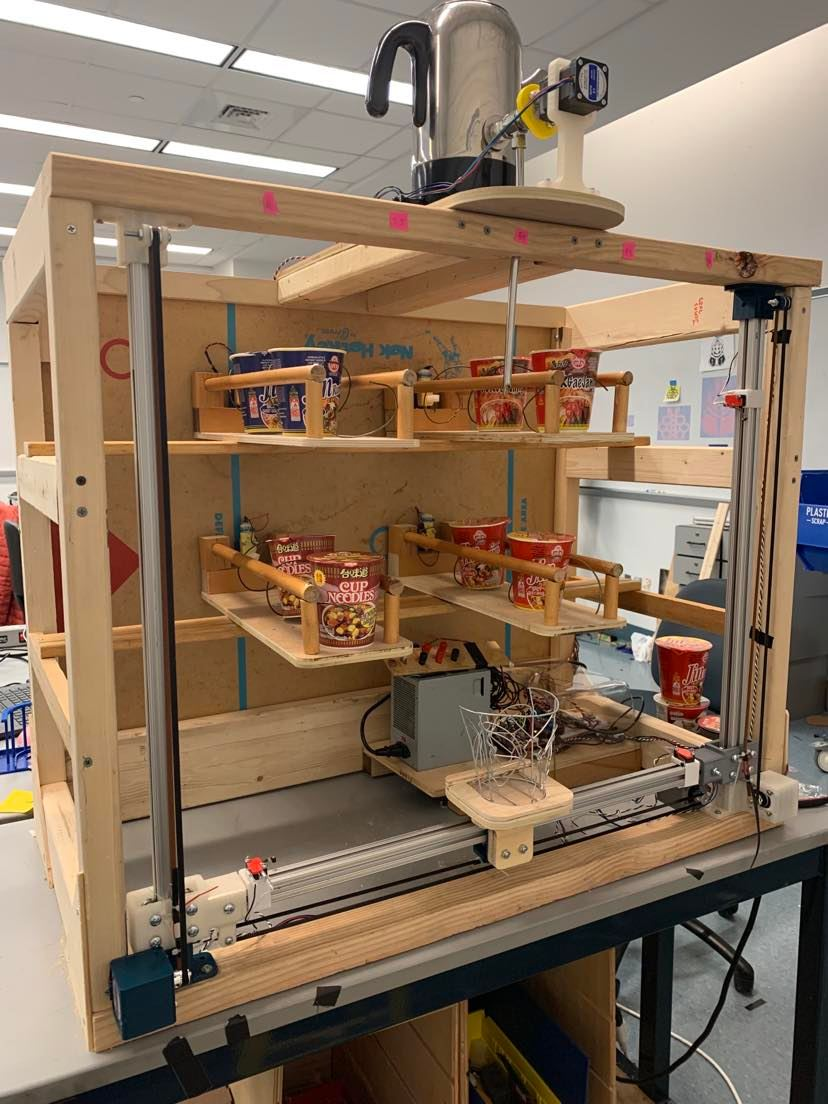
The entire system was finally put together in the final sprint.
Software and Firmware
In this sprint we finalized the serial communication between the Arduino and ESP8266. The full explanation for this communication can be found in our system overview. We ran into problems where serial data was being sent from the ESP to the Arduino when the ESP was initially plugged in. This would send the gantry to unwanted positions. To solve this, we added a check to make sure the data being sent was expected. Only after this check is the gantry allowed to complete an order. Our final software and firmware pipeline is shown below:

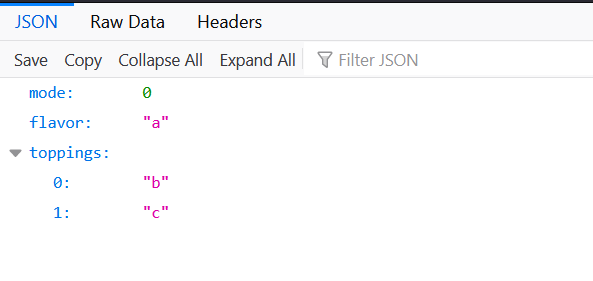
We are currently sending flavors as a, b, c, or d. The toppings are currently being sent as the word with an emoji next to it, for example: egg . The API is not able to parse data with emojis, so we were not able to send data from the website to the Arduino. We have been testing our vending machine by manually inputting data into the API since our website data cannot be sent. To fix this, we removed the emojis from the topping data and changed the website output so that the toppings are sent as a, b, d, or d instead.
Budget
Here is the budget for our project this year.