Electrical Design
Learn more about our electrical design procceses.
Circuit diagram
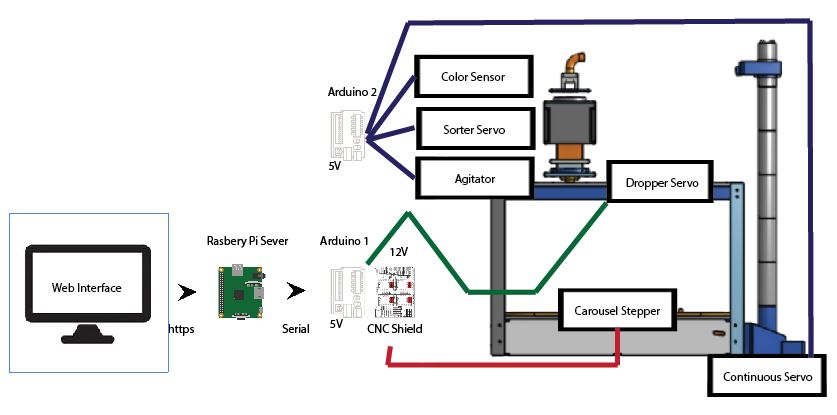
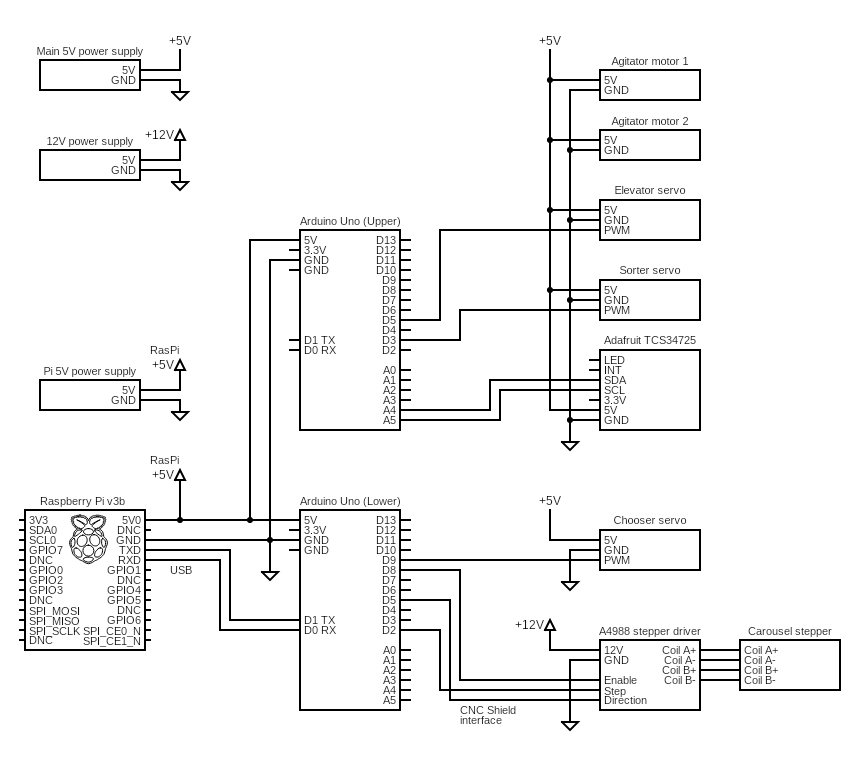
The electrical system involves one raspberry pi, two arduinos, a CNC shield, a stepper motor, three servos, and a color sensor. The first step is to access our website that is hosted on our raspi. Then you upload any .jpg image, and our server converts that image to black and white and the correct size for our display. The raspi then sends the image information to Arduino 1 which controls the stepper motor to drive the carousel and the server to drop each ball. The other Arduino separately runs the color sensor, the servo to sort the balls and the continuous servo to power the elevator.

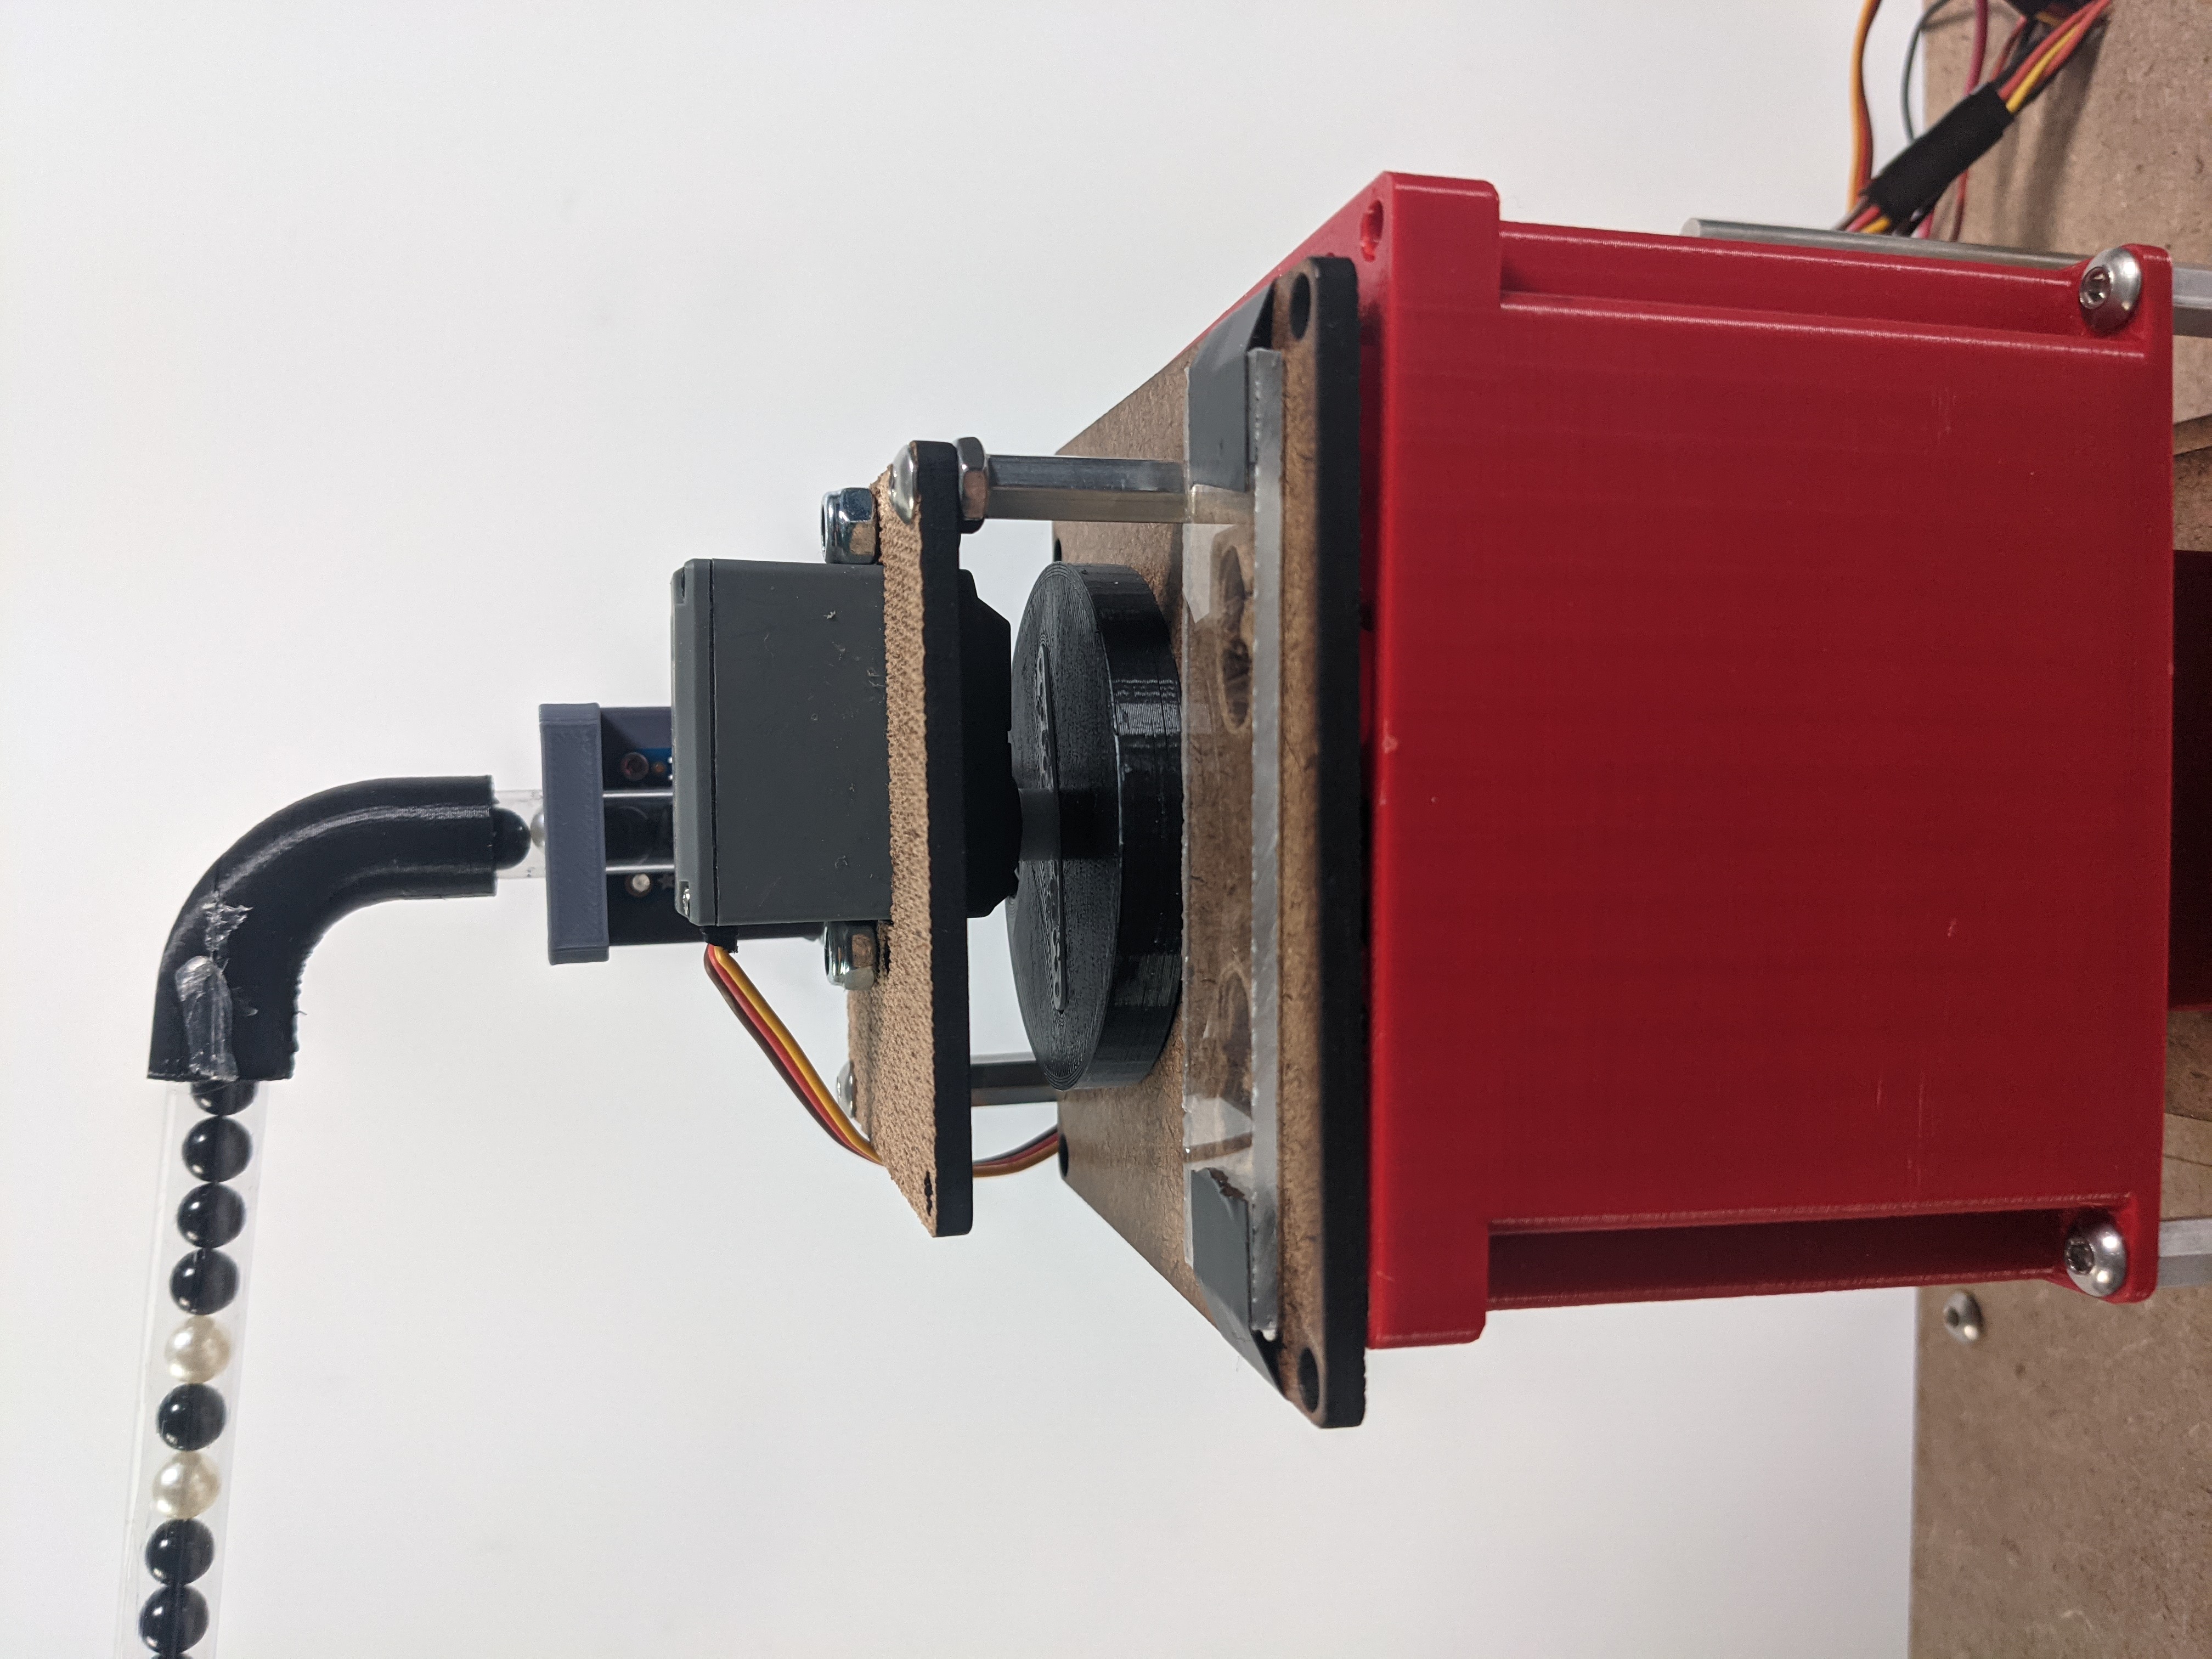
Stepper Motor
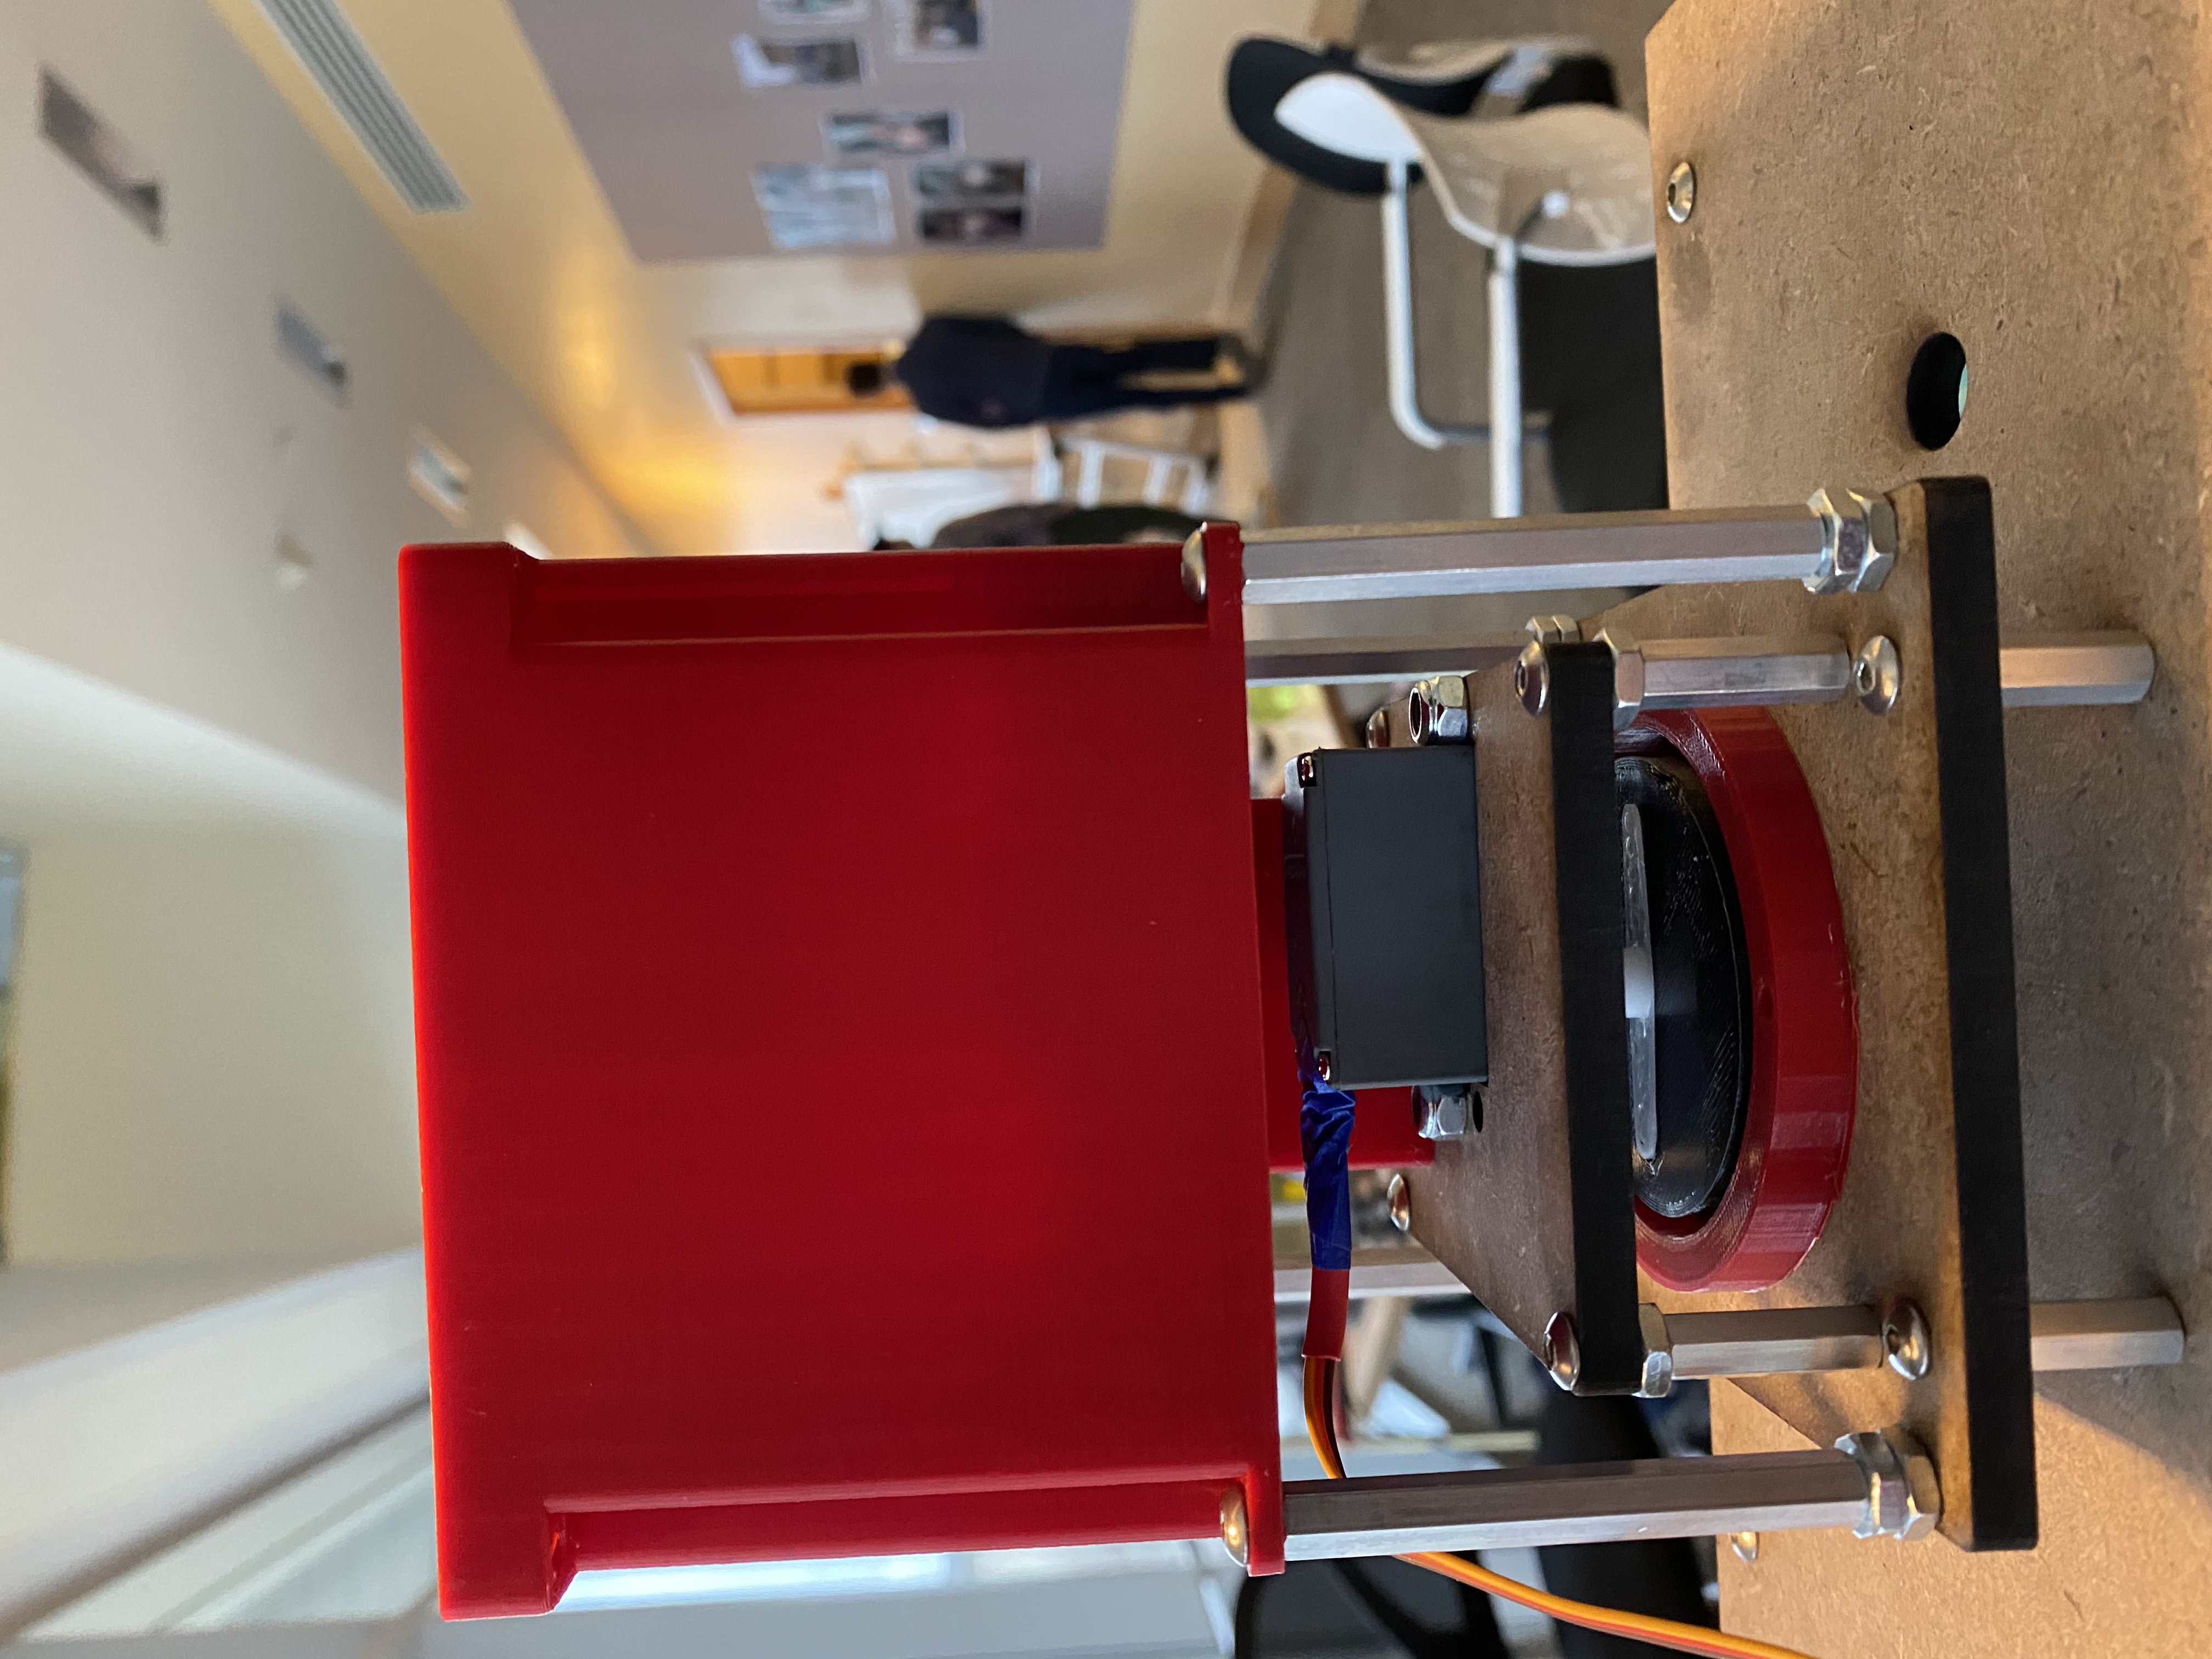
We have a stepper motor powering the carousel of tubes in our display. Every time we fill a column of the desired image the stepper motor moves the next tube into place. We chose to power them with a stepper motor so that we could have precise control over the speed and positioning of our entire carousel. The stepper was connected to our Arduino 1 via a CNC Shield that was getting 12 V.
Dropping Servo
Our dropping mechanism for the balls into the image is controlled with a servo that can move into a neutral position where it gets loaded with a black and a white ball and then to a dropping position where whichever ball is needed is dropped into a tube. This stepper motor is powered with 5V and is controlled from Arduino 1 via a digital pin.
Elevator Servo
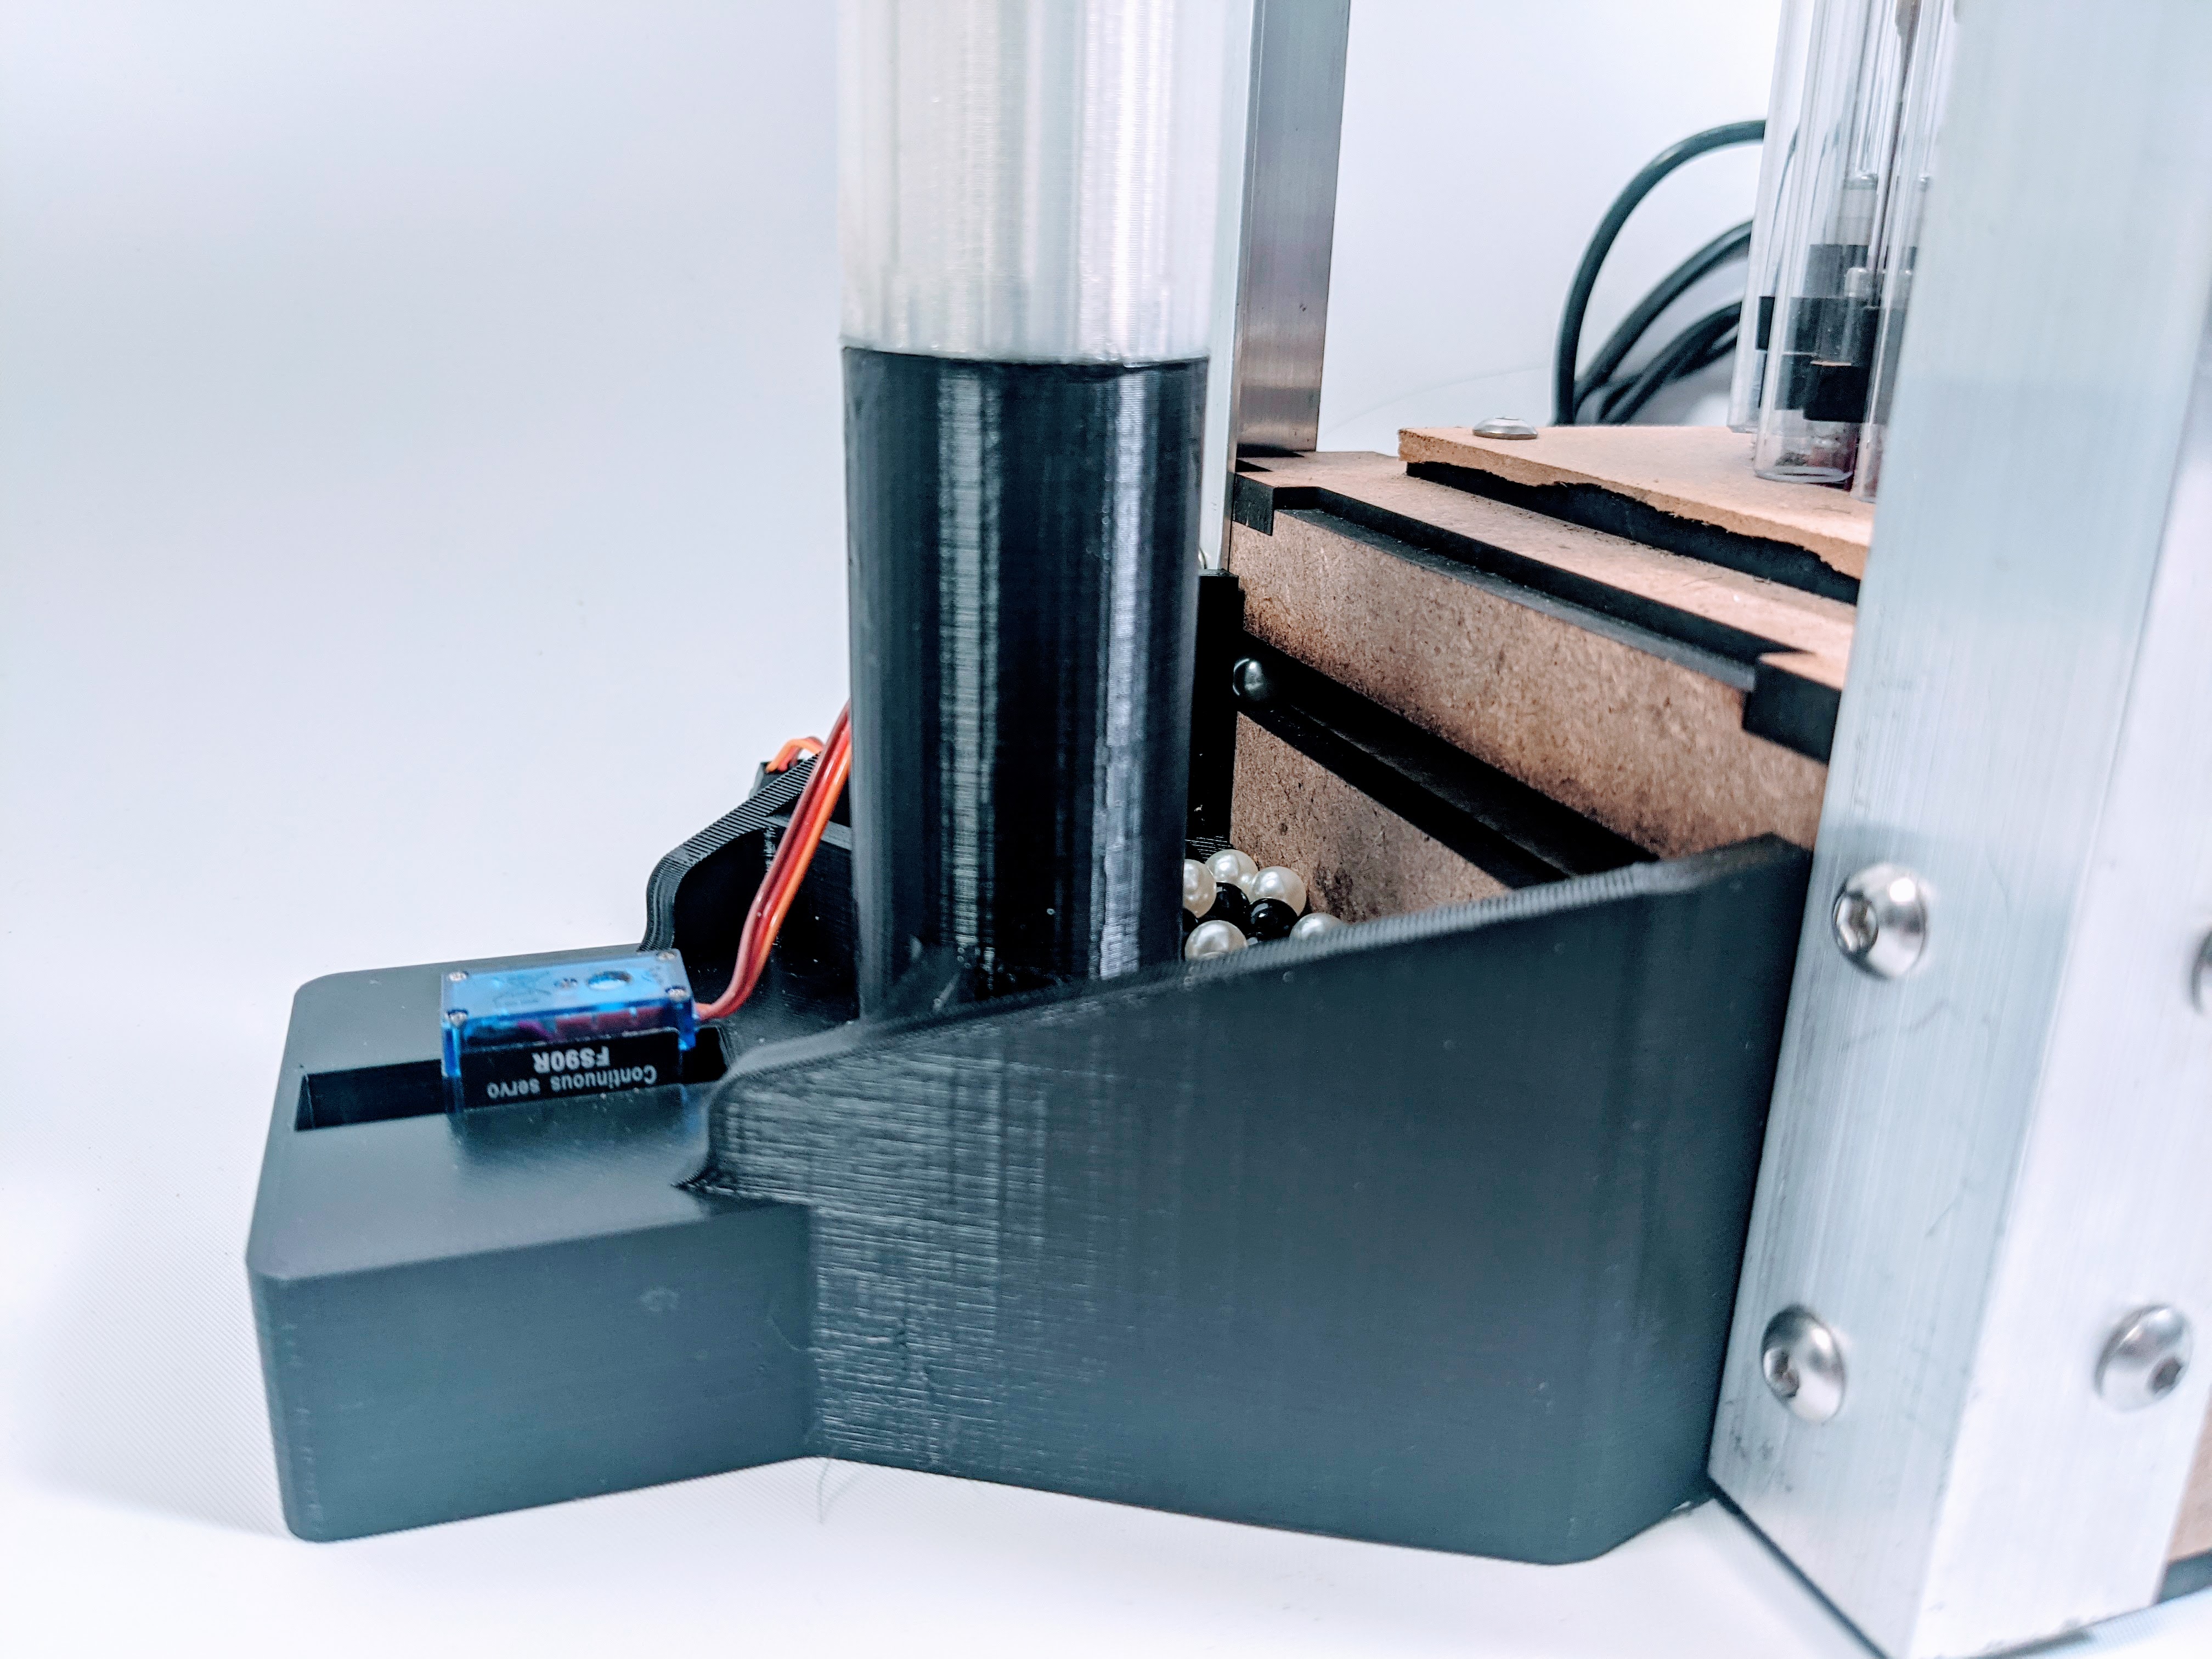
Our elevator is power with a continuous motion servo. This servo is connected to our Arduino 2 and is set to a particular speed at the beginning of that sketch and then left on so that it is continuously rotating the helix structure that pulls balls up to the top of the device. This servo is powered with 5V and connected to a digital pin on our Arduino 2 to receive commands.
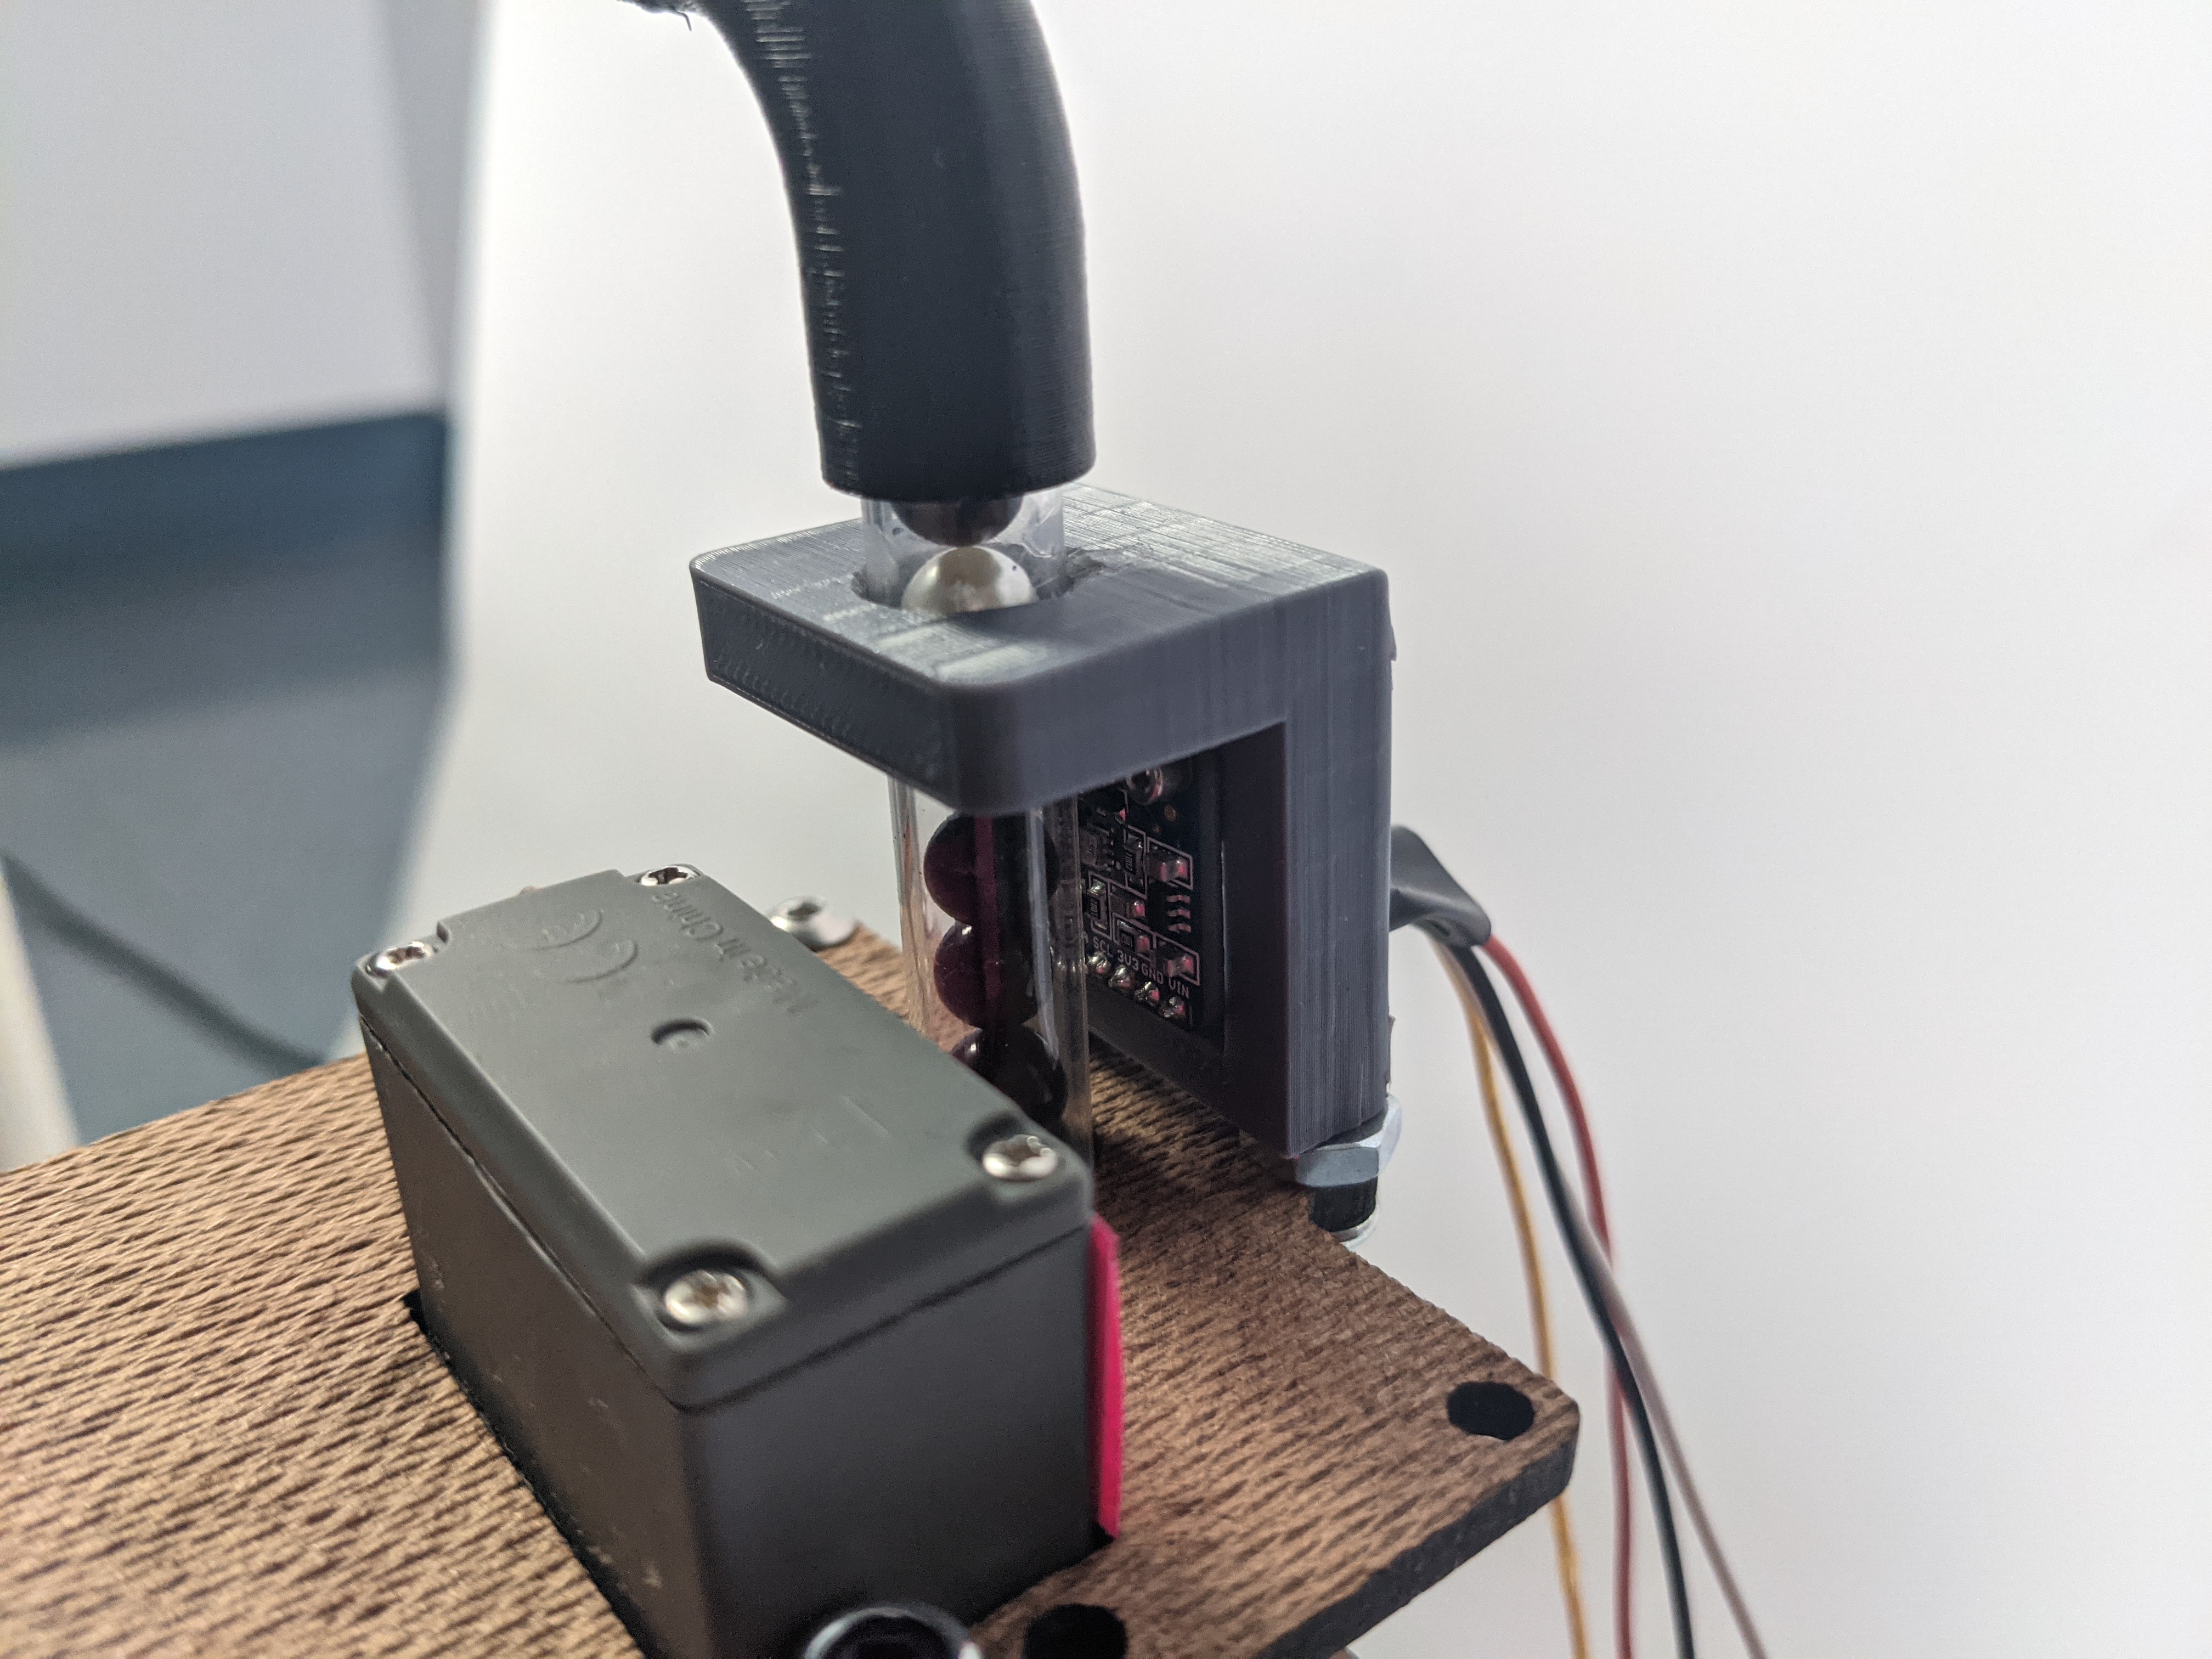
Color Sensor
We have an AdaFruit color sensor at the top of our Ball Matrix Display so that we can resort the balls from an image and have them ready for the next image to be displayed. From the top of our elevator, the balls go into a clear plastic tube that passes right in front of the color sensor. The color sensor reads the RGB values for each ball and calculates a color value. We found that when that color value is above 2500 it is sensing a white ball, and when the value is below it is sensing a black ball. When there is no ball in front of the color sensor the value reads a black ball because the material behind the clear tube is a dark gray. To deal with this bug you can manually full the tube with black balls whenever it is empty. The sensor is set 6 ball widths above the actual dropping mechanism. This means when it is powered up it does not know what the first 5 balls are. To solve this we programed it to assume the first 5 are black, so when powering up this device there need to be at least 5 black balls preloaded into the sensing tube.
Sorting Servo
We use a servo to sort the mixed balls back into the hoppers separated by color. The servo is located under the color sensor and is controlled by our Arduino 2. It is set up to move to a neutral position to load one ball and move that ball to the left or right depending on what color it is. The servo is powered by 5V and controlled by a digital pin to the Arduino 2.

Agitators
While testing our device, we noticed that the balls in our hoppers were getting jammed and not feeding into our dropping mechanism. To solve this we added two continuous motion servos, one in each hopper. These servos only need 5V and then they rotate continuously as long as the device is powered.