Mechanical Desgin
Sorter and Dropper
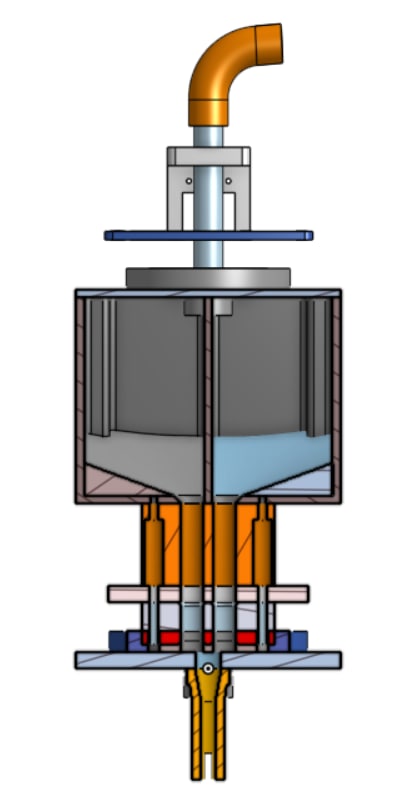
The chooser sorter is a vertically integrated assembly that takes in unsorted balls at the top, sorts them into their correct hopper, and then drops the whichever ball color is needed for the image. The top and bottom sorters are both powered by servos the use a circular ball selection mechanism to move the balls to the needed location.
This design underwent many iterations before it reached the state it is in now. The initial design (insert pic) had balls coming in from the side, which lead to balls getting stuck and exiting the system. We quickly realized that if we gave the balls the opportunity to leave the system they would, which is what lead to the vertical design. From there, it was a matter of iterating on the current design to ensure the balls traveled through quickly and reliably.
The biggest challenge of this system was dealing with the tolerances of 3D printing and laser cutting. The system was not designed initially with the tolerances and kerf of the manufacturing methods in mind. It took repeated iterations until all of the tolerances lined up and the system came together smoothly.
Carousel
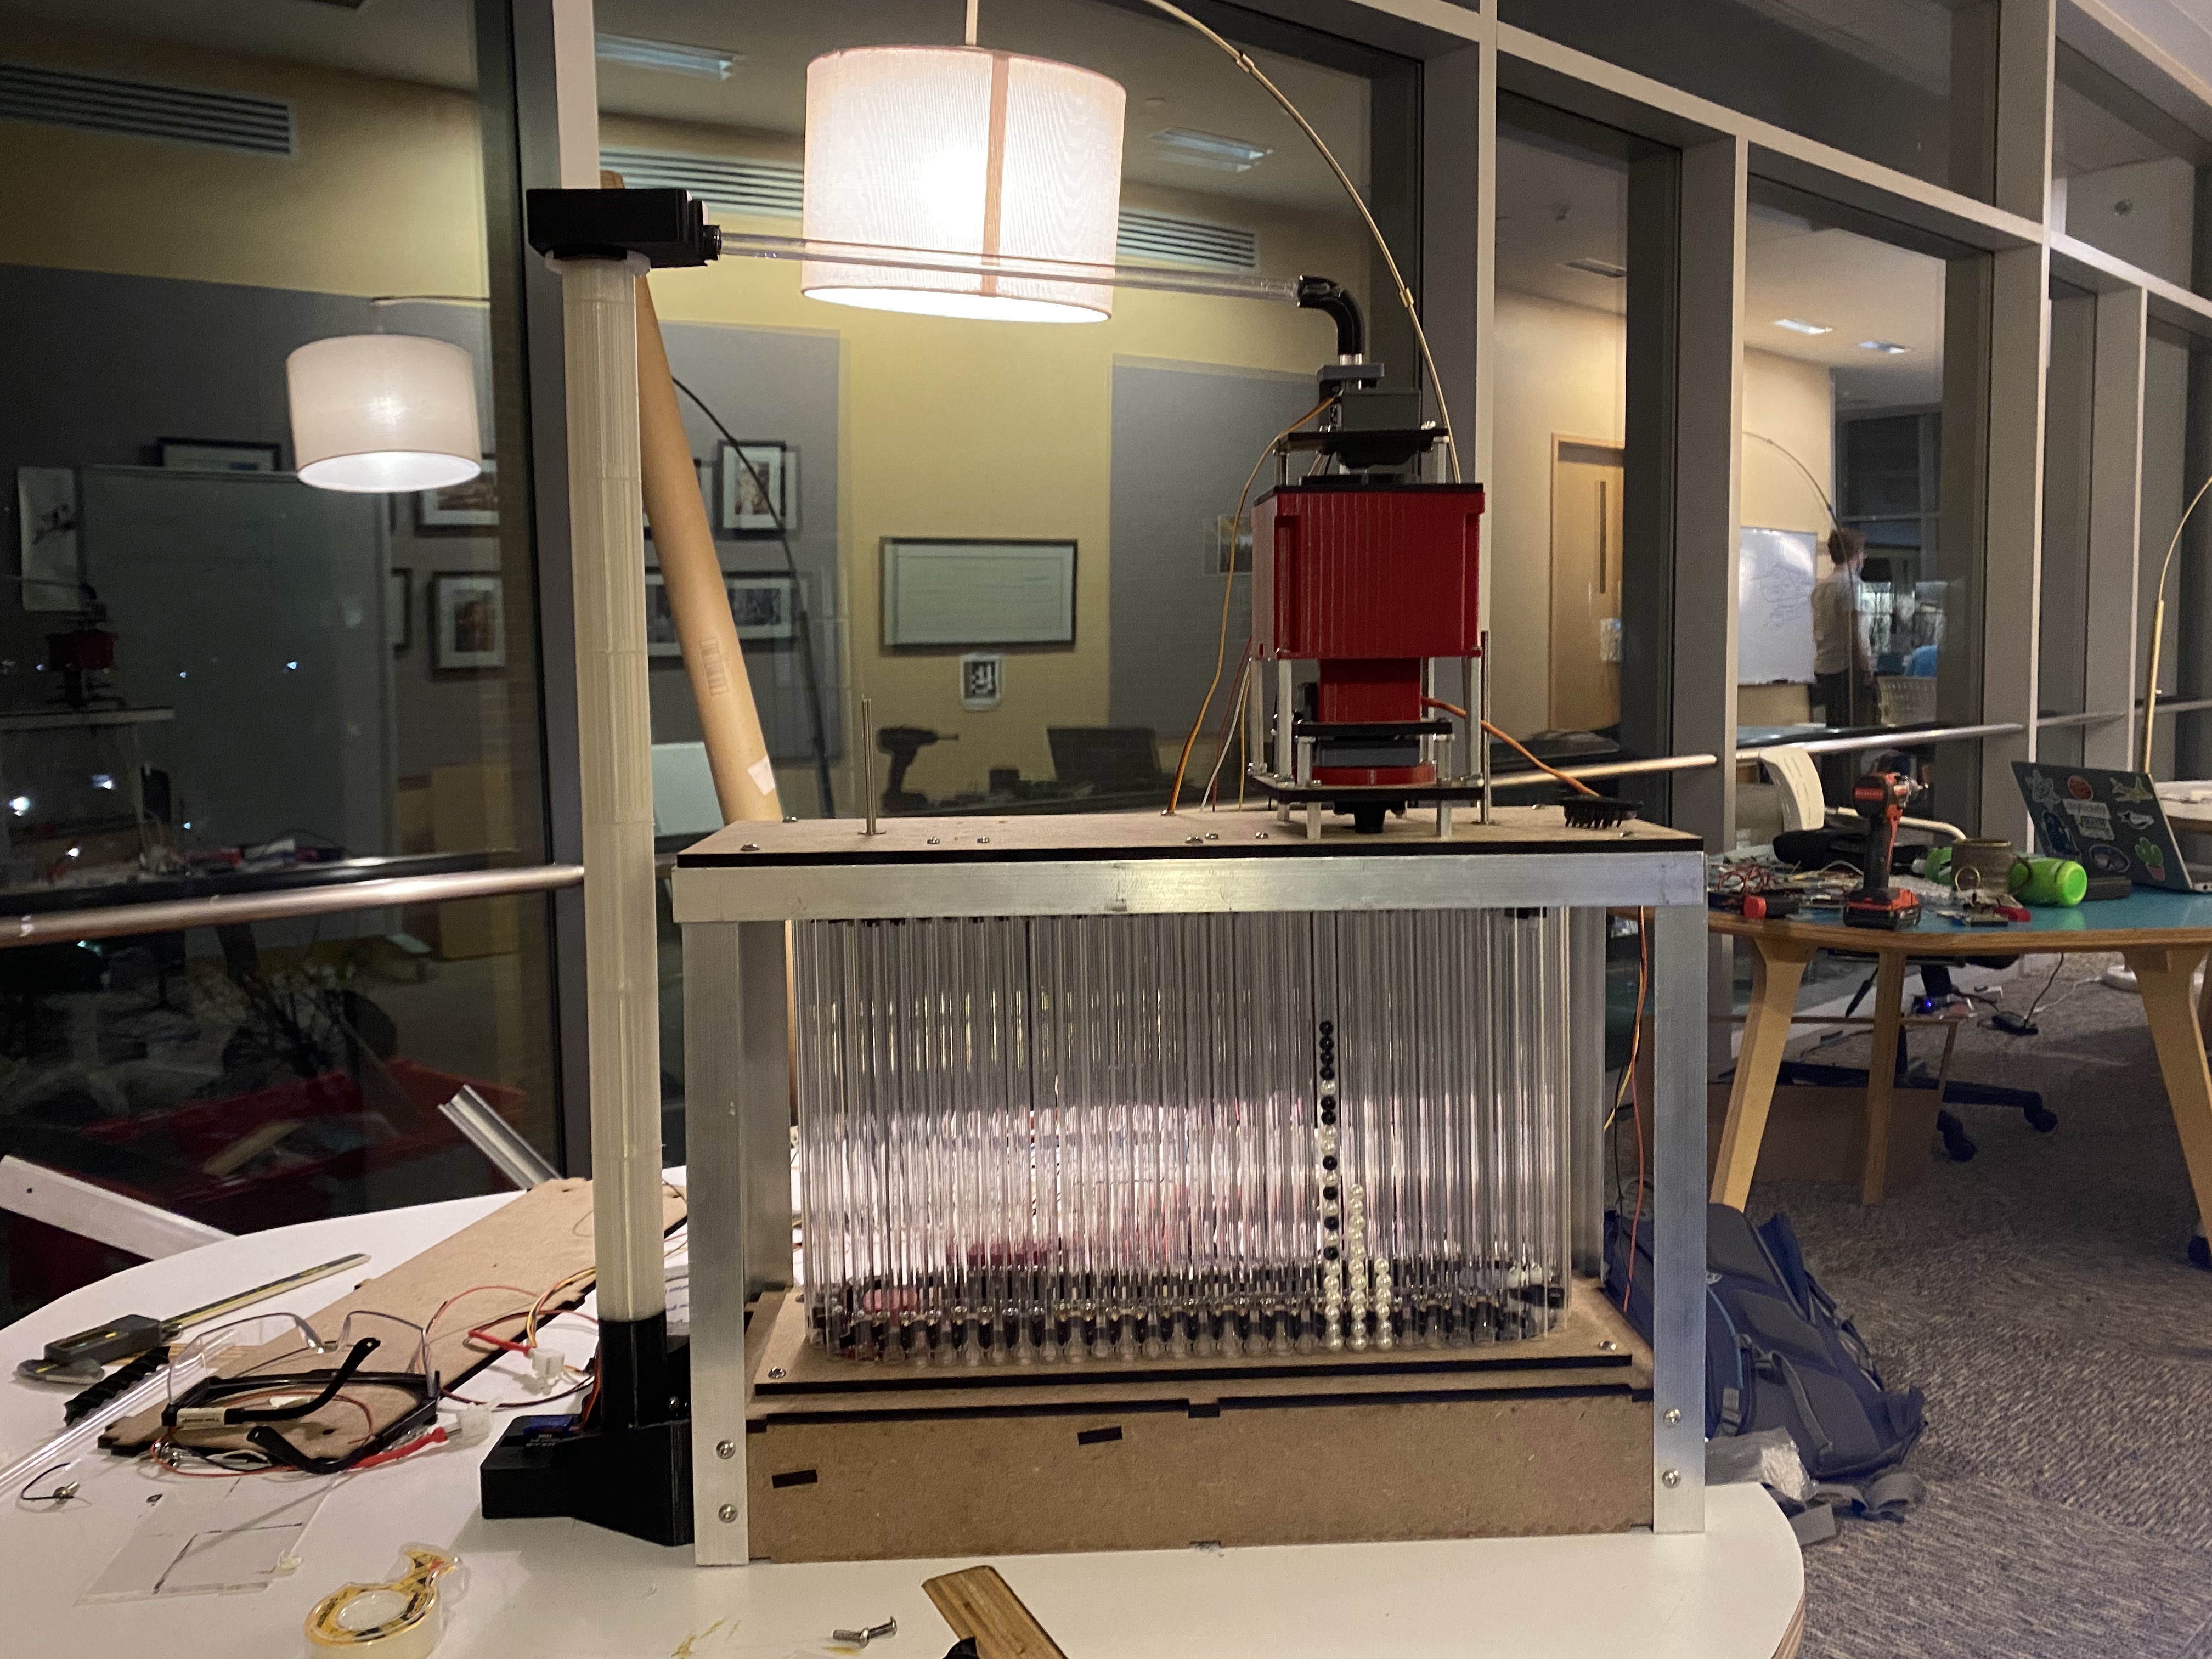
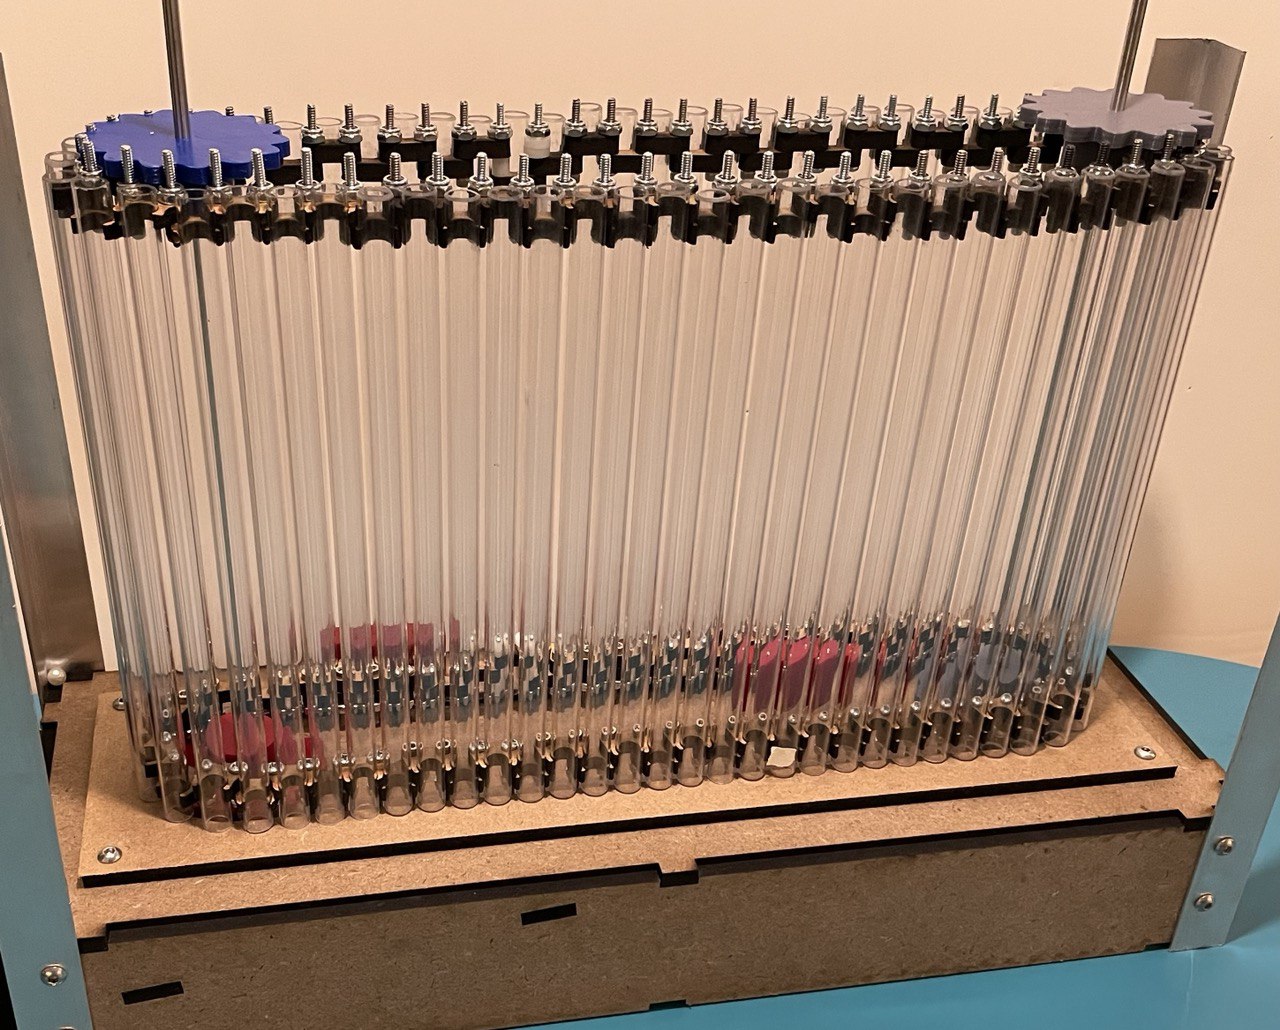
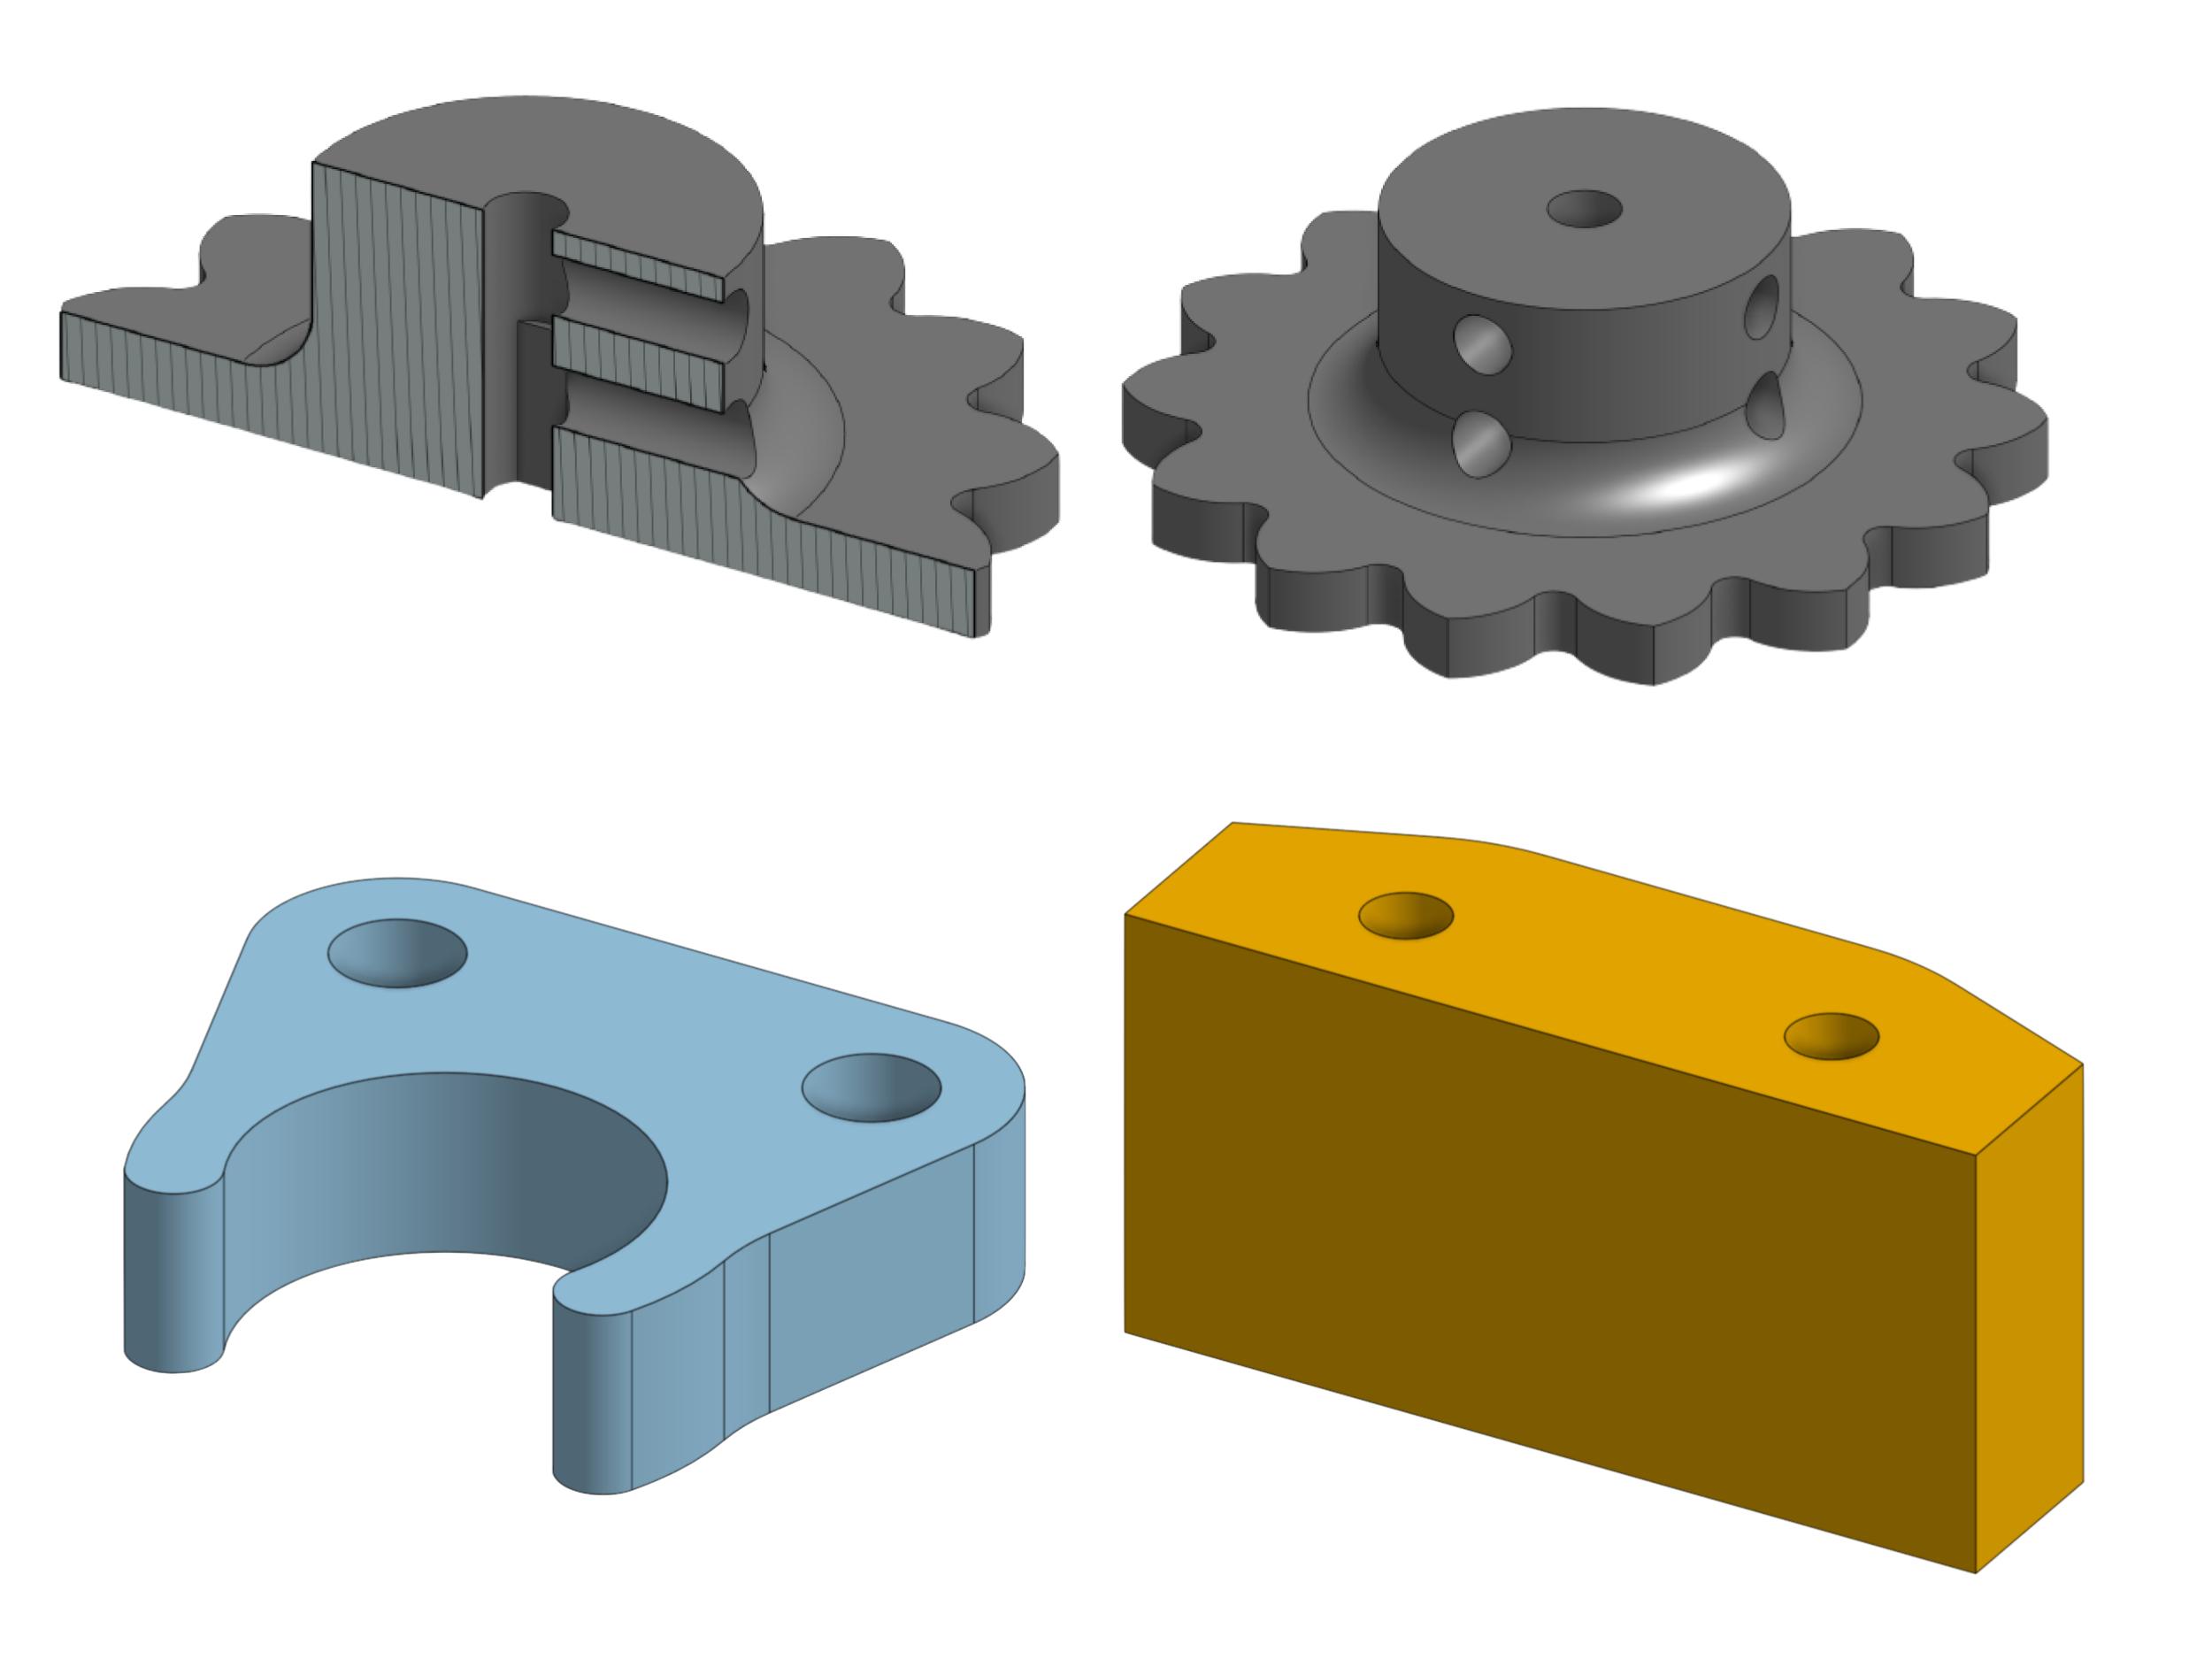
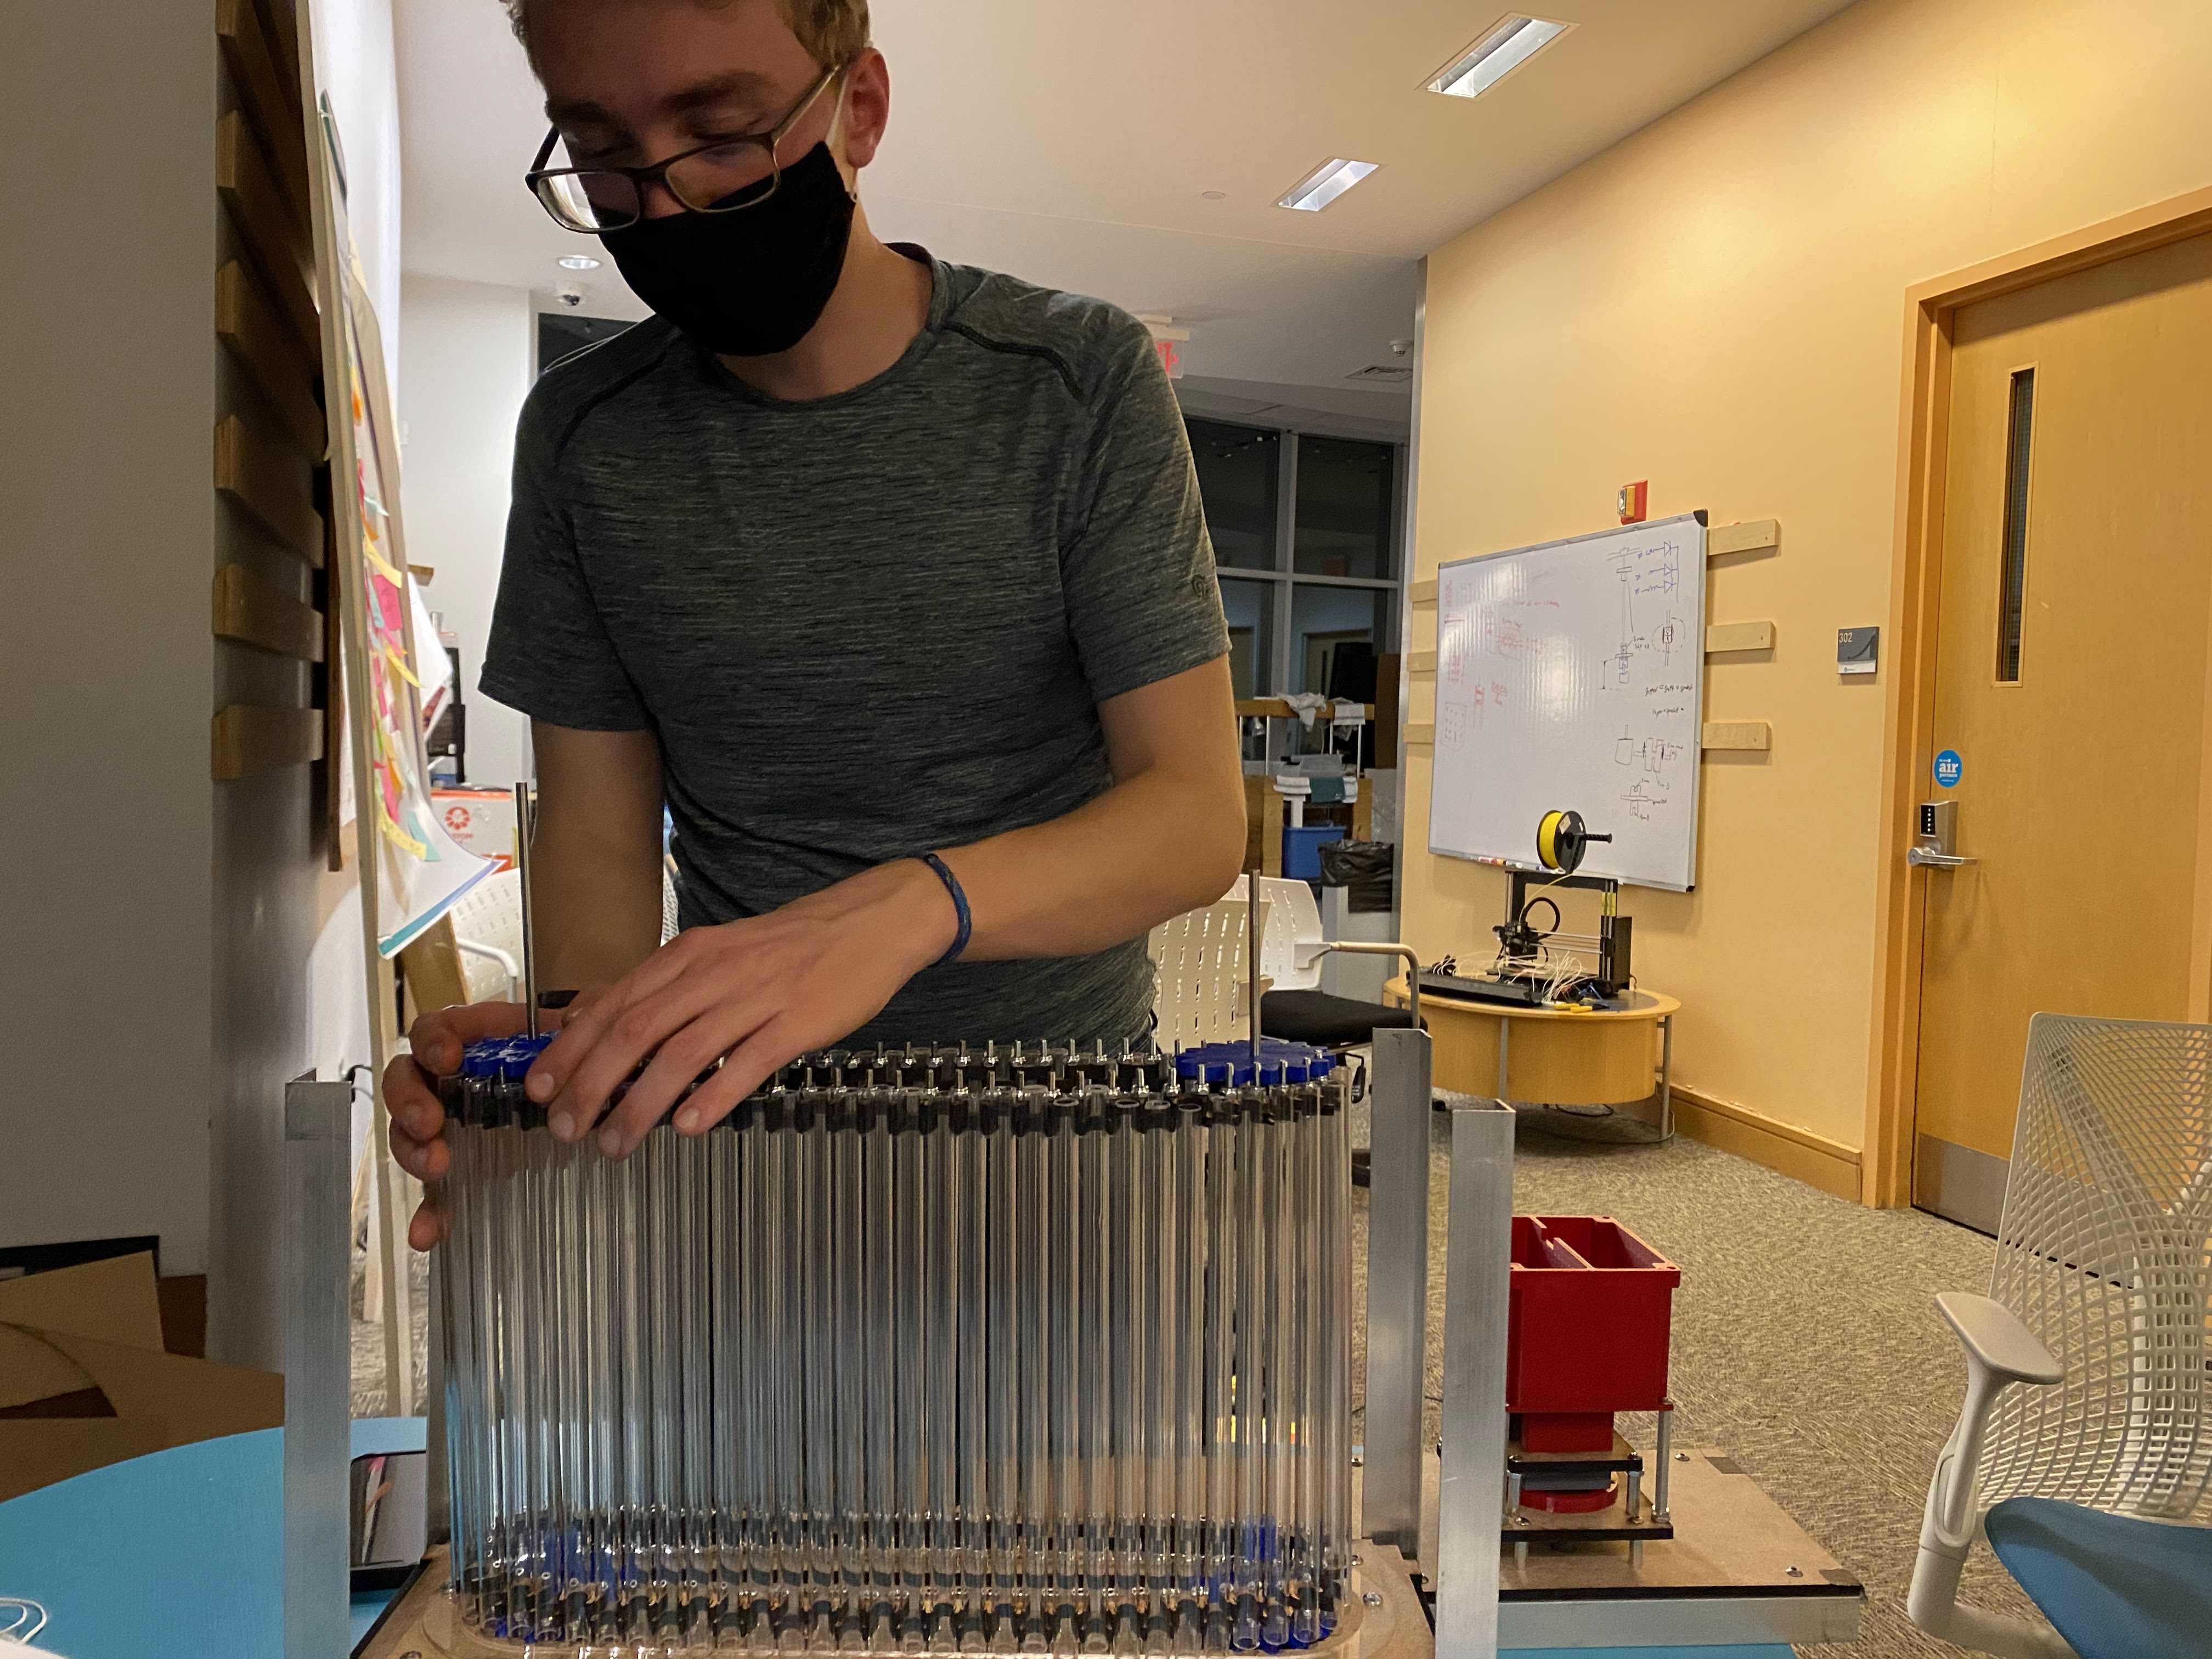
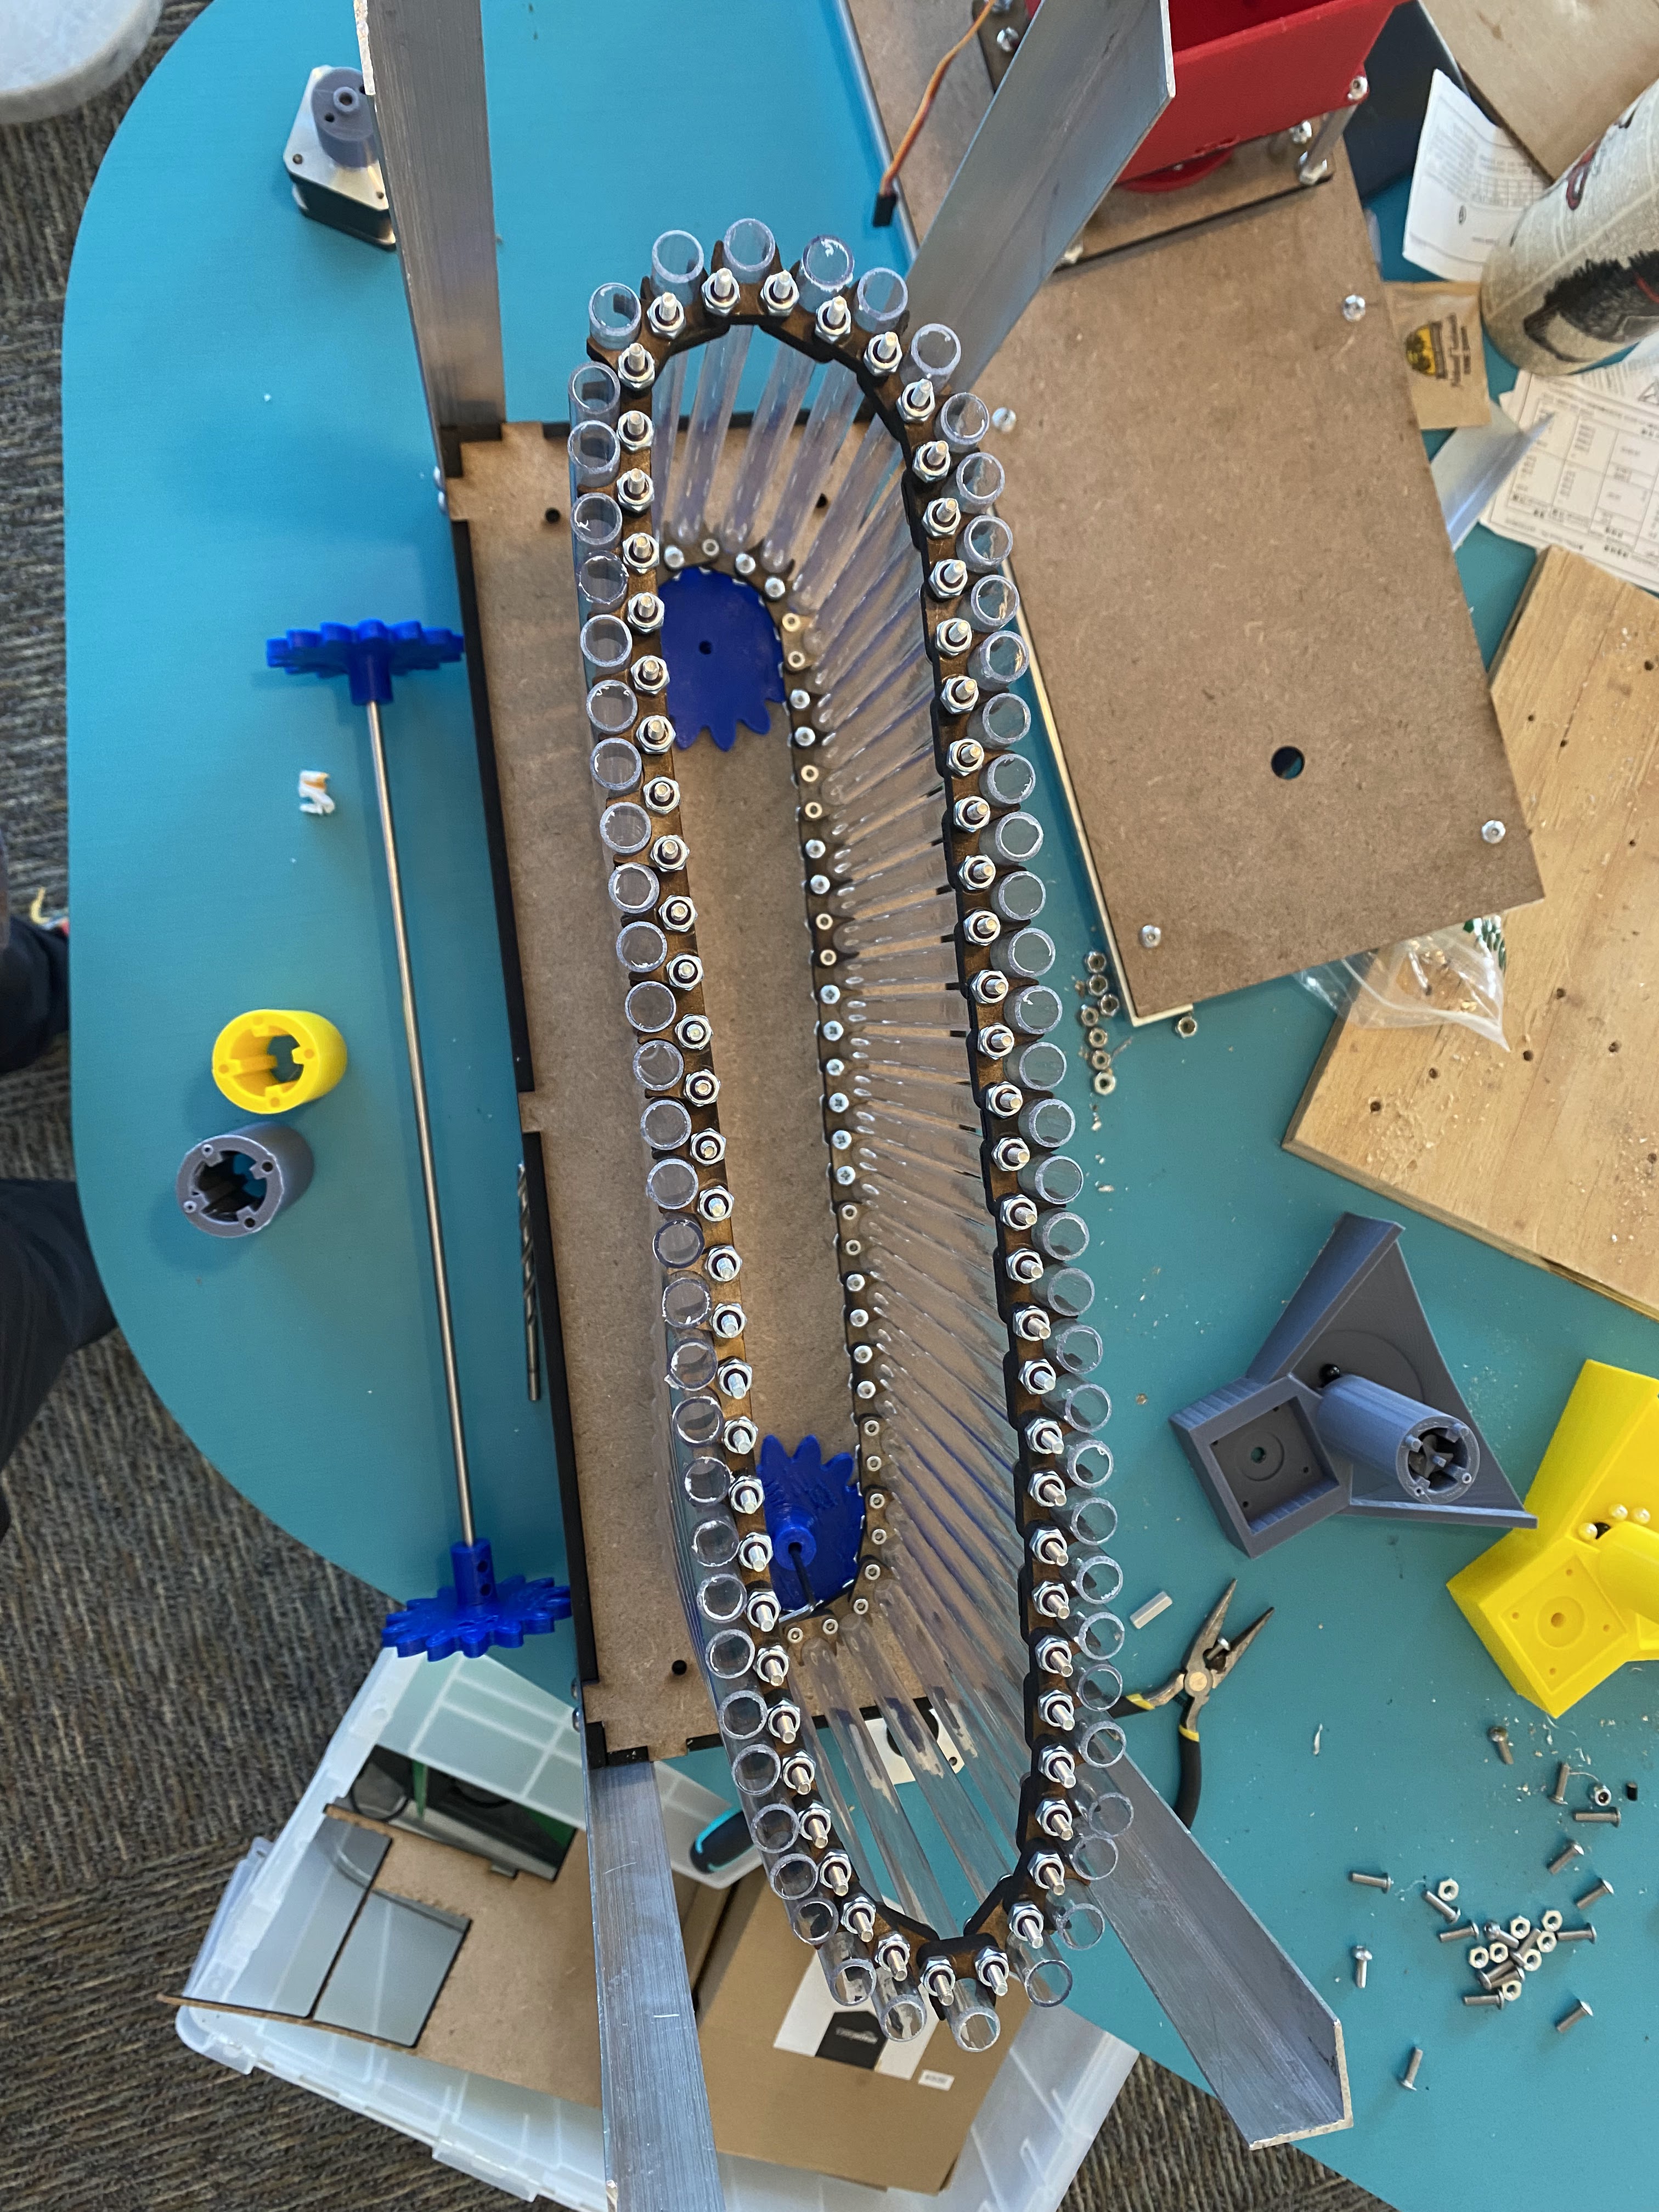
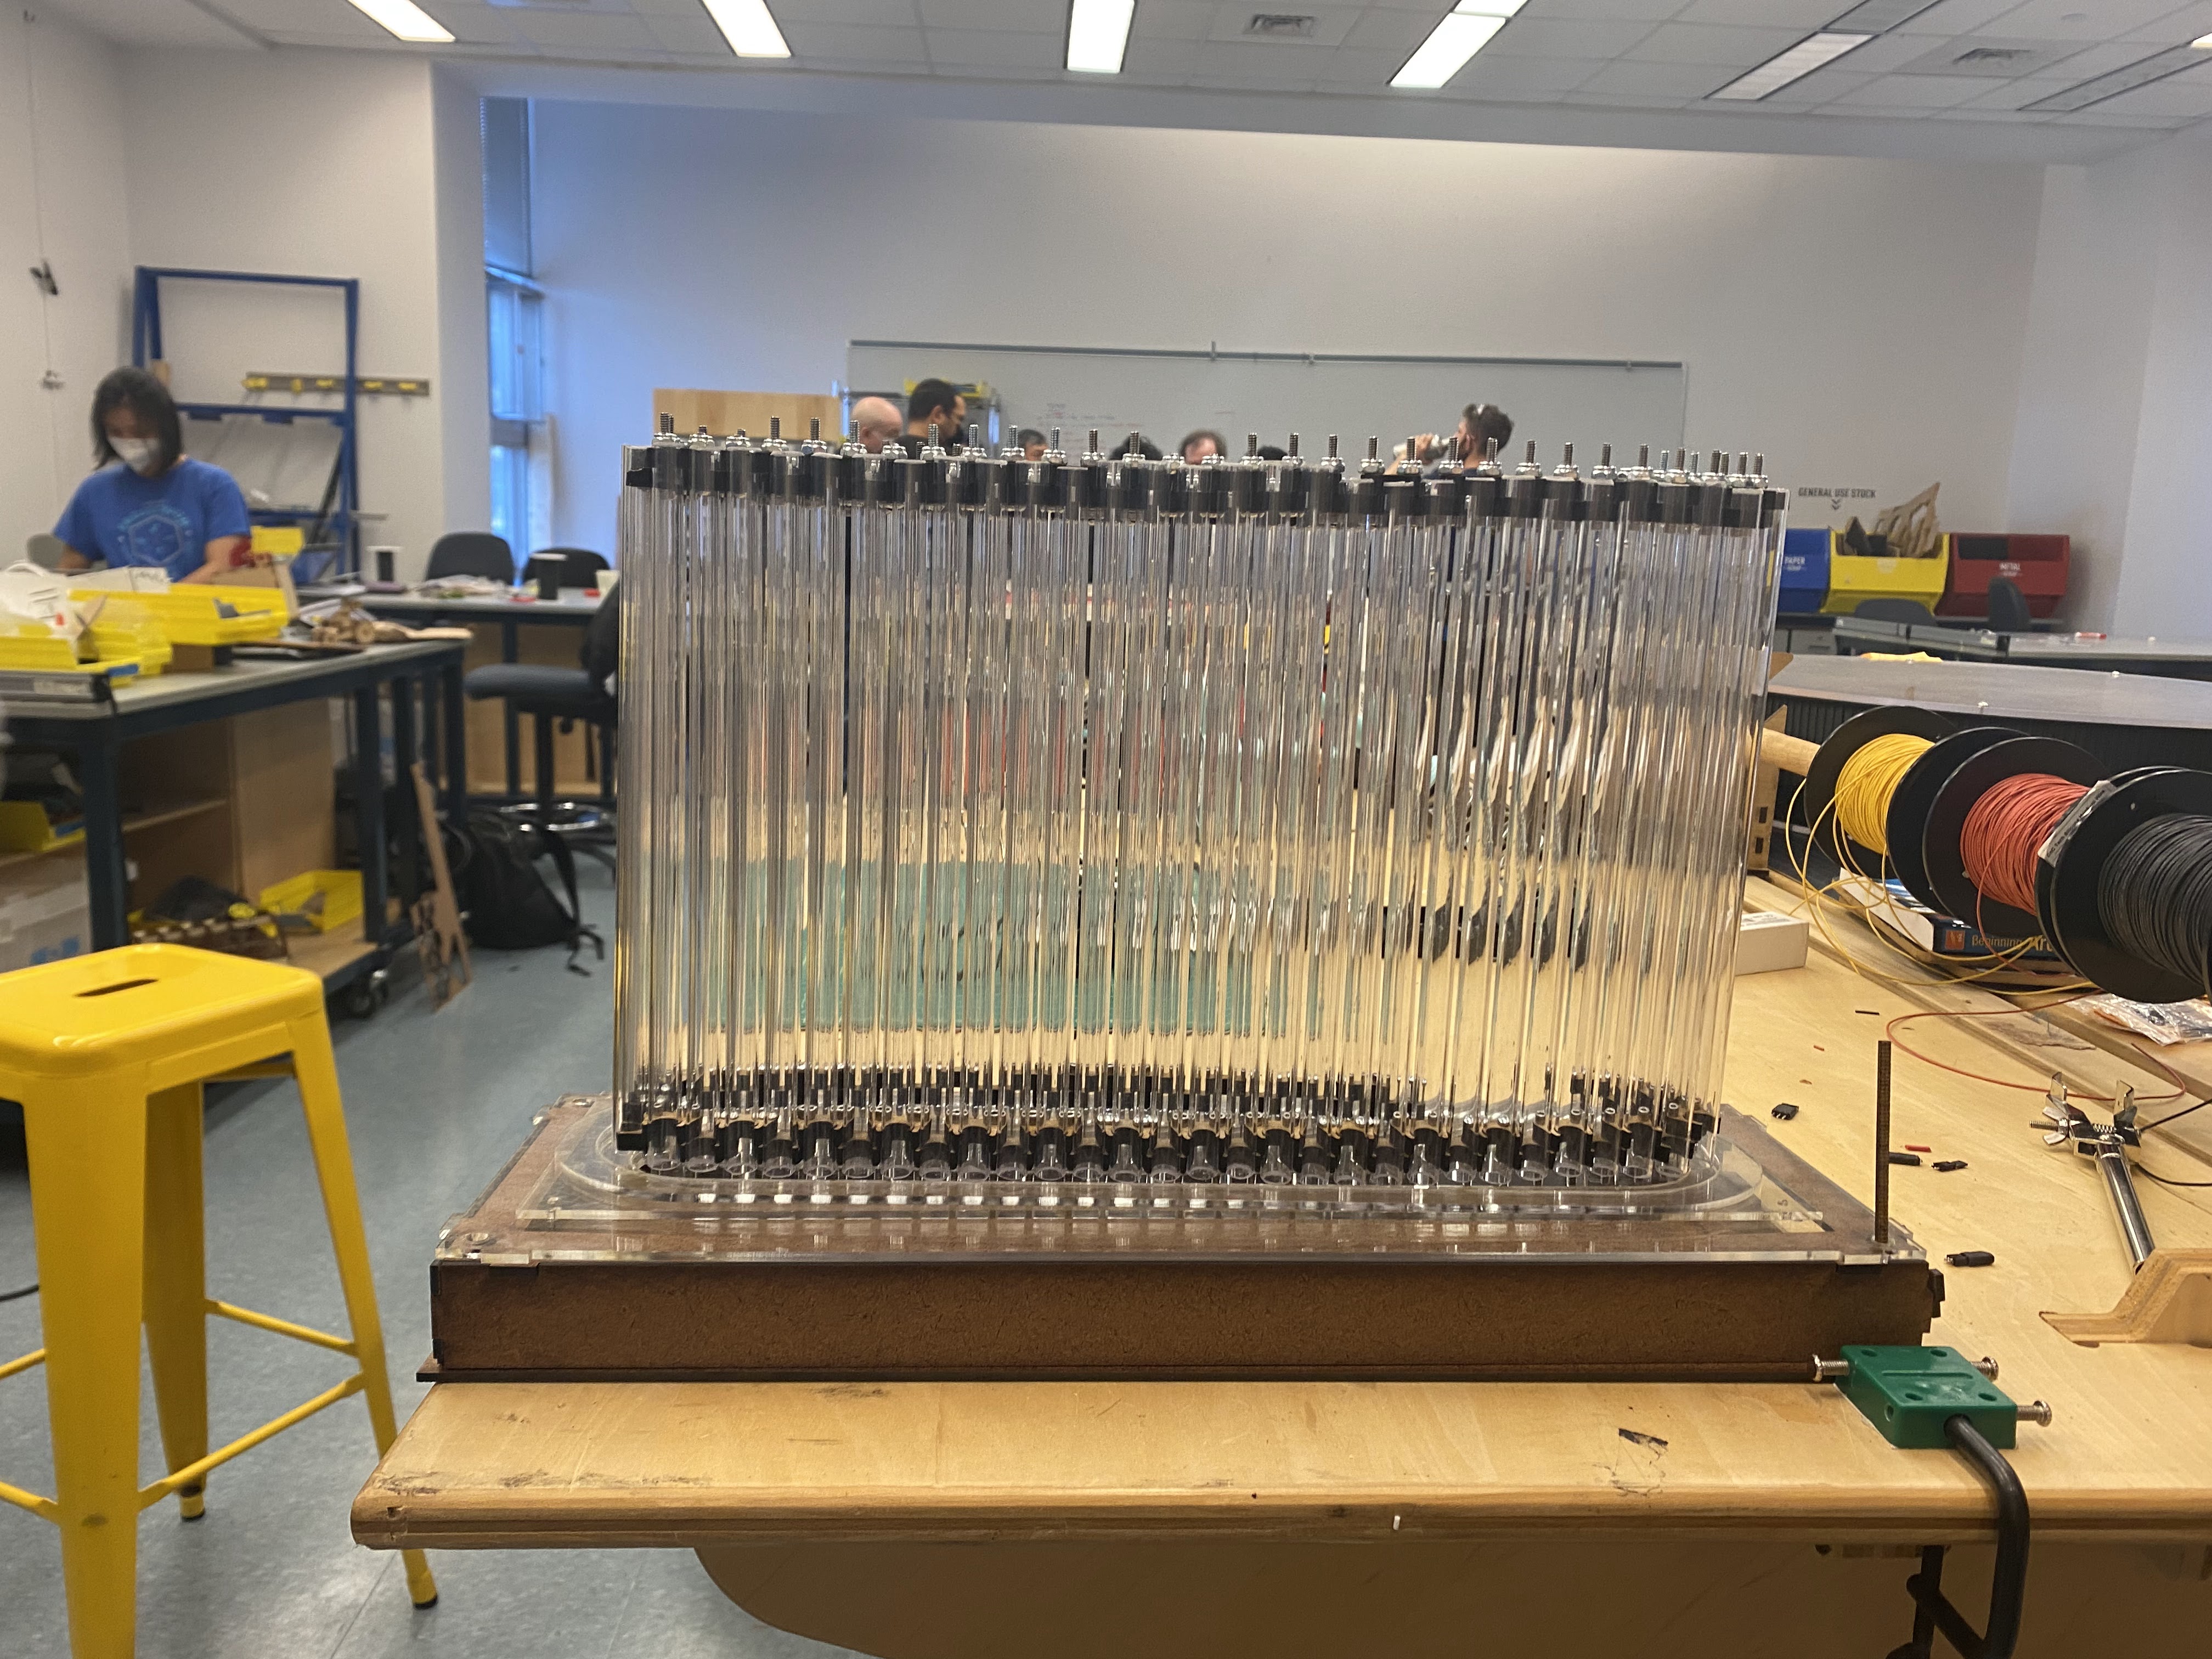
The carousel is made up of a linkage of 126 independent tube clips, arranged into two identical loops of 63 clips that connect to and support 63, 9.5-inch tubes. In the end, we emerged with a chain made entirely of polycarbonate tubes, custom tube clips, and off-the-shelf fasteners. As of demo day, the carousel is smoothly transporting the tubes around their intended track and holding the balls dropped into the tube until they reach the drain hole.
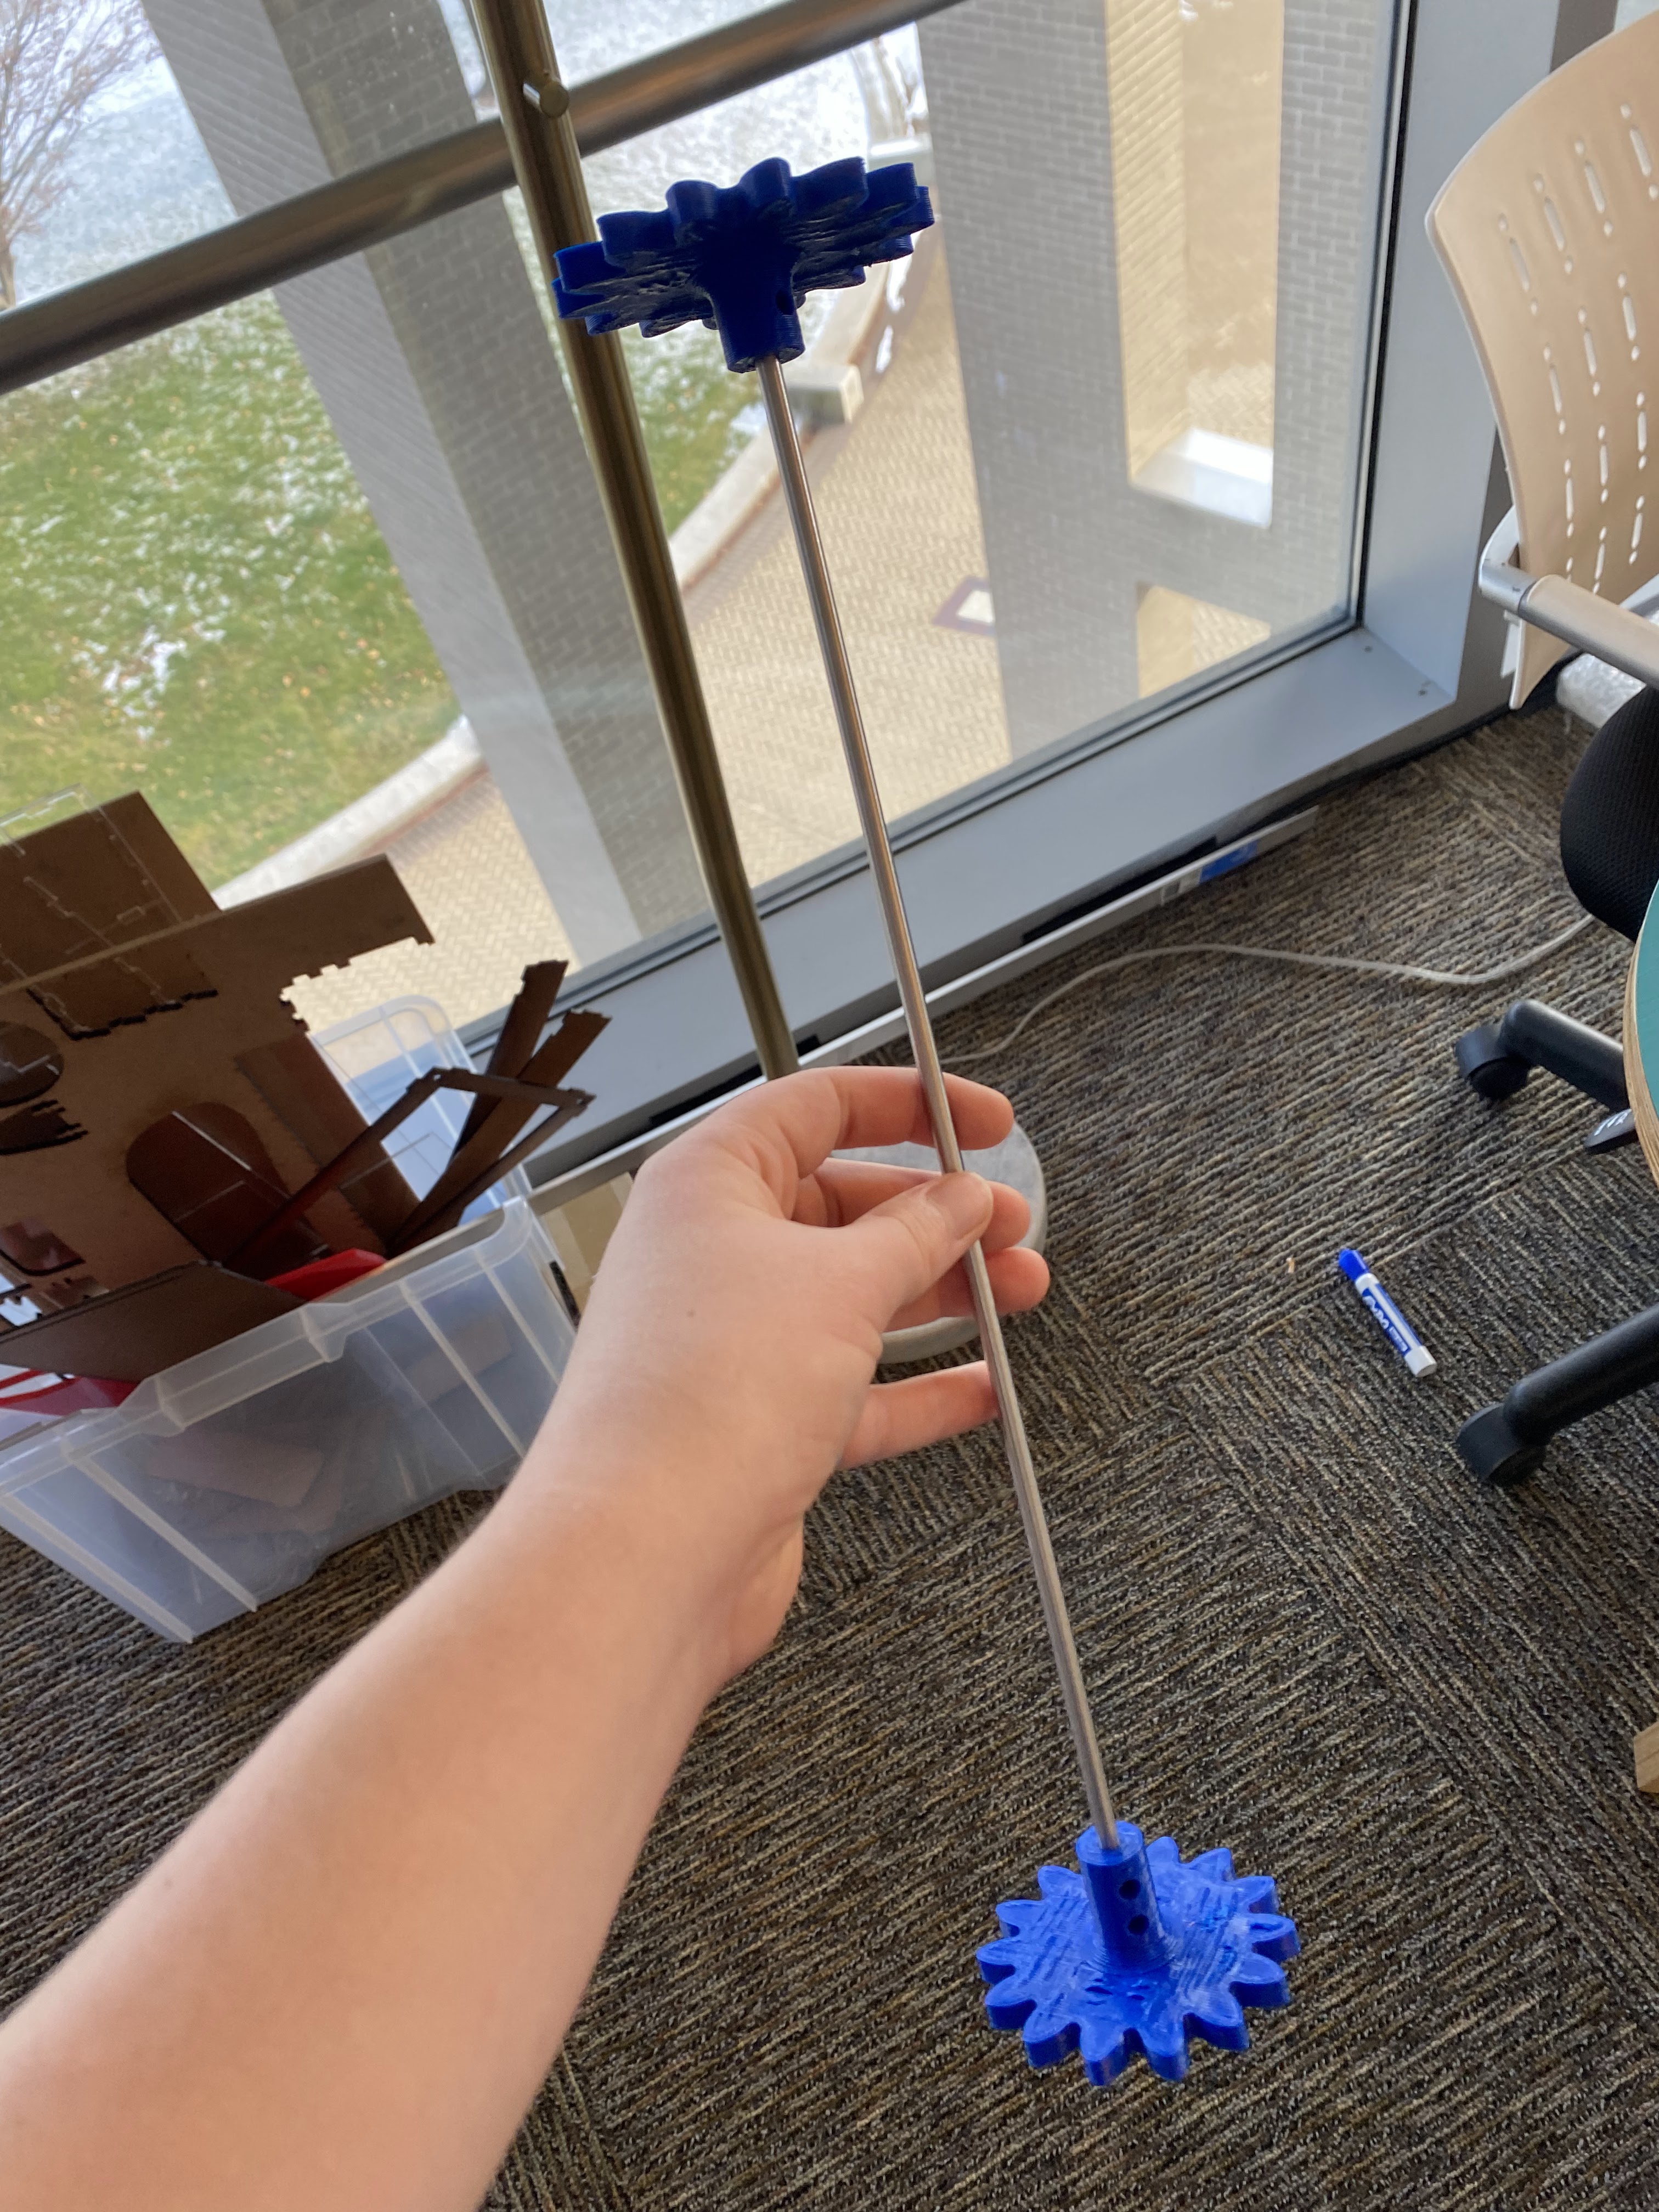
The design process for the carousel was slowed down due to a series of miscommunications between team members about the interdependence of the frame and the carousel. The miscommunication was ironed out after a team meeting. In the meeting, we determined that in order to finish the carousel, we needed to use the existing number of clips and the tube diameters to determine the length, width, and sprocket height of the carousel. After that meeting, we used the expected dimensions for 64 clips to determine the spacing of sprocket bearings, laser cut the sprocket retaining plates, and assembled the same day.
The principal challenge of the carousel was making the tubes ride smoothly without allowing balls to fall out of the tube or interfering with other parts. We went through several sprocket designs where the drive sprocket did not mesh with the chain pins and several designs where the alignment caused collisions that stopped the sprocket from turning. The amount of time we spent getting the carousel working stopped other team members from having unfettered access to the setup they needed to verify their work, which hindered our ability to properly integrate the product.


Frame
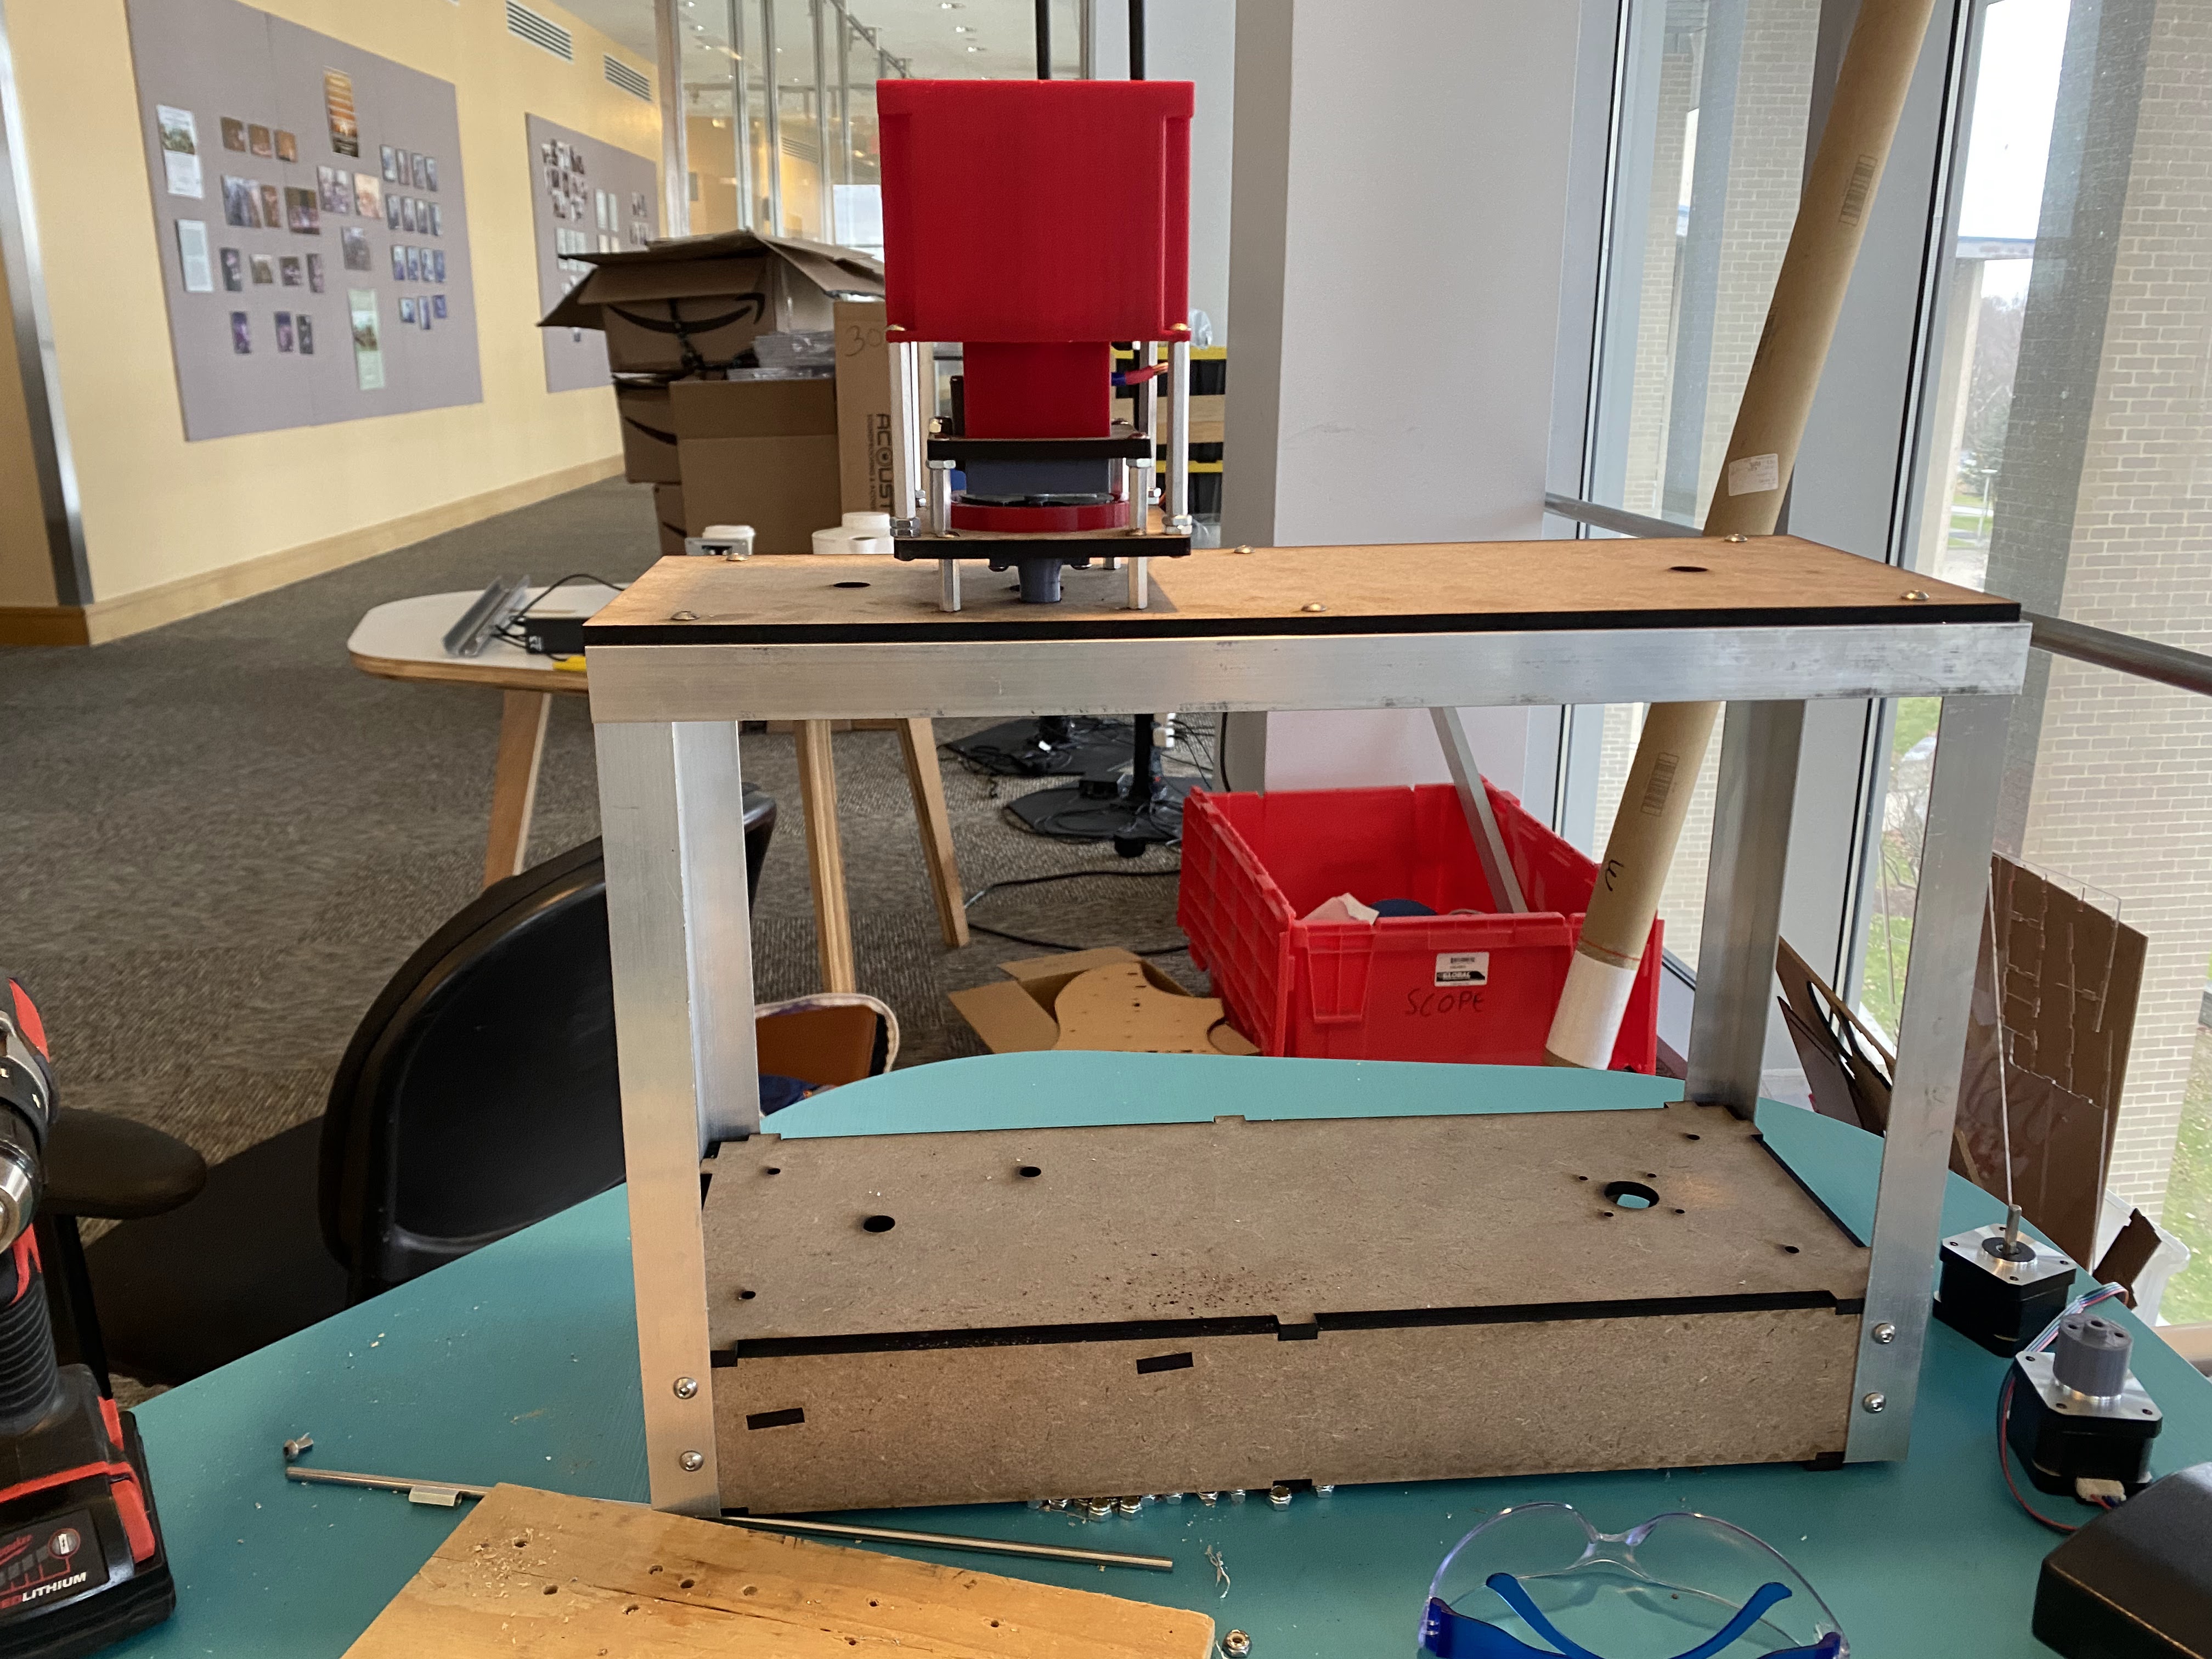
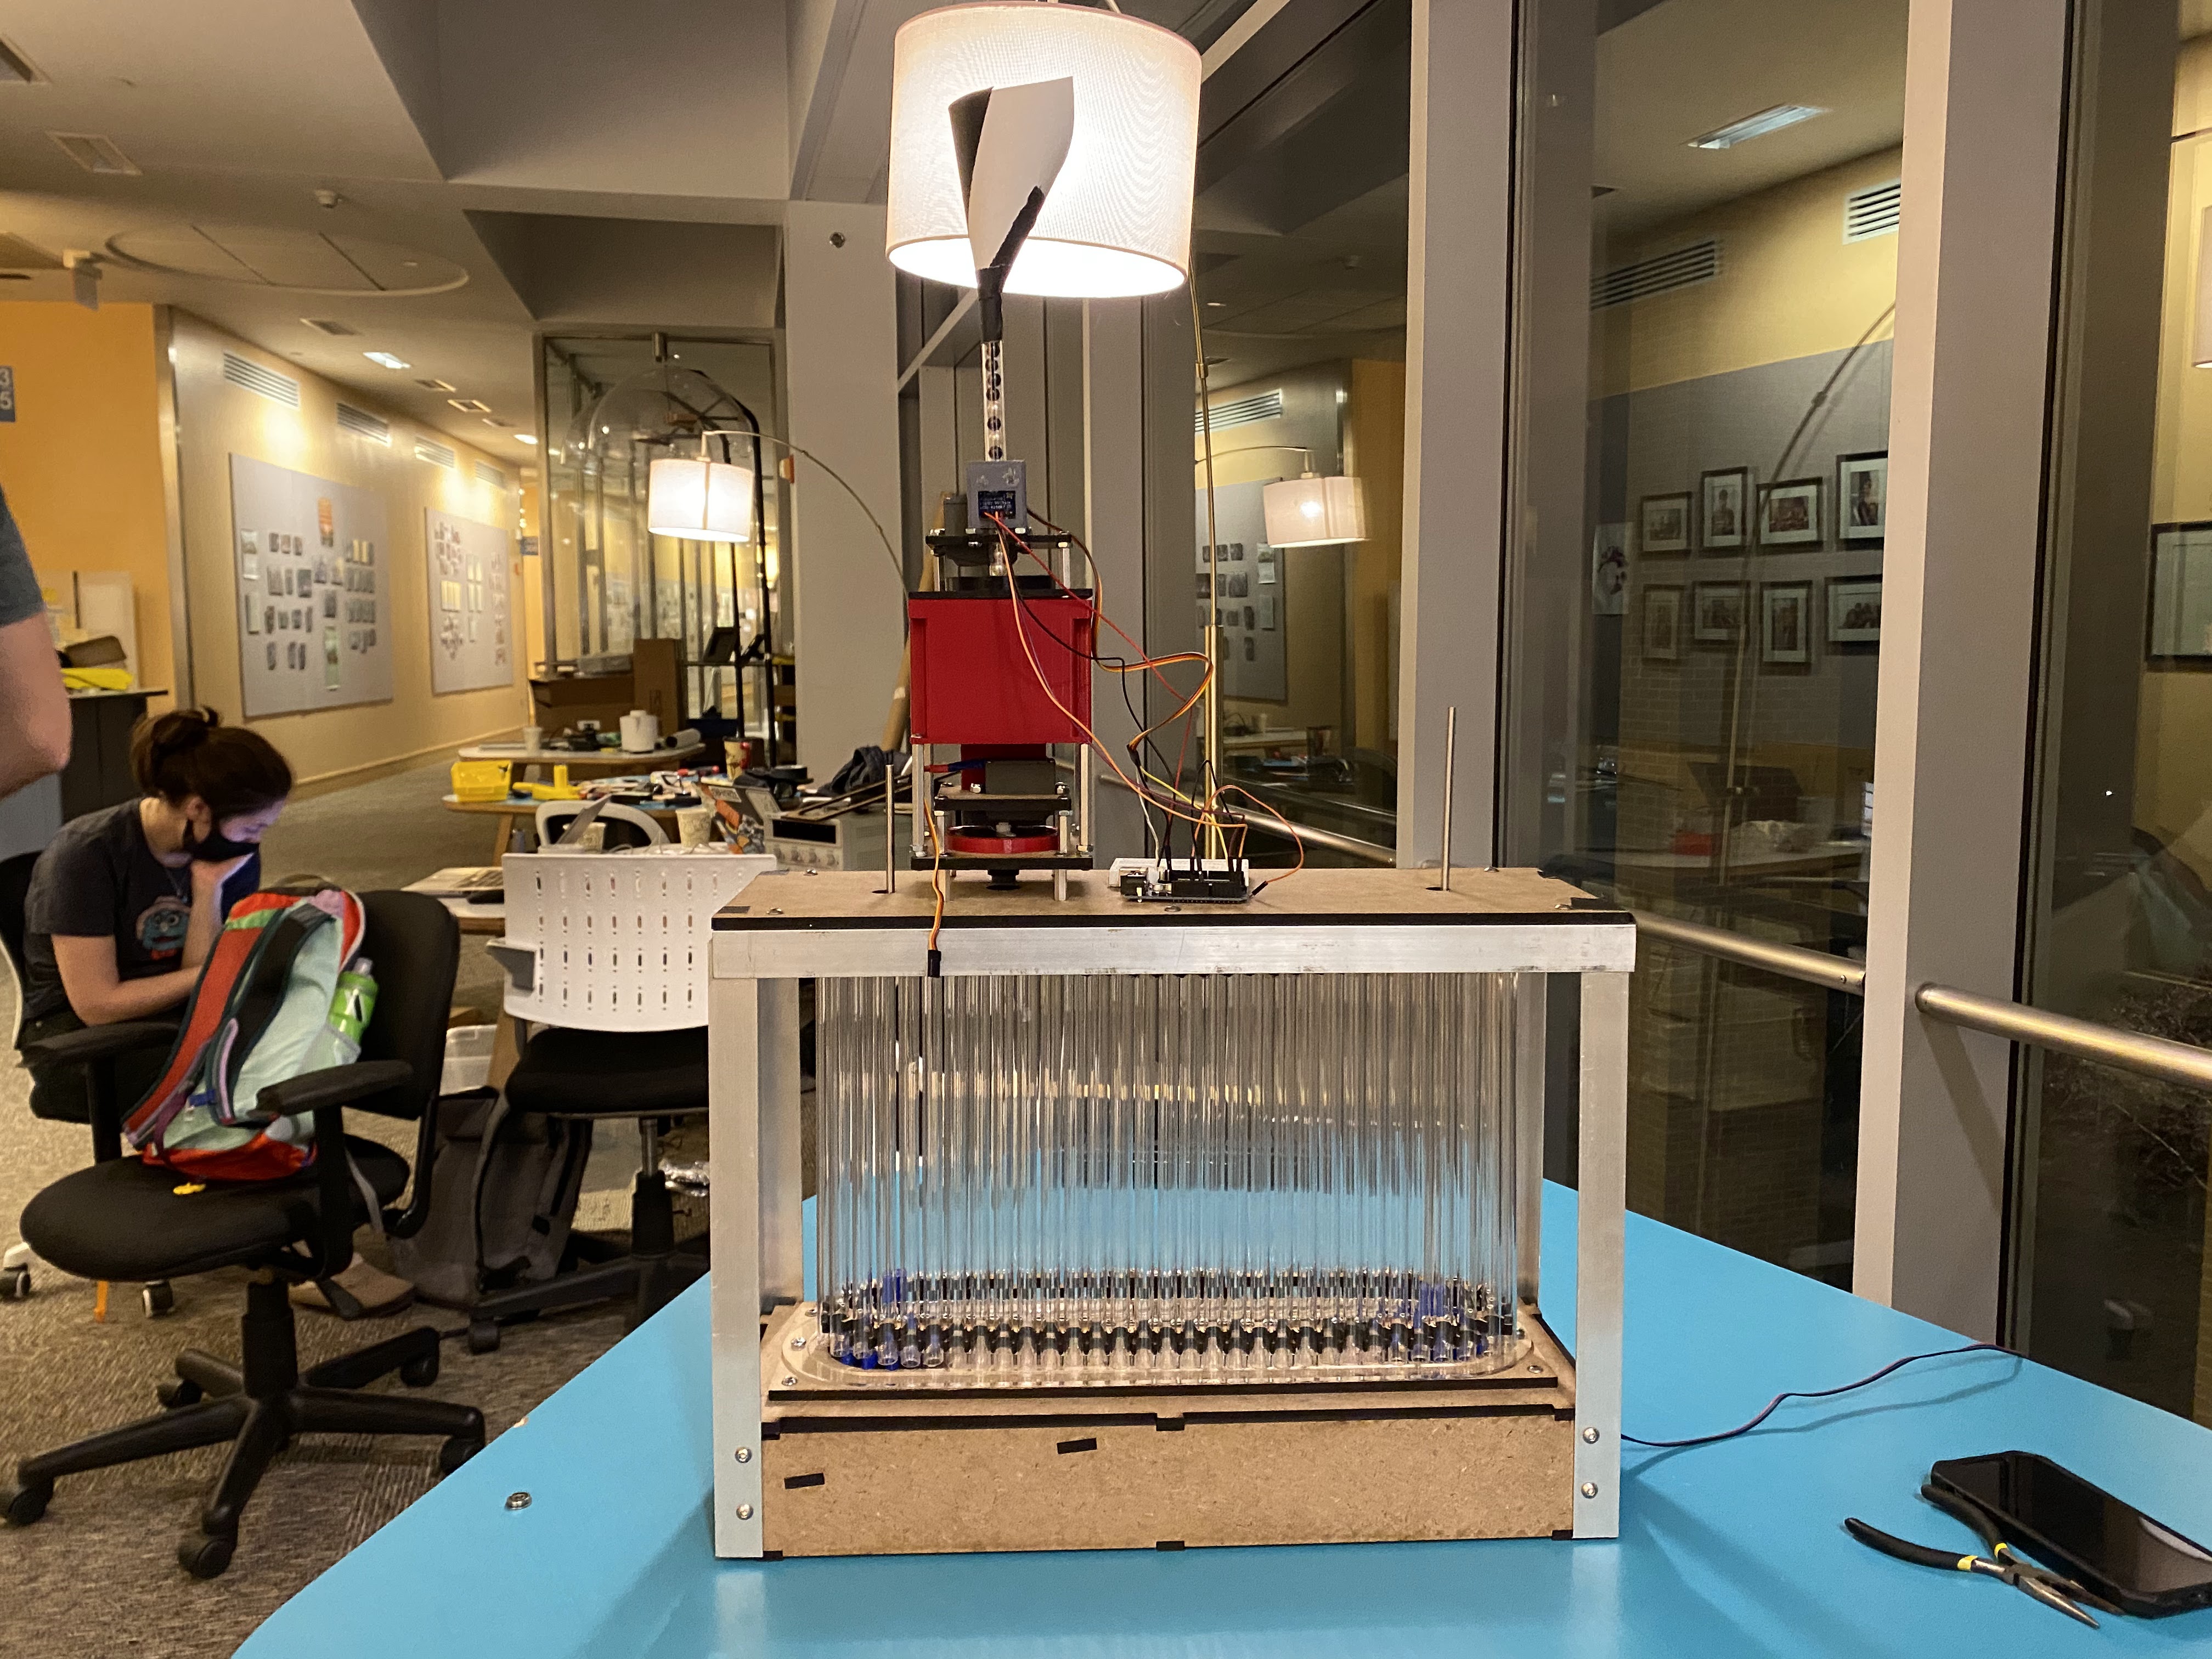
Final state: The frame is made from laser cut ¼” hardwood and aluminum L brackets. It goes together with finger joints and bolts. All of the parts were designed and laser cut to ensure it went together easily and the positions of all significant features could be controlled with relatively high tolerance.
The initial versions of the design had no defined frame, and were assembled roughly out of scrap. We quickly realized this made testing and assembly much harder, so we designed one frame that all of the subsystems could be built around.
The main challenge with the frame was designing it so that all other subsystems could be easily integrated onto it.
Elevator
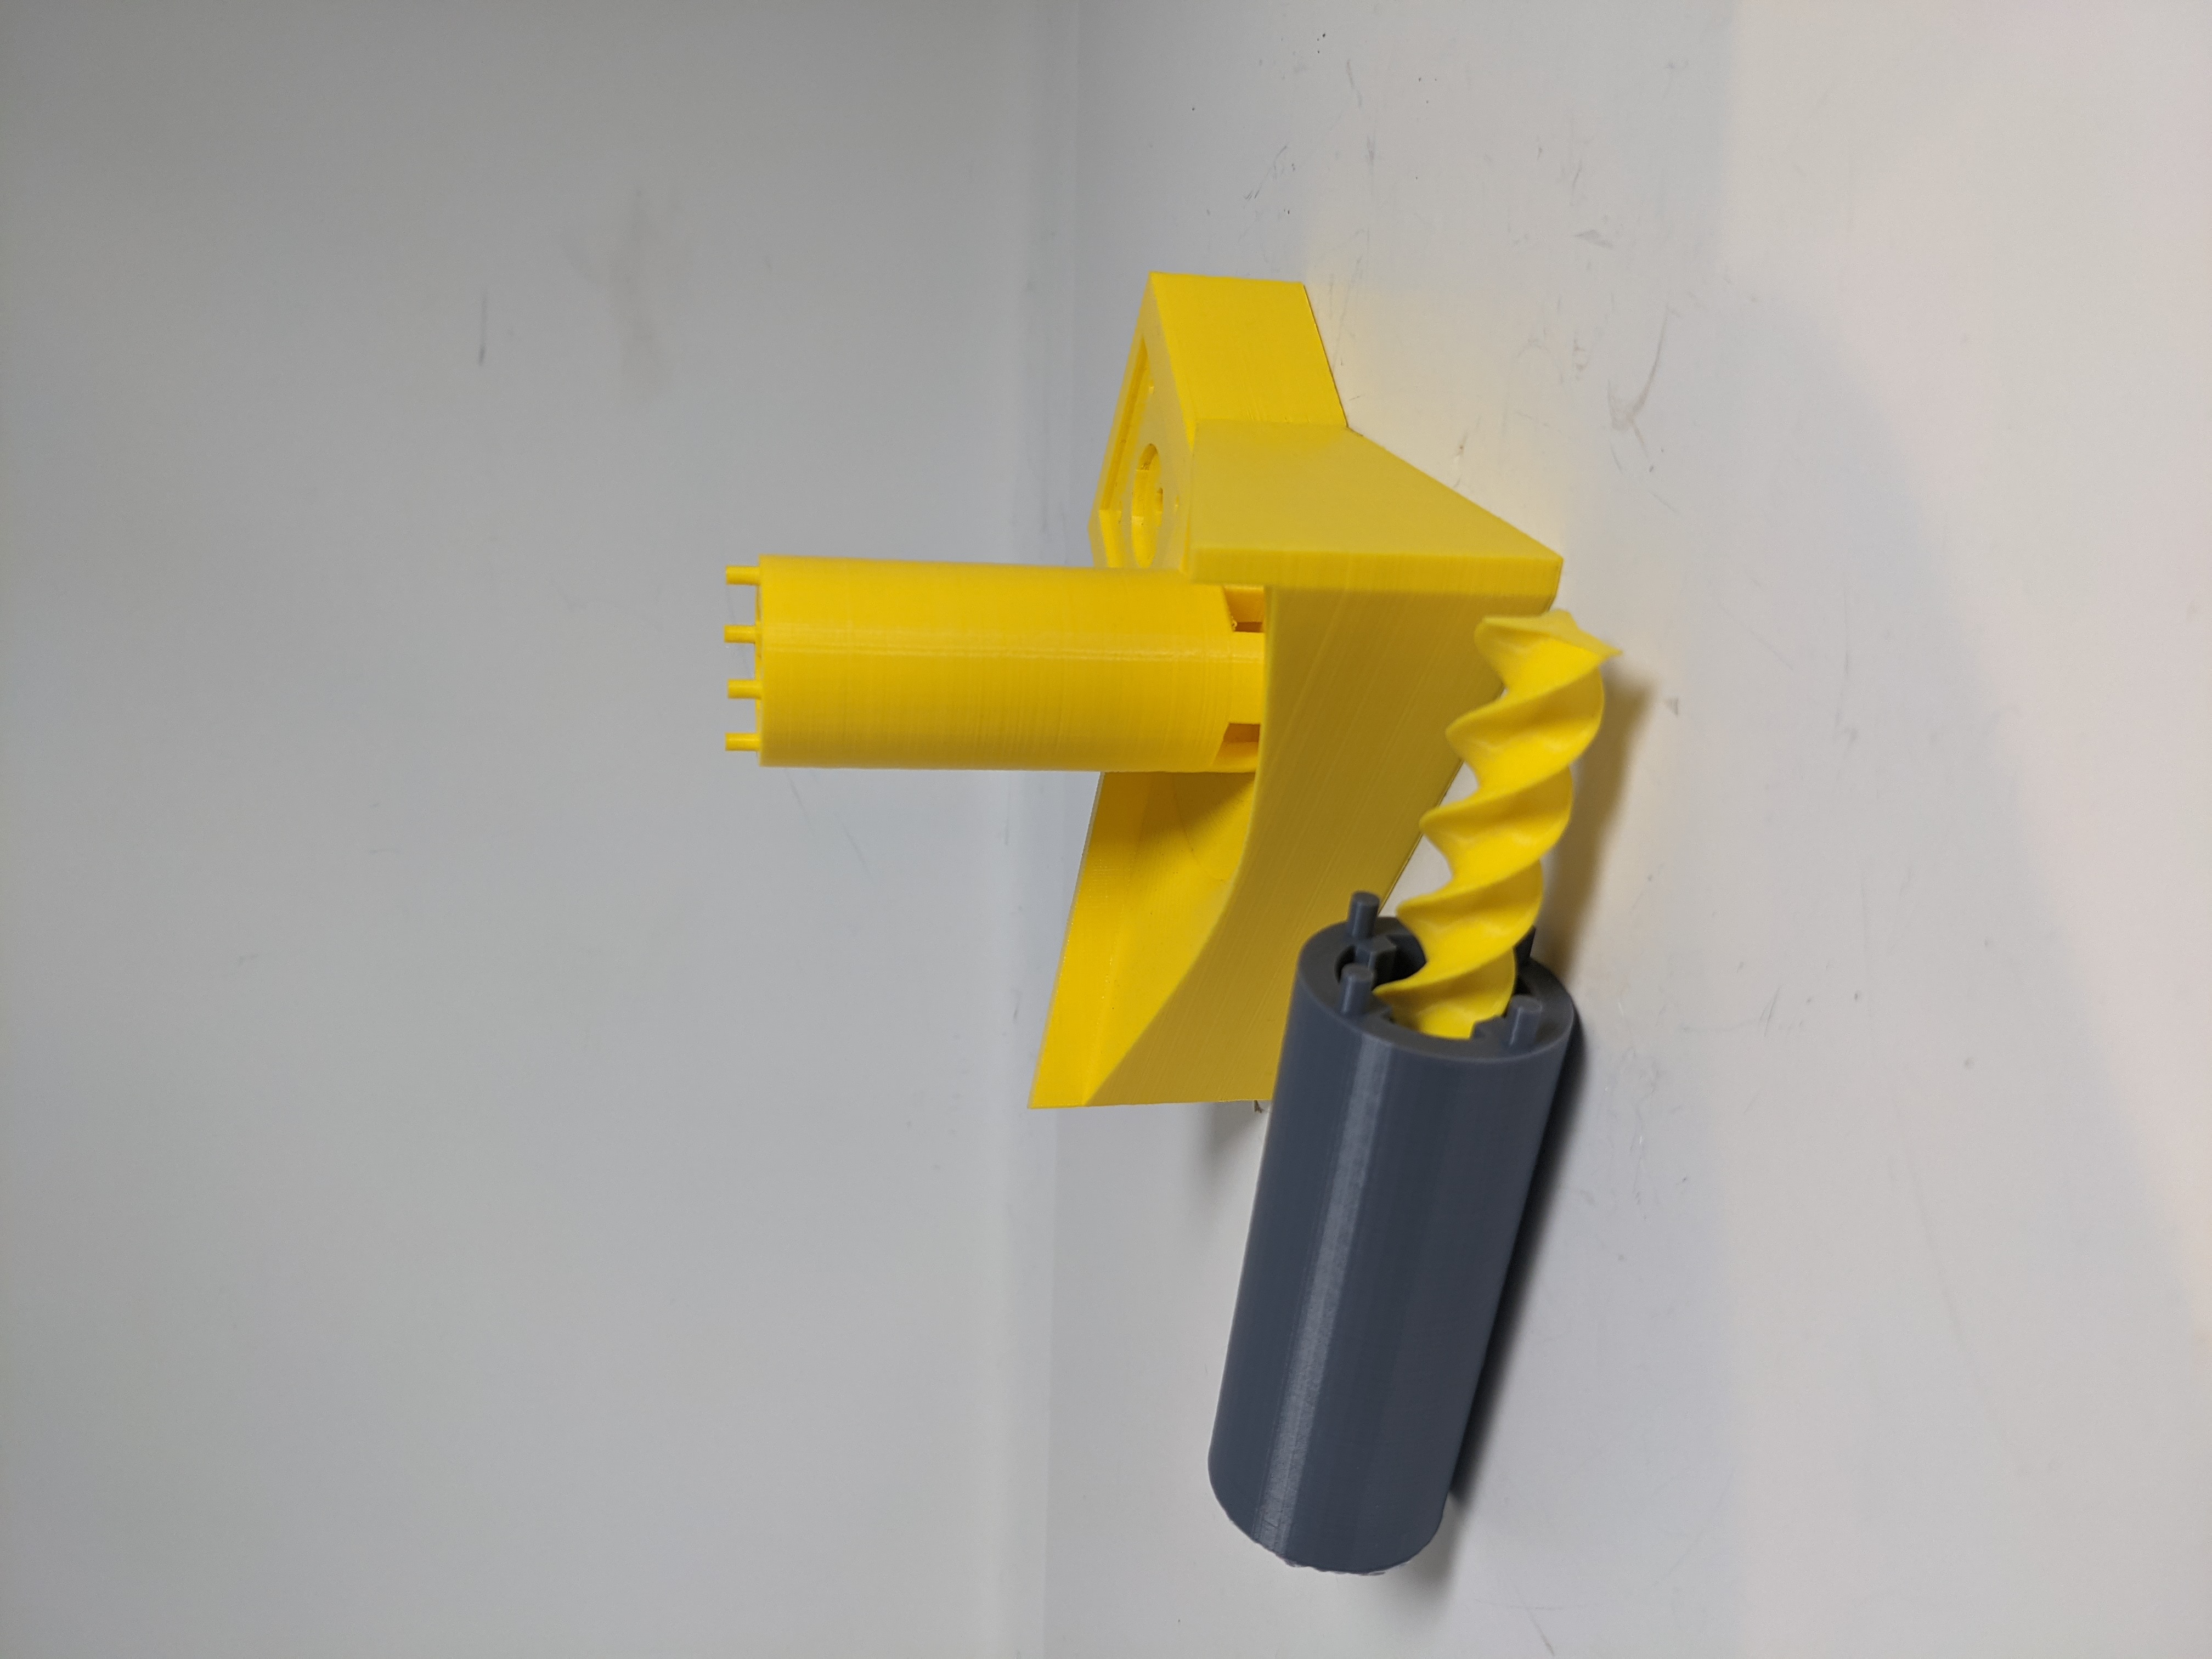
The elevator uses an archimedes screw to lift balls from the bottom of the display to the top. At the based is a funnel that moves the balls to the elevator entrance. The screw, powered by a servo, then lifts the balls to the top, where they exit and are brought back to the sorter mechanism.
To start this design process I researched toy marble elevators. I found multiple variations, but the archimedes screw seemed to be a popular choice due to its simplicity and reliability. With a few iterations I was able to design a screw able to lift the balls, which I then scaled up to the height required. From there, I designed entry and exit ports to easily guide the balls through the system.
The main challenge with the elevator was designing the archimedes screw. It is a challenging geometry to designed in CAD and took multiple iterations before the screw was able to lift the ball.