Software Desgin
Rasberry PI
We have a Raspberry Pi hosting our website and sending information over a USB serial connection to the Arduino that is controlling the device.
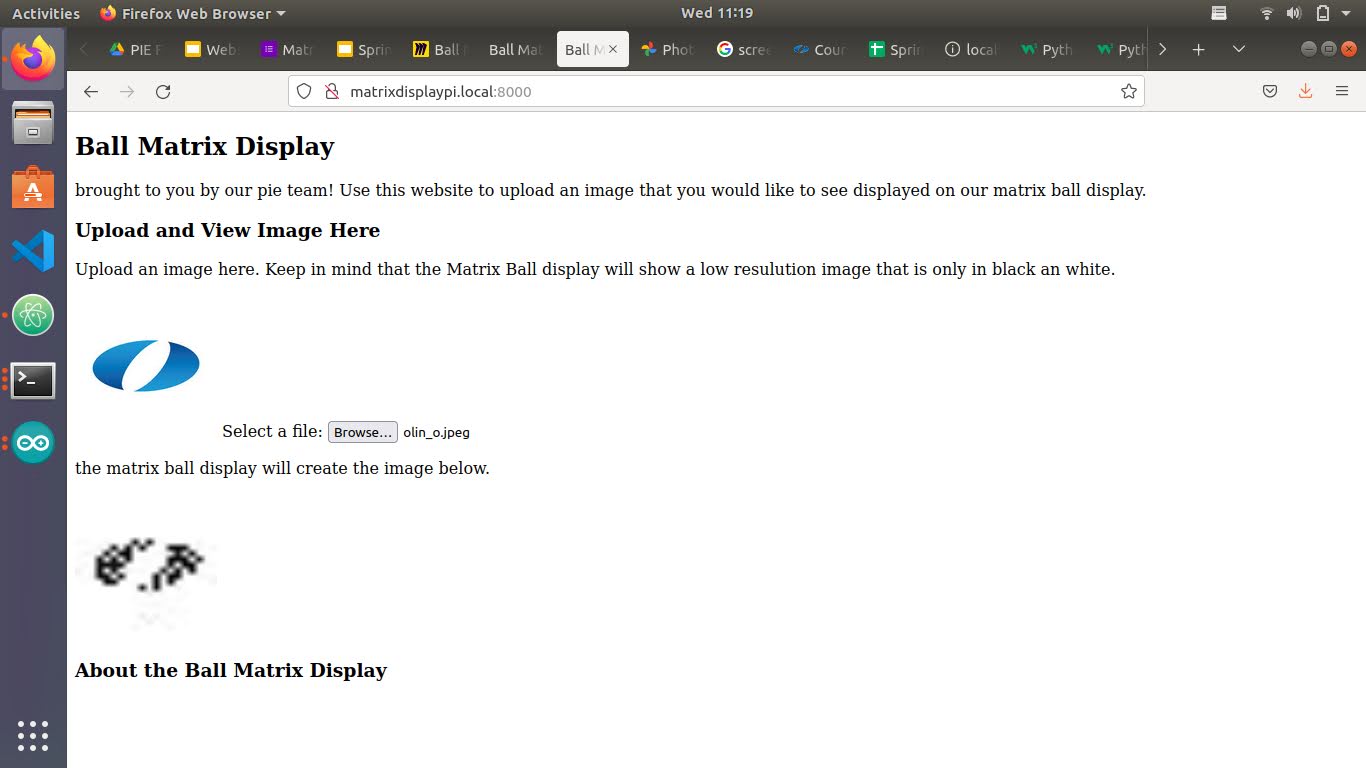
website
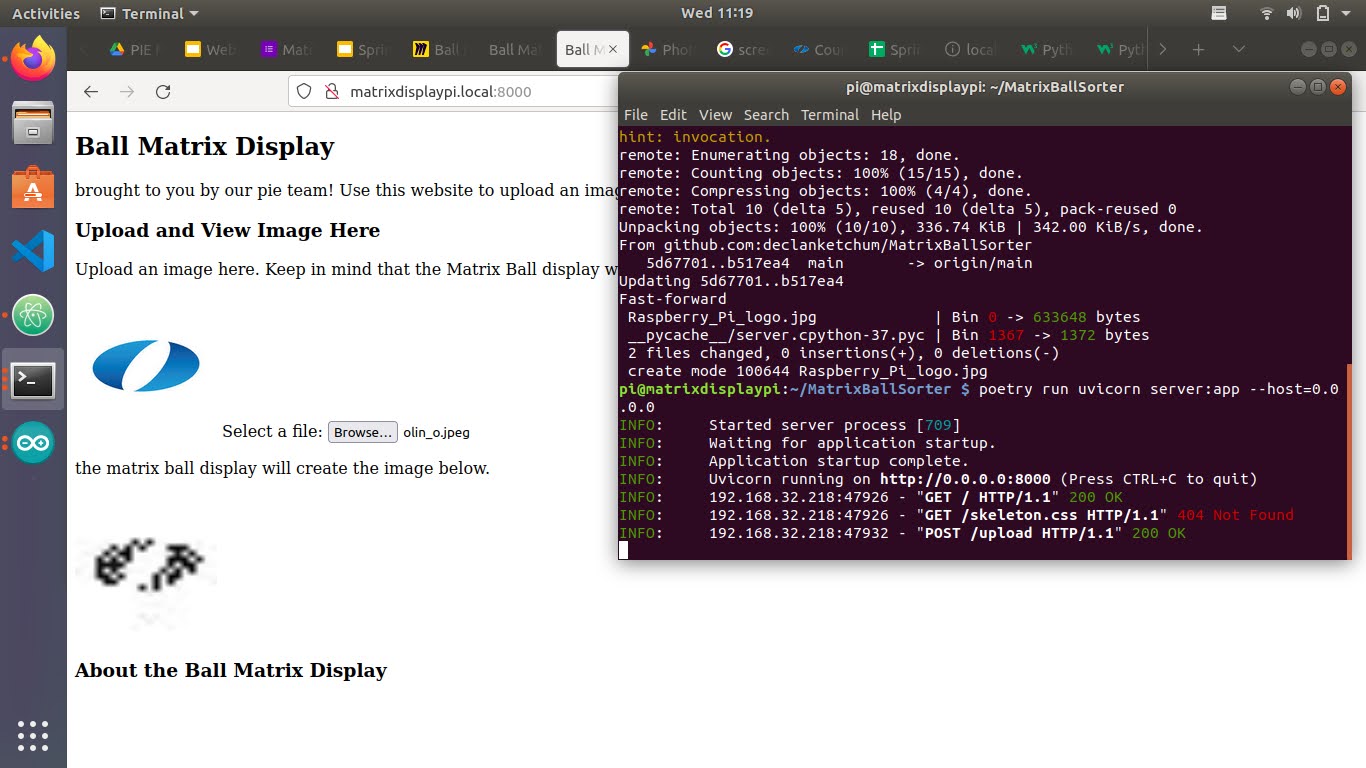
To display an image you can go to our website and upload any jpg type image. The website only works when connected to the Olin Devices wifi and when our server is running. To access the website you can open any browser and type in: matrixdisplaypi.local:8000. That will pull up our website where you can upload an image. Once an image is uploaded and everything is connected the image will get sent to our server and then to the Ball Matrix Display. The website will show an image of what our display will print. You can refresh and upload a new image at any time. The website is programed in HTML, CSS, and JavaScript. The source code can be seen in the GitHub repository.
Server
Our website is hosted by a server written in python and run on our Raspi. The server also receives the image uploaded by the user and converts that image into black and white and reduces the size to fit the image in the front of our Ball Matrix Display. The server then sends the updated image back to be shown on the website. It also creates bit string consisting of the color of each ball an the size of the image and sends that data to the Arduino to control the stepper motor and the servo that drops the balls.
We use the FastAPI library to handle the server requests. The source code for the server can be found in our GitHub repository.
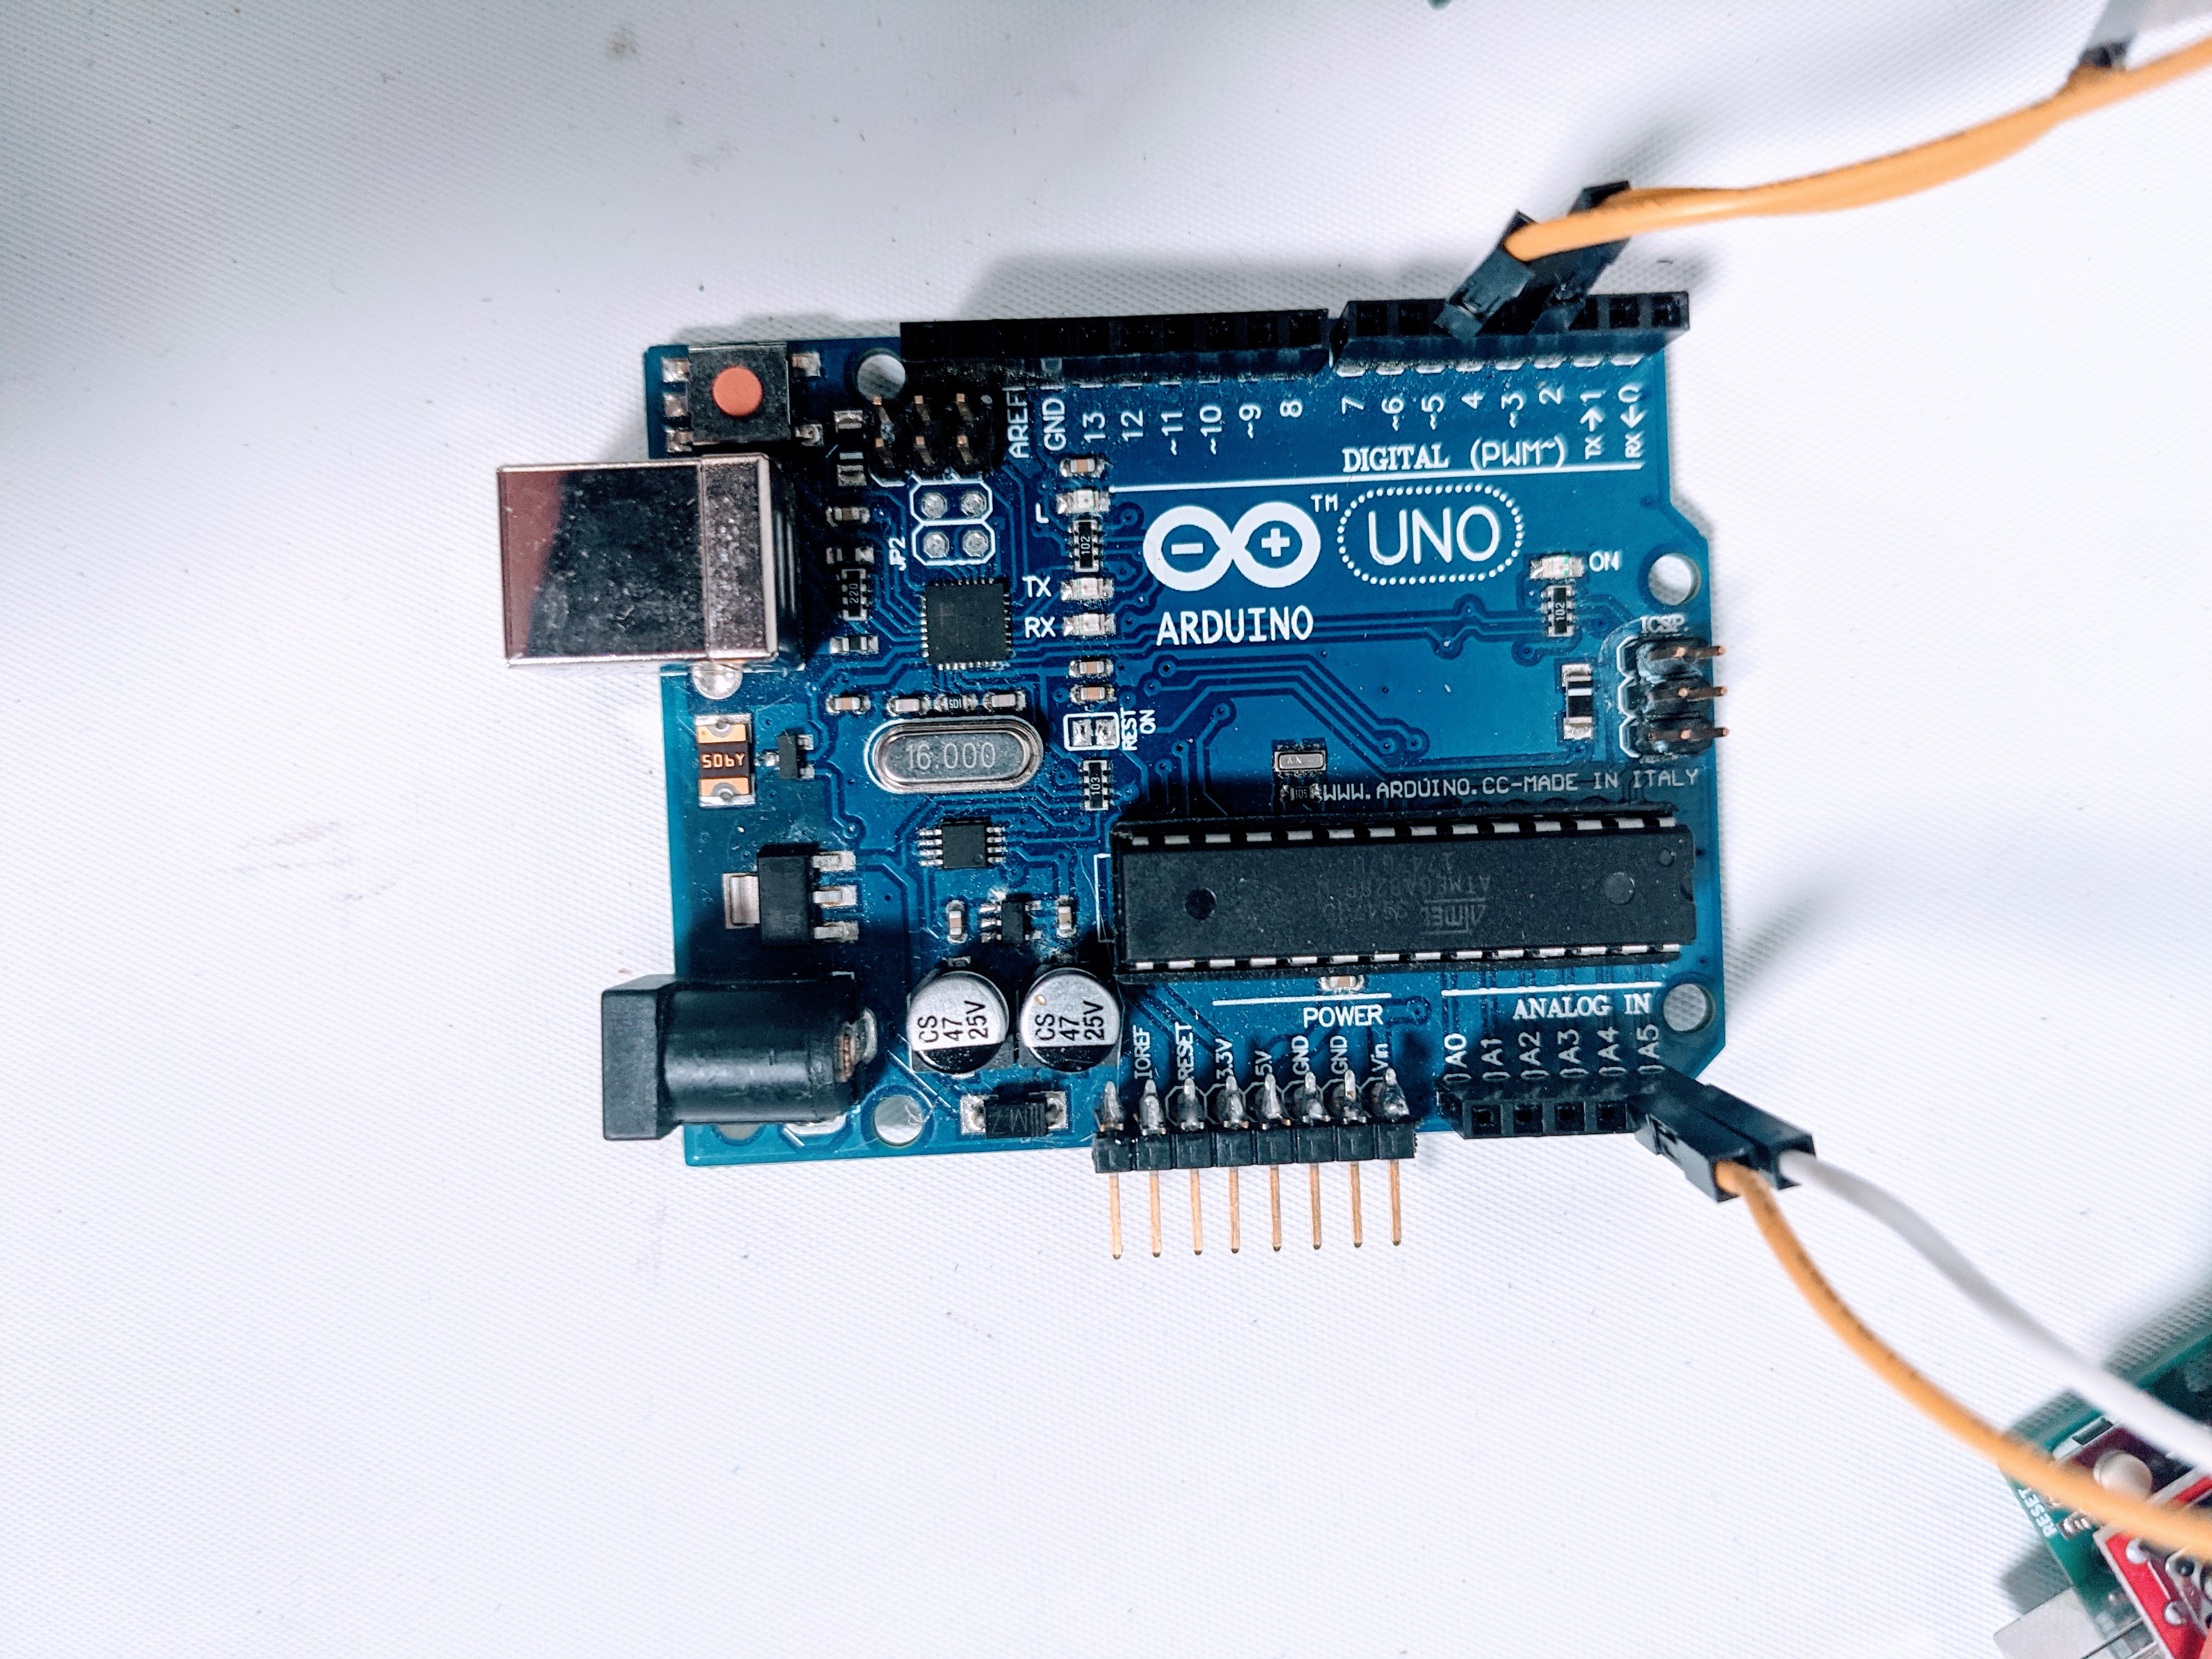
Aurdino One
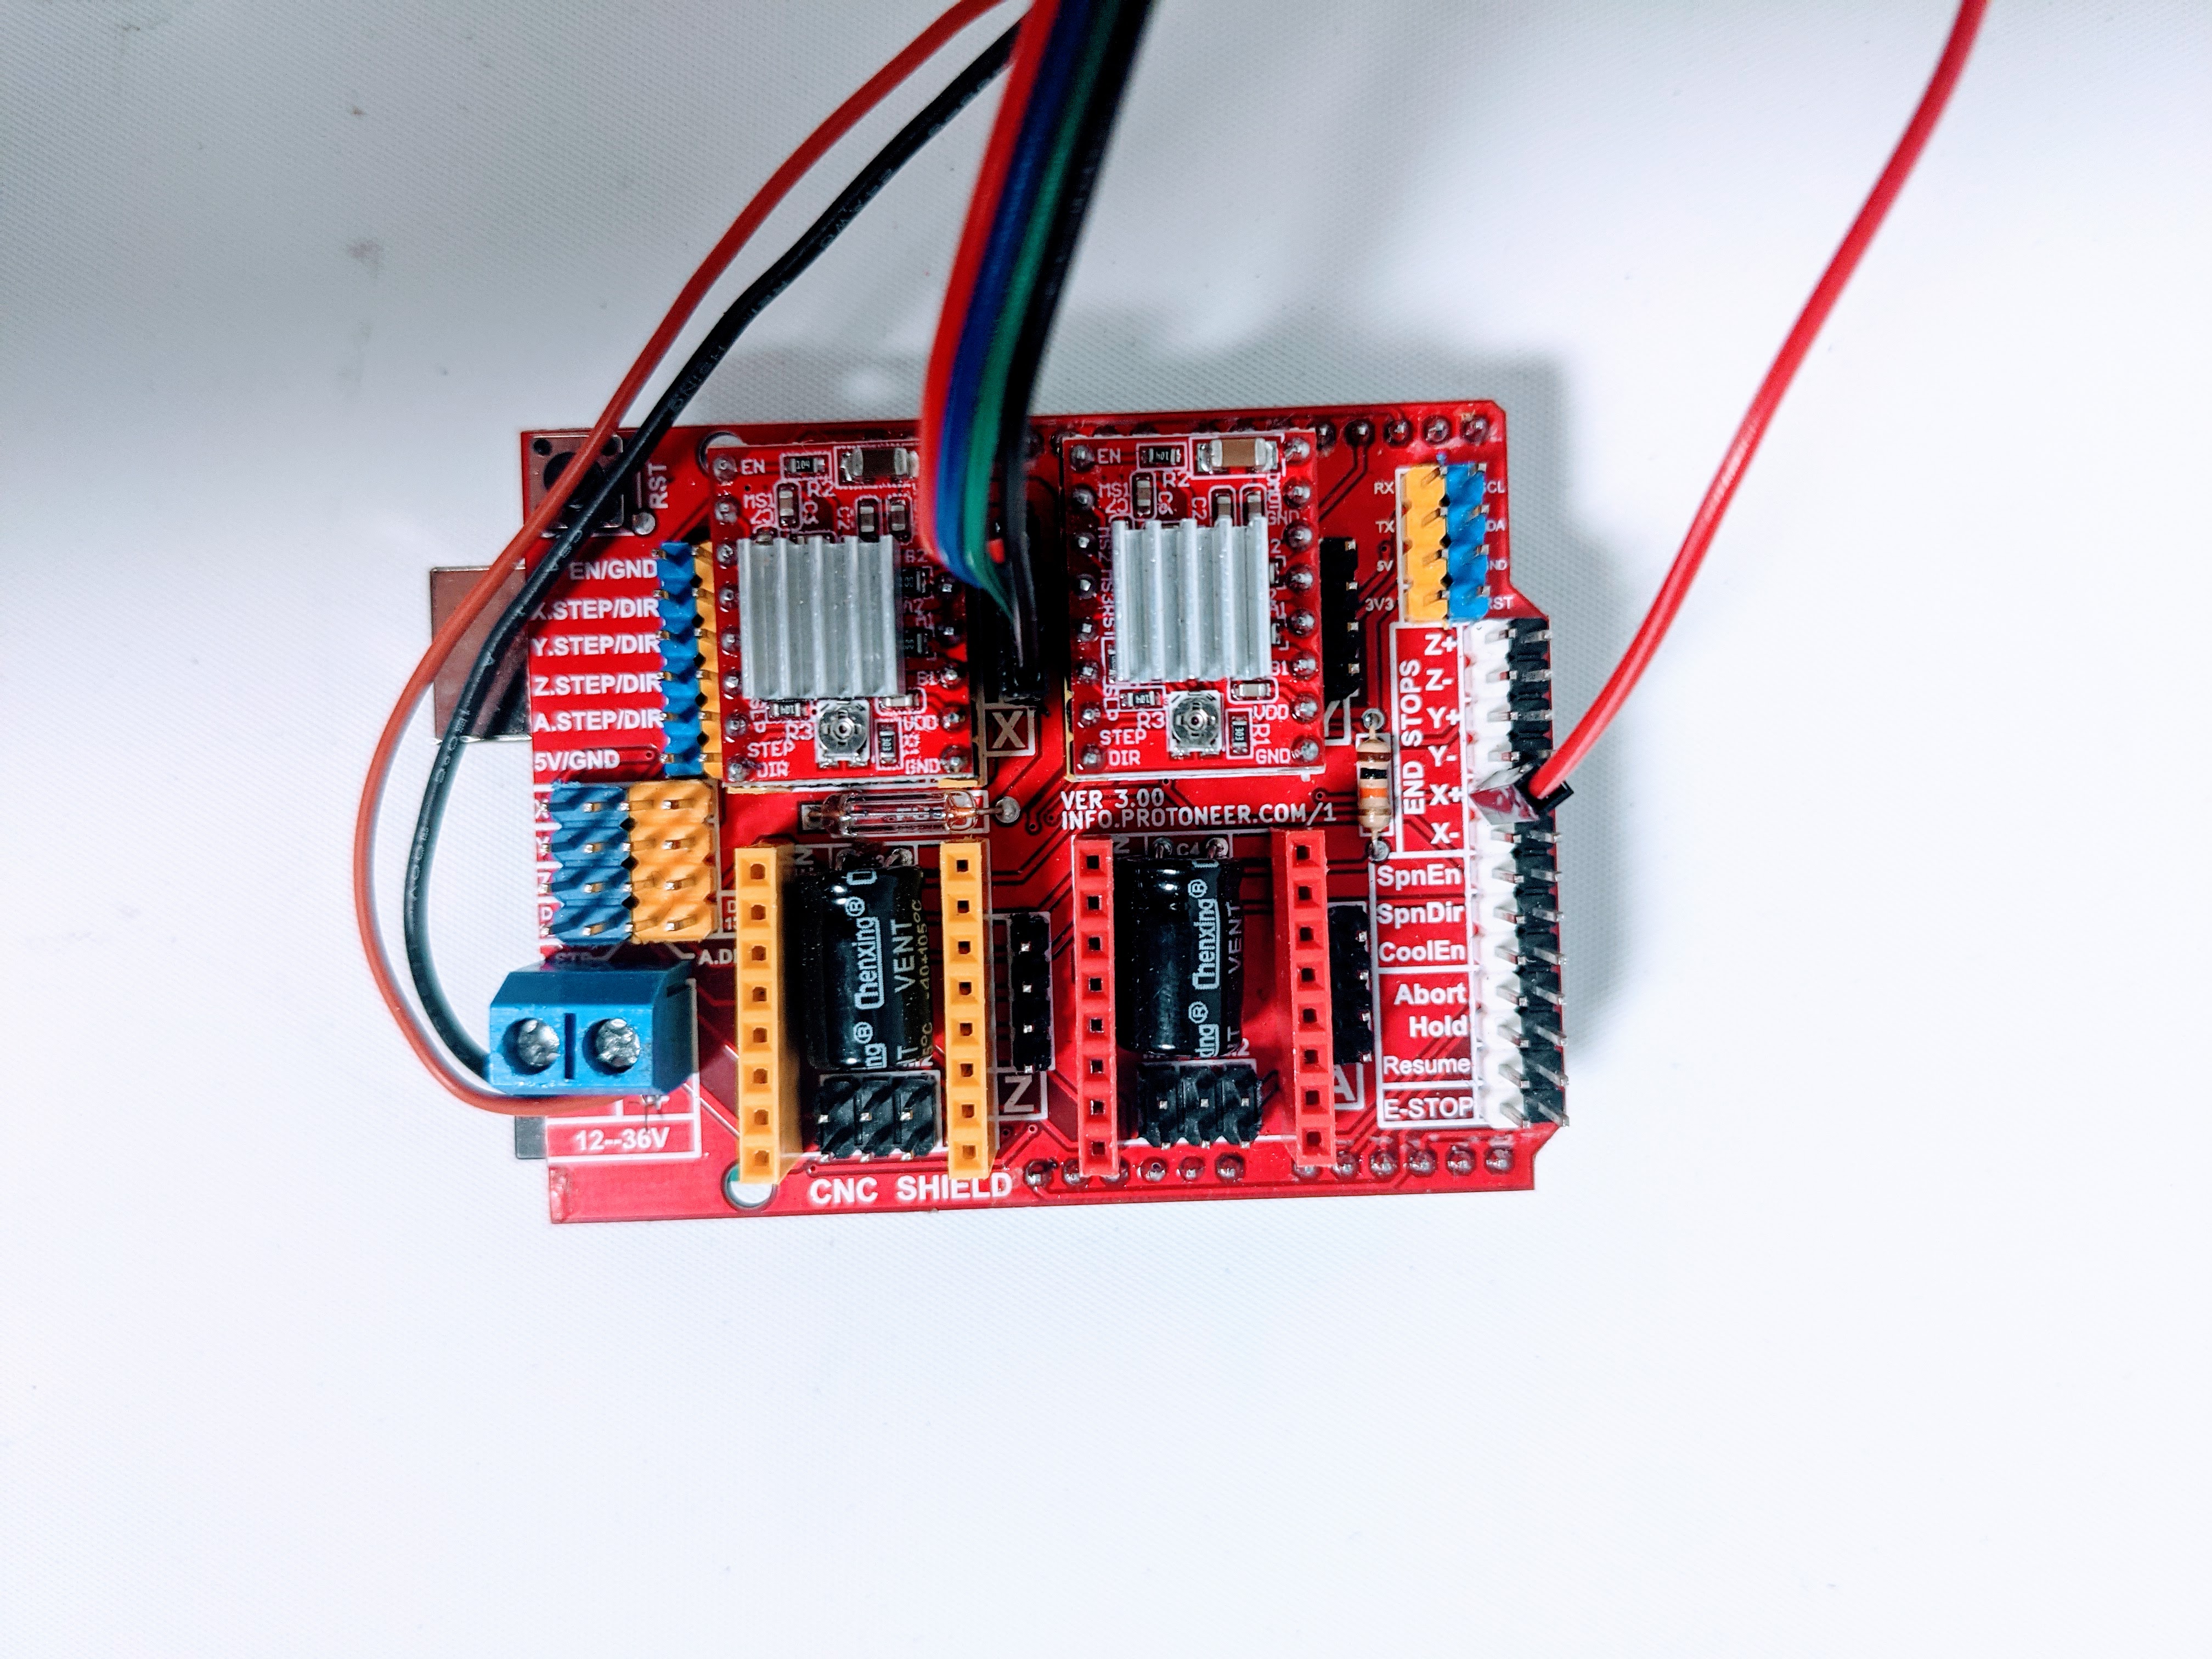
Our first Arduino is incharge of controlling the printing of the image. This means that it has a serial connection to the Raspi to receive image information, and is connected to our stepper motor and dropping servo. It has a CNC Shield on it, receiving 12V, to interface with the stepper motor. This arduino is programed to receive a serial message from the Raspi, read that serial message for the color data of each ball along with the size of the image to print, and then print the image by filling one tube or ‘column’ at a time. This is written in Arduino IDE (C++) and our source code can be found in the GitHub Repository.
Aurdino Two
Our second Arduino controls our elevator servo, our color sensor, and our sorting servo. We decided to have a second Arduino to run these parts of our project because we want them to be running constantly and because they do not need to communicate with the other components for the image to display. The program on this Arduino collects information from our color sensor and determines whether or not the current ball is black or white. It then uses a queueing algorithm to keep track off the balls after they’ve been sensed and before they’ve been dropped. It takes the first ball in line and moves it into the right or left hopper depending on it’s color. This arduino also sets the elevator servo speed and leaves it on as long as the Arduino is on. This program is written in Arduino IDE (C++) and our source code can be found in the GitHub Repository.