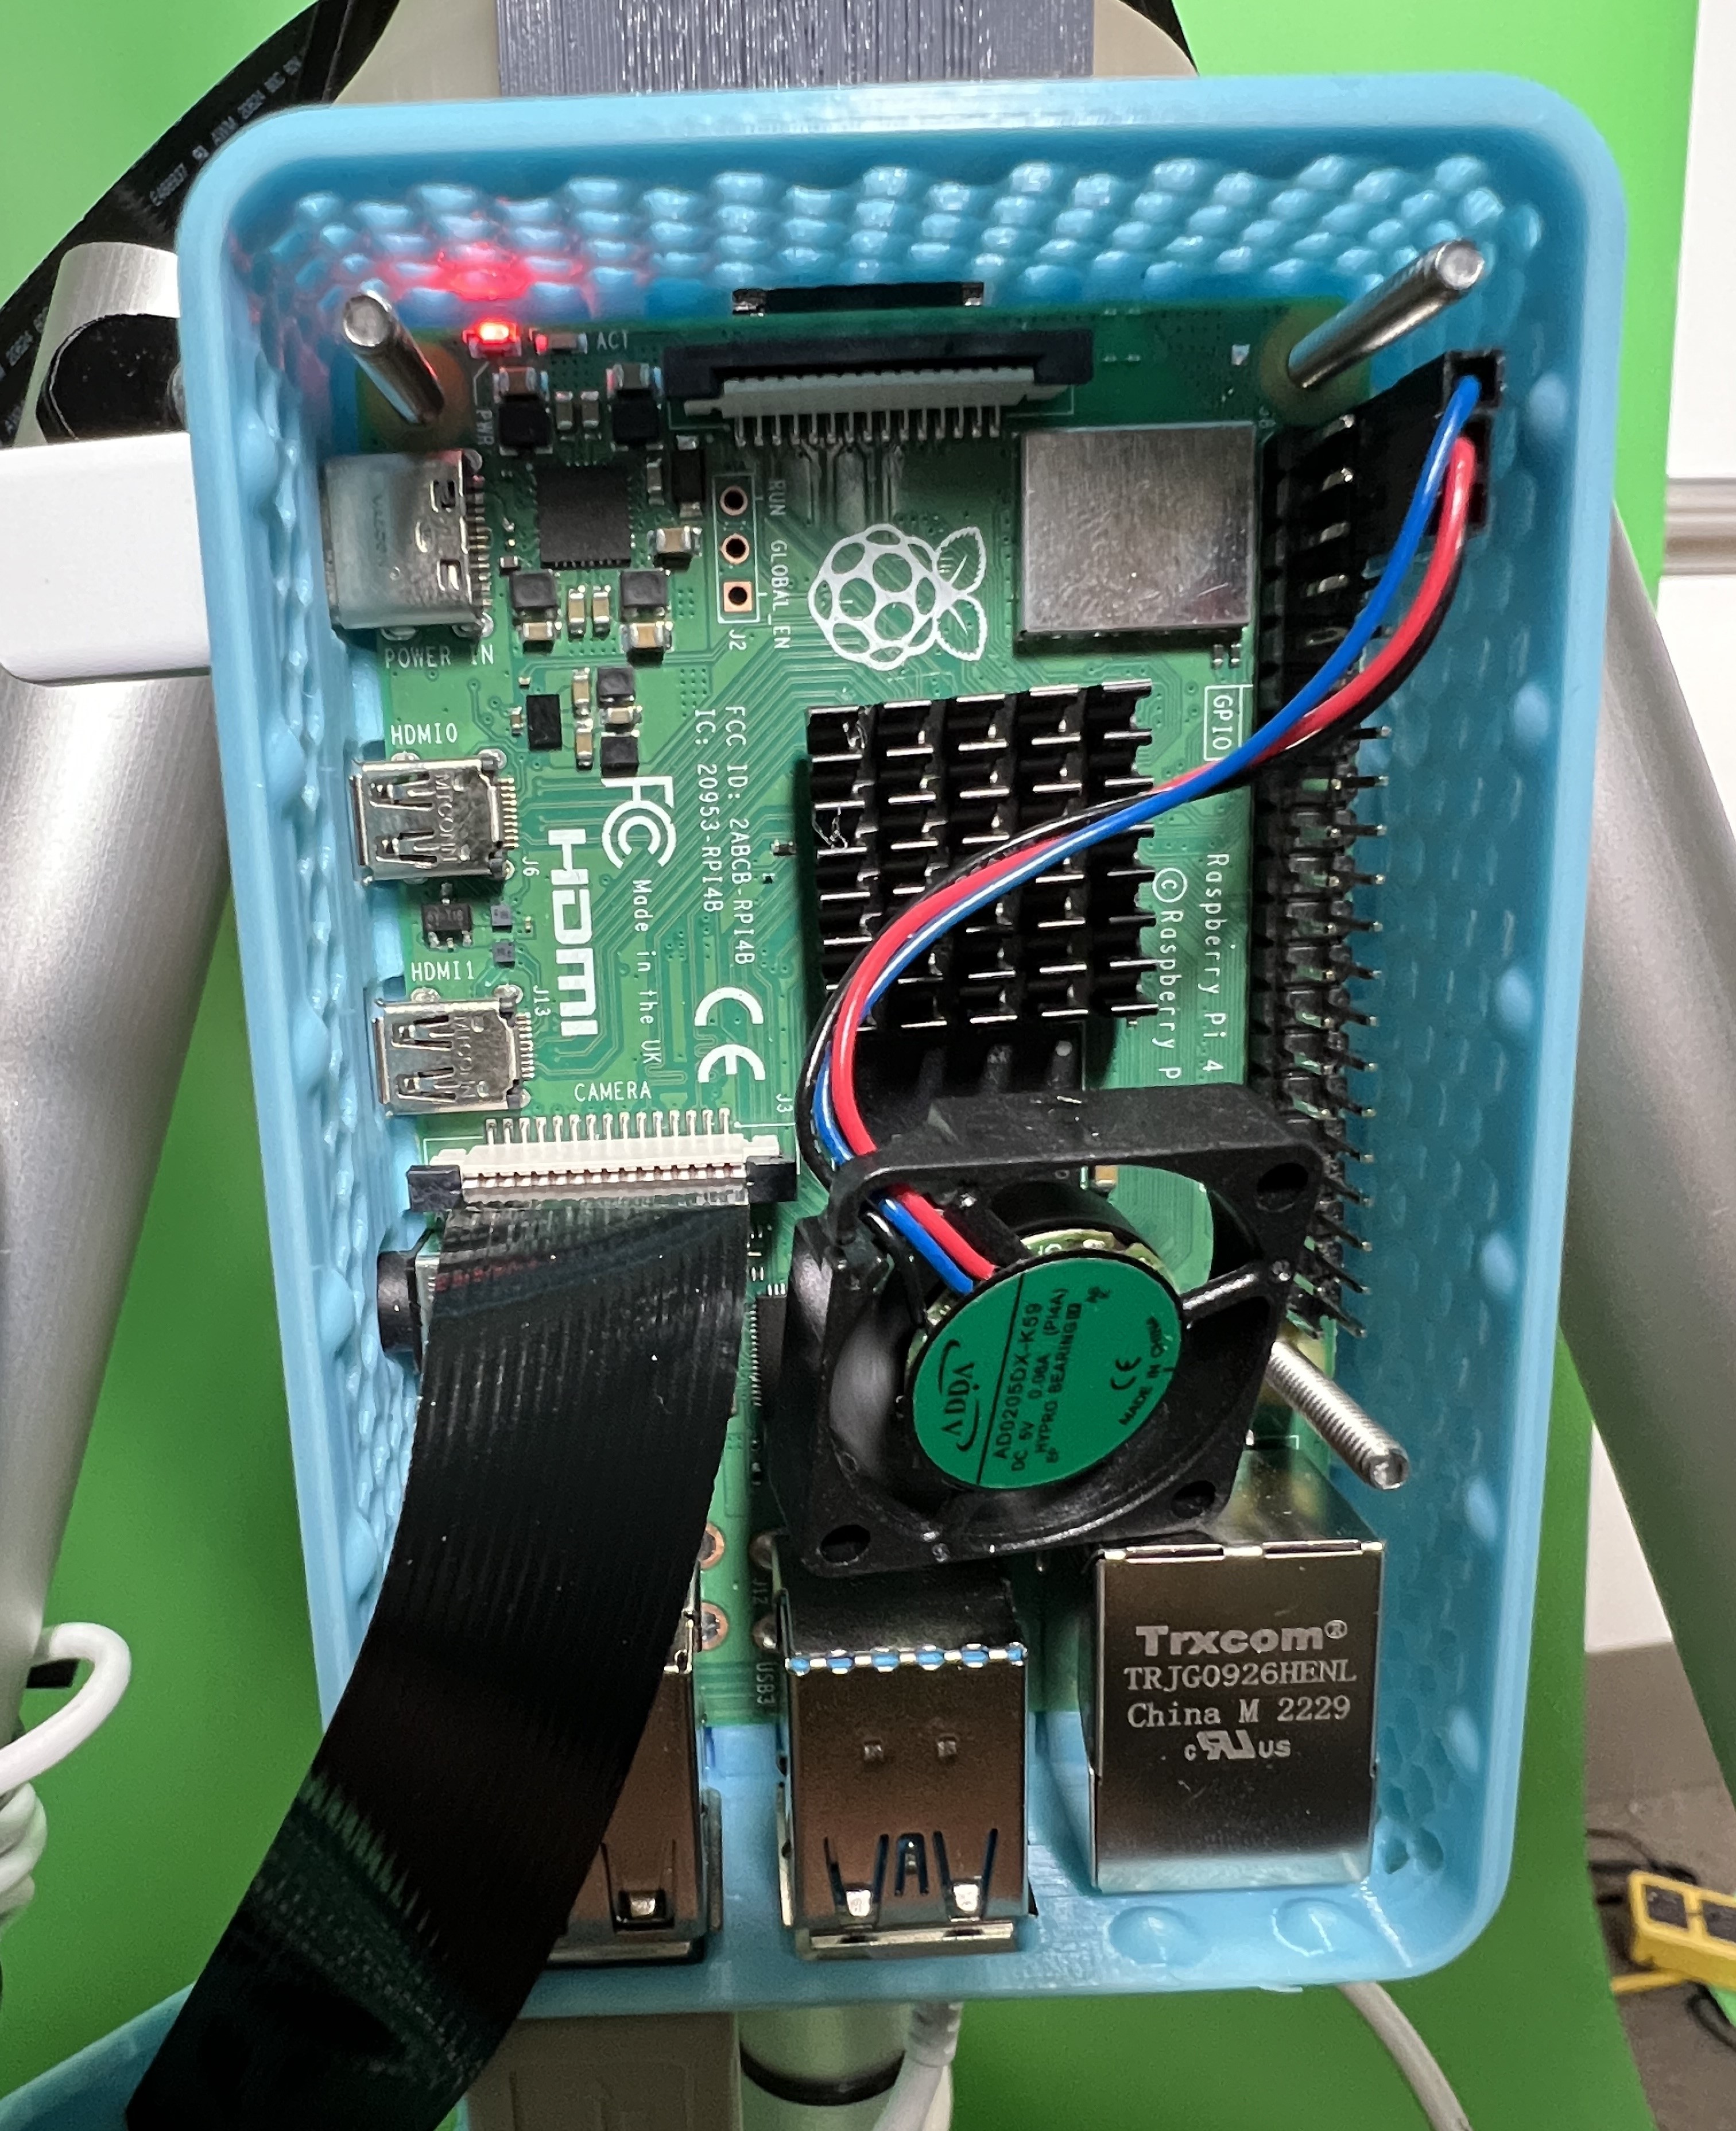
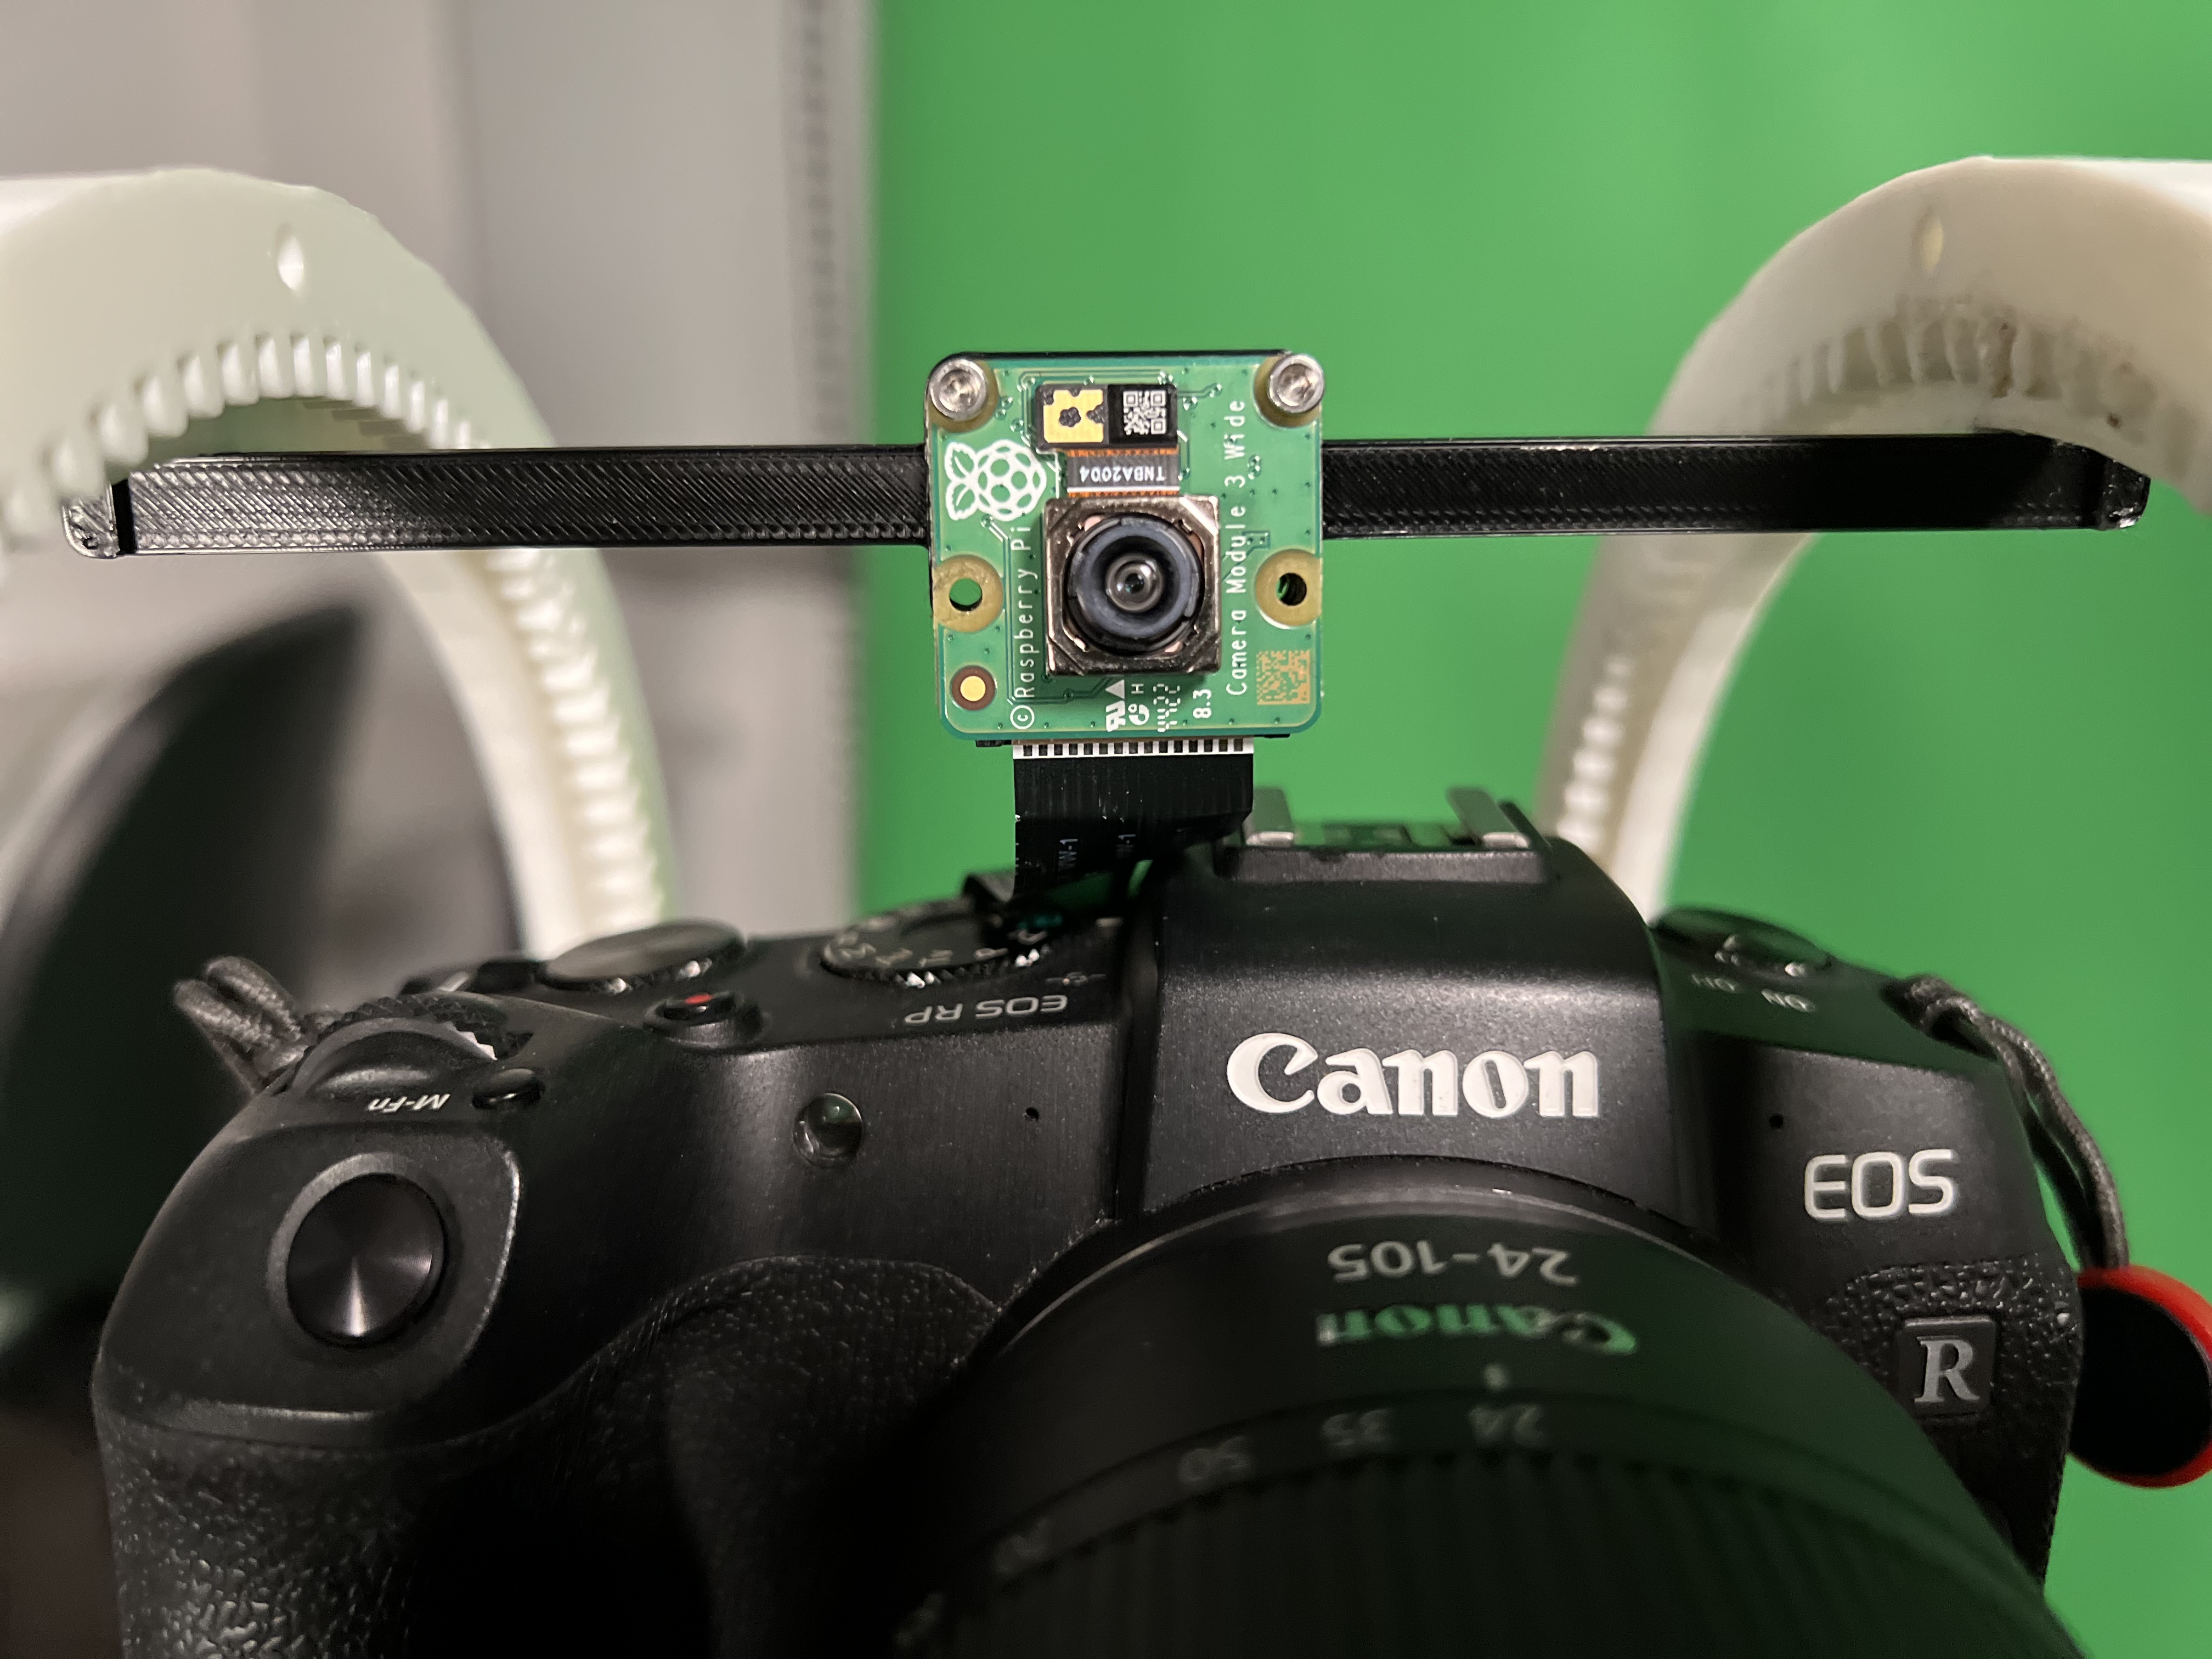
We first access the Raspberry Pi's camera through the python picamera2 module. In order to read the camera, we use the module to save the current frame as a NumPy array every timestep. The image's colorspace is then converted from RGB to BGR in order to align with OpenCV standards. OpenCV then reads and visualizes the NumPy array, which allows use to perform object detection and tracking on it.
The gif to the left represents the person detection step of our software. A Single-Shot Multibox Detection Deep Neural Network detects the person and returns the following:
While this does a great job at detecting the subject, performance is too low for our project's purposes.
To resolve this, we also initiate a tracking step, which takes the detected bounding box as an input. Unlike object detection, object tracking uses the previous frame to estimate the change in pixels over time. This allows it to continue to track a detected person, without needing to expend the computational energy to re-detect the subject every frame. As a result, performance is greatly increased.
As the subject is tracked, the center of the bounding box is saved as a coordinate pair. The coordinates are then normalized so that the center of the screen is (0,0). Once the bounding boxes have been normalized, they are sent over to the Arduino via serial port.
Above is our software loop. By only occasionally re-detecting, we maintain good performance while ensuring that our track doesn't slip off of our subject.
For the full software code, see the object_detection folder in our GitHub Repo.