How did we plan it out?
To complete our Turing machine, we started by breaking our final deliverable goal into bite-sized, iterative chunks, such as designing the write head, devising a model for image recognition, choosing actuators, or fabricating components. From there, we composed those sub-goals into groups by importance and scope, which we called sprint goals. As the project lasted approximately 6 weeks, we made 3 sprints of 2 weeks each. Within each sprint, we divided tasks amongst ourselves, assigning deadlines and rating them based on priority. Using this system, we were able to remain more or less on track with our goals for the duration of the project.
Our process in detail is described below based on how we progressed through the sprints.
Sprint 1
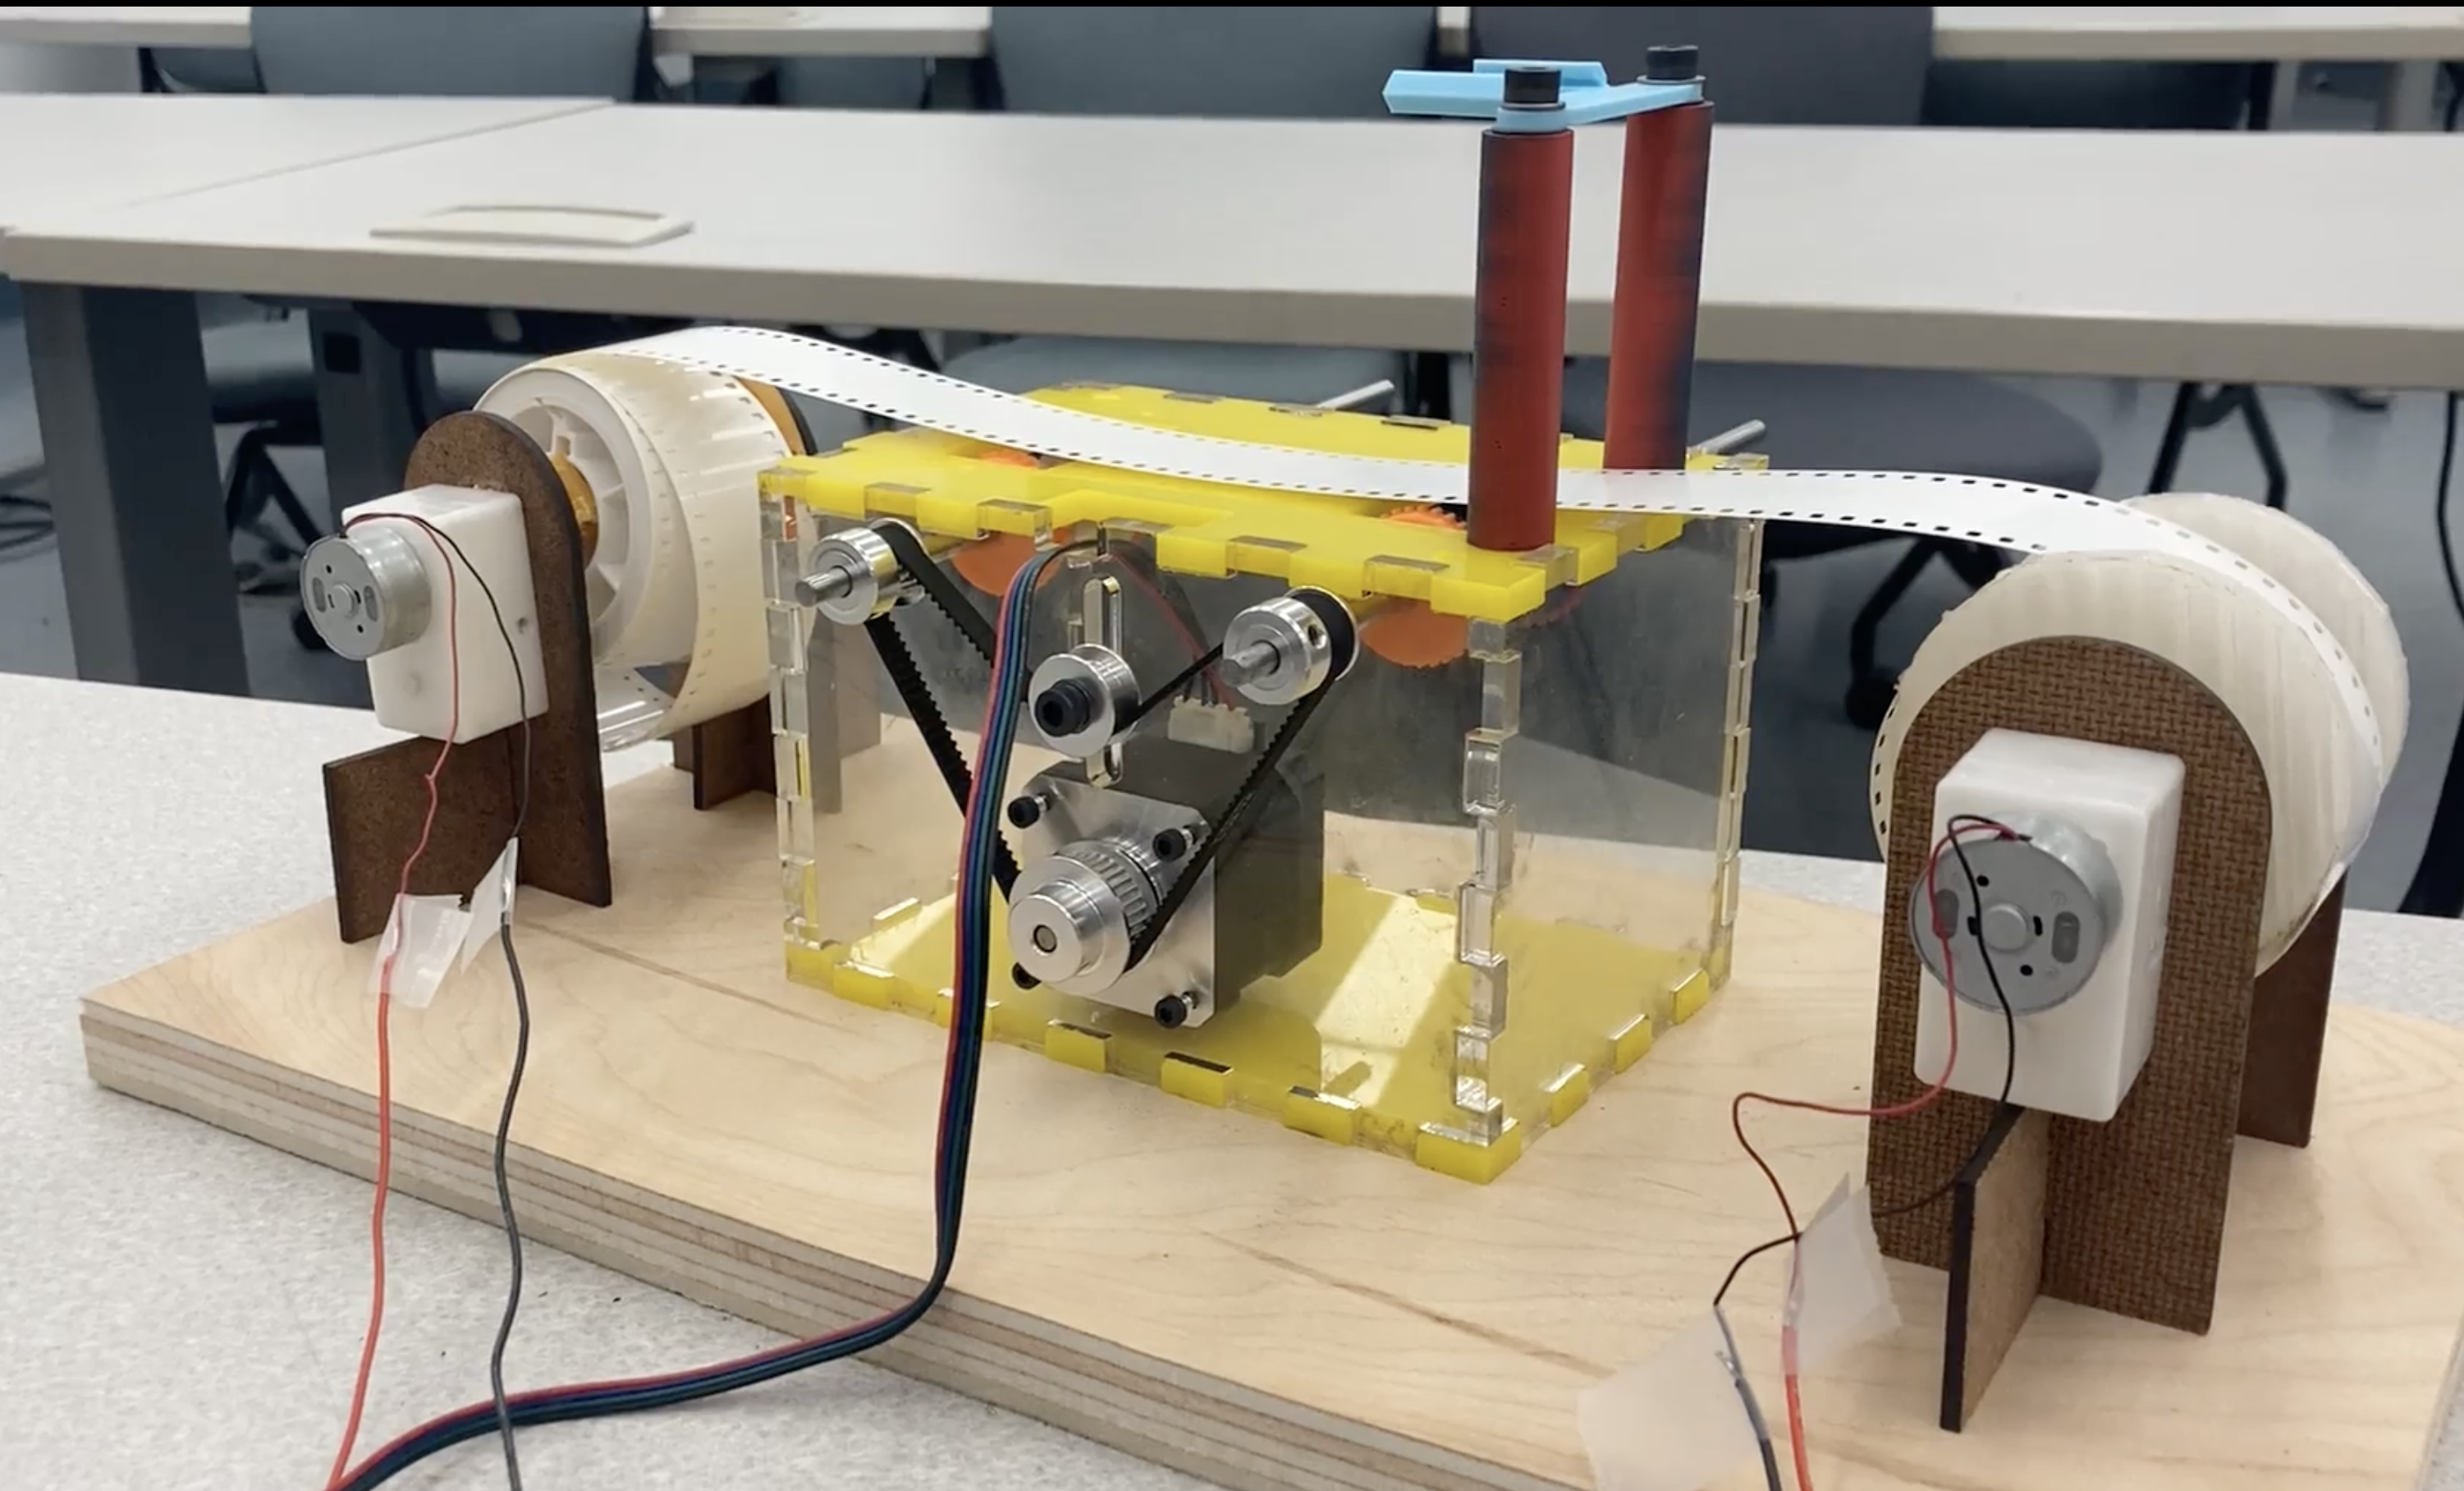
In the first sprint, our focus was primarily on creating a functional mechanism for tape actuation and getting started with symbol recognition. Mechanically, this entailed designing and fabricating the tape actuator and the Turing Machine’s main box/frame, a way to manage slack in the tape, and fabricating a camera mount. With electrical and software, aside from a brief stint of wiring and controlling DC motor Stepper motors, most of the sprint was surrounded by troubleshooting the ESP-32 camera. This was our biggest challenge during the sprint: we faced a myriad of challenges surrounding this camera, primarily because it had a bunch of issues in initializing and transferring serial data to a computer connected to it.

Sprint 2
In sprint two, our primary goal was to be able to read and write characters. To do this, we needed to make symbol recognition functional, improve our tape actuation and management, and design/fabricate the write head. We, for the most part, accomplished our goals. Overall, we were unable to accomplish symbol recognition fully due to the ESP 32’s limited capability and lighting issues. However, we learned a lot about the camera, which prepared us to make a major breakthrough in the next sprint. Additionally, our tape storage and actuation were significantly improved, and we fabricated a functional write head. We also designed and fabricated an erase head. However, during testing, we discovered actuation issues and needed to go back to the drawing board. Additionally, although the write head was functional, we wanted to improve its consistency to assist the model in symbol recognition.

Sprint 3
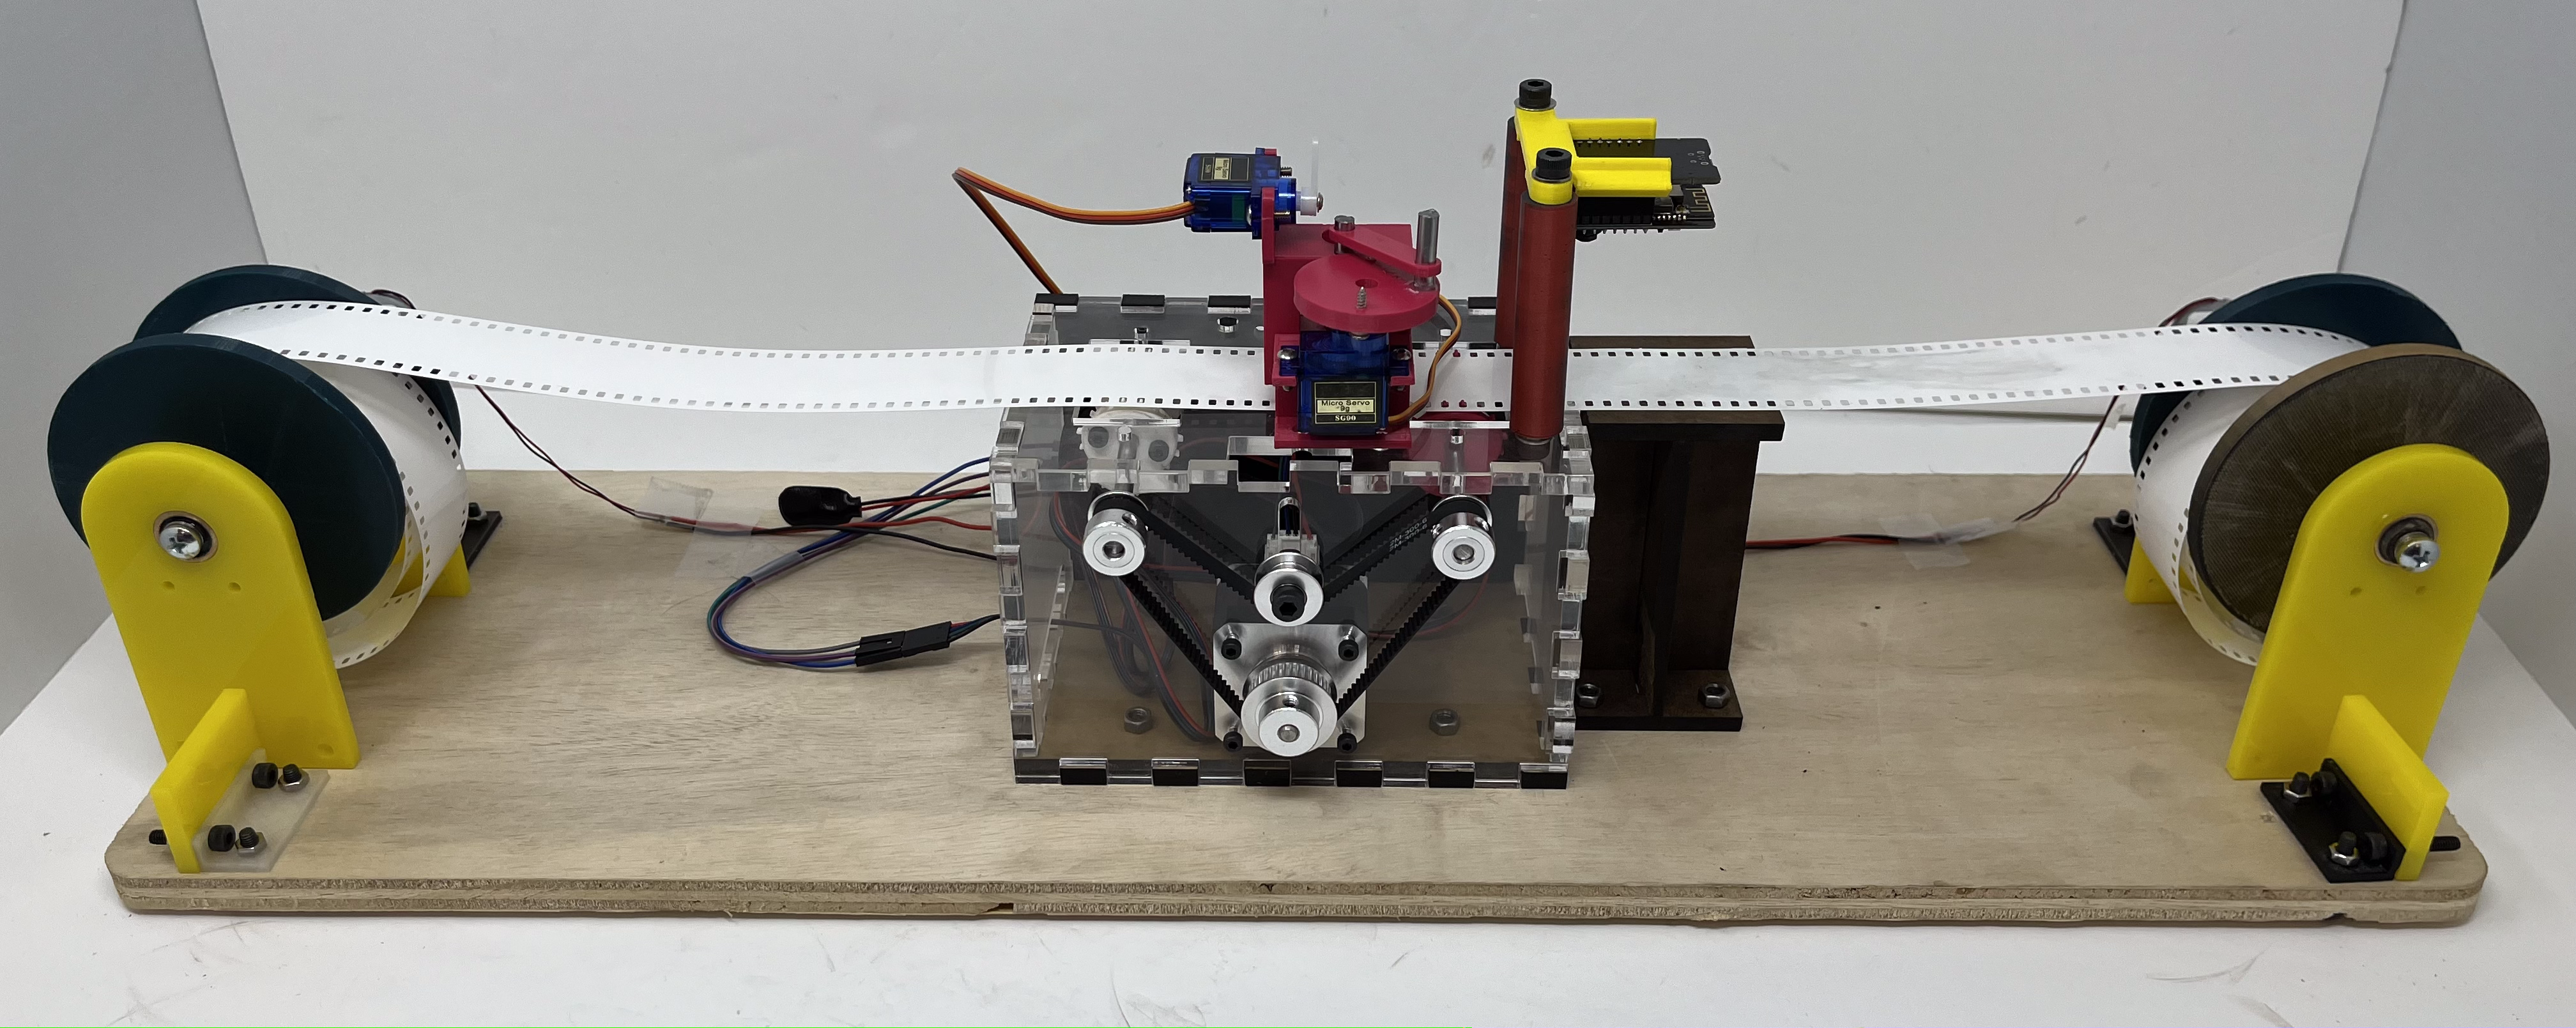
In sprint three, we accomplished our Minimum Viable Product. By the end of the sprint, we had a functional bit-string writer and reader. In this sprint, we completed symbol recognition by transitioning to an alphabet consisting of bit strings mapping to symbols rather than separate symbols and by creating a shroud around the camera to decrease glare. We also improved the quality of our write head, installed a revised erase head, and finished writing the library for controlling the machine. Finally, we wrote the functions for Turing machine operations, starting with identifying if a string is a palindrome and if it has an equal number of ones/zeros. In this sprint, we continued to face challenges where the eraser would not fully eliminate symbols. Additionally, multiple of our used electrical components failed, so we worked quickly to order new parts and replace the old ones. This sprint continued until we had to demo our Turing Machine to people. We also added state transition code for more operations, including booleanOr, booleanNot, and addition. We also performed extensive cable management and re-designed a lot of circuitry to fit everything inside of the Turing Machine’s “box,” including soldering together a new circuit board for running a few motors. Once we were done with this, we installed a display panel which consists of switches to control the power supply/execution of the operation of the machine and an LCD to display the current operation and input string. The wooden base plate that integrally holds the Turing Machine was also stained to give it a more aesthetic and classic-old look.